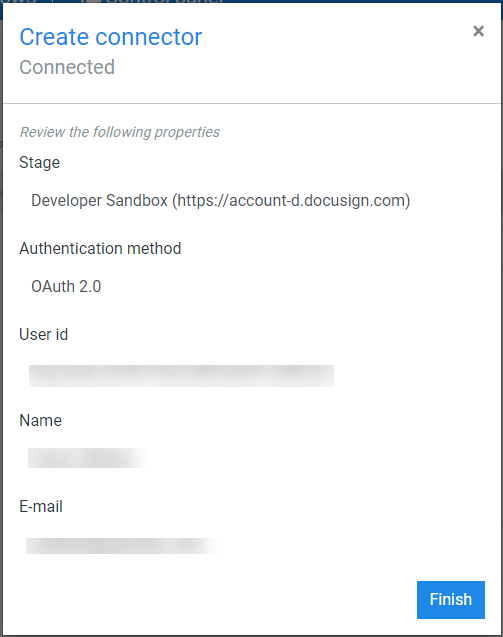
The Create connector wizard guides you through the configuration when creating a connector. You can create multiple DocuSign-type connectors, with each connecting to a different account. However, you can only have one default Docusign connector.
If you are creating an on-premises instance, ensure you've configured your Docusign Connector before attempting to create a Docusign Connector, see Docusign Integration Configuration for more details. Creating a Docusign Connector before configuration will result in an error code PARTNER AUTHENTICATION FAILED: The specified Integrator Key was not found or is disabled. An Integrator key was not specified.
-
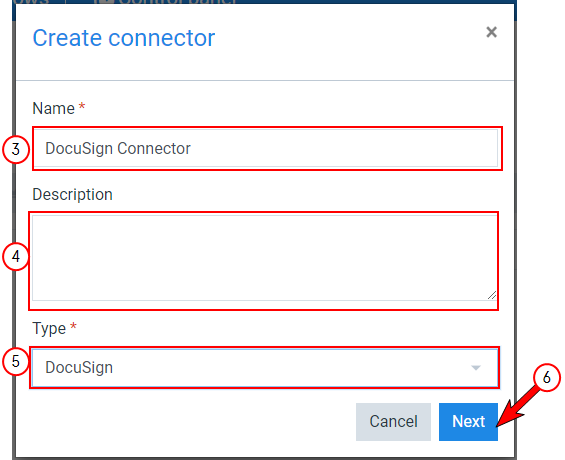
In Project Console, select Control panel > Connectors > +Create.
-
Input the name of your connector.
-
(Optional) Input a Description for your connector.
-
In the Type dropdown menu, select Docusign, and select Next.
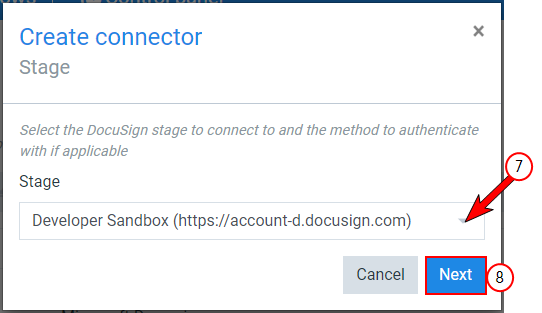
The Create Connector Stage window displays.
Docusign Stage Options
Developer Sandbox
Paid / Trial subscription
-
In the Stage dropdown menu, select the stage for the Docusign account and select Next.
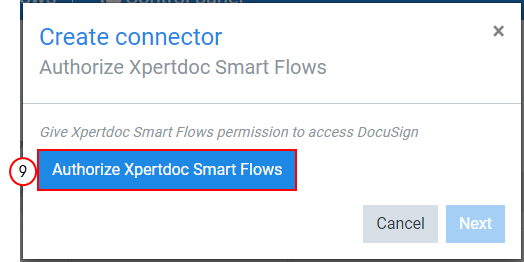
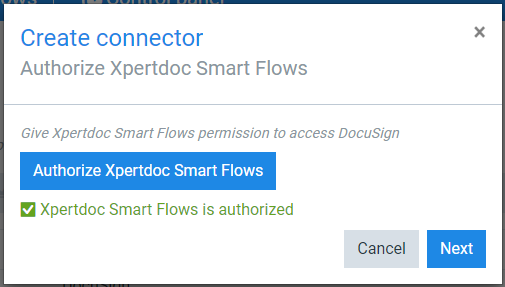
The Create connector Authorize Experlogix Smart Flows window displays.
-
Select the Authorize Smart Flows button.
The system opens the Docusign website.
-
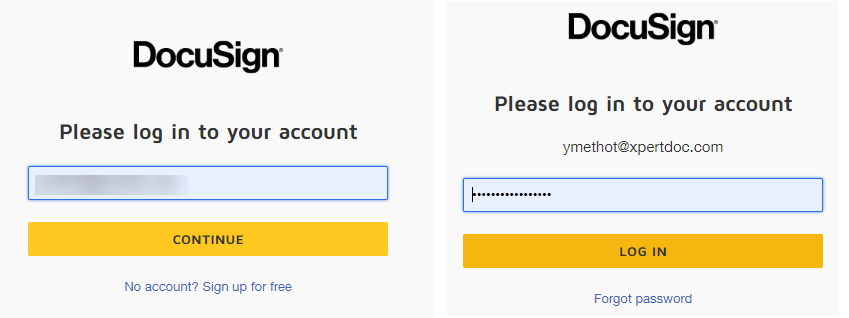
If you have not authenticated with Docusign before, enter your Docusign account credentials.
If your credentials are valid, the system redirects you back to Smart Flows.
-
Select Next.
Smart Flows displays a summary of the configuration.
-
Select the Finish button to conclude the creation of your Docusign connector.