
Common tasks for creating and maintaining connectors in Project Console. All connector management requires Smart Flows Administrator rights.
Creating a Connector
Connectors link Experlogix Smart Flows and other systems like E-signing providers, CRMs, and storage systems. Connectors serve as a gate for communication between an external platform and Smart Flows. Any data that comes from outside Smart Flows passes through a connector.
-
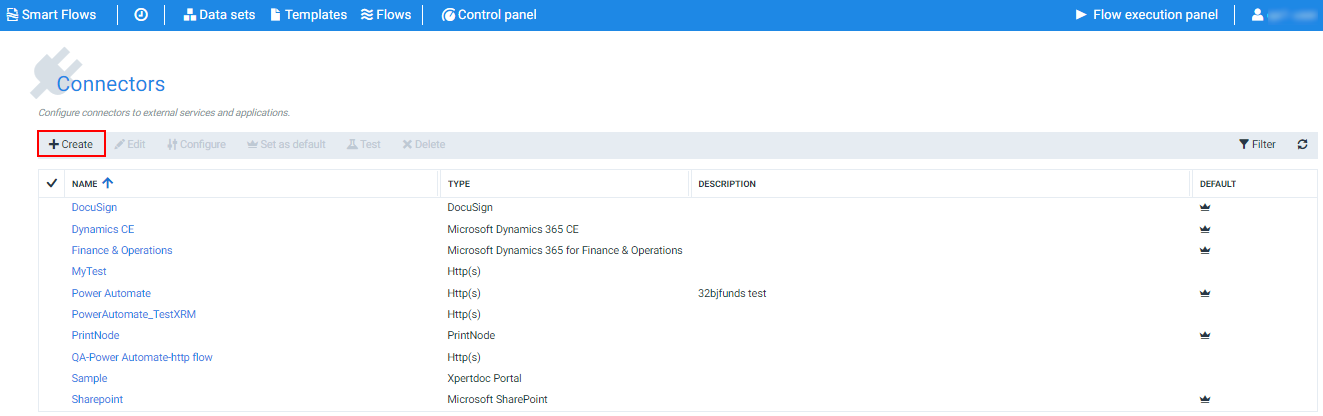
In the Project Console, navigate to Control panel > Connectors > + Create.
-
Create the connector.
-
In the Name field, input the name of the connector.
-
(Optional) In the Description field, input descriptions for the connector, such as development or production.
-
In the dropdown menu, select the connector Type.
-
The types of connectors you can choose are limited based on your license.
-
Select Next.
You will be redirected to the next page, where you can set up the connector's requirements. Requirements differ from connector to connector. Refer to the list below to find the details about the different types of connectors.
Authentication Settings
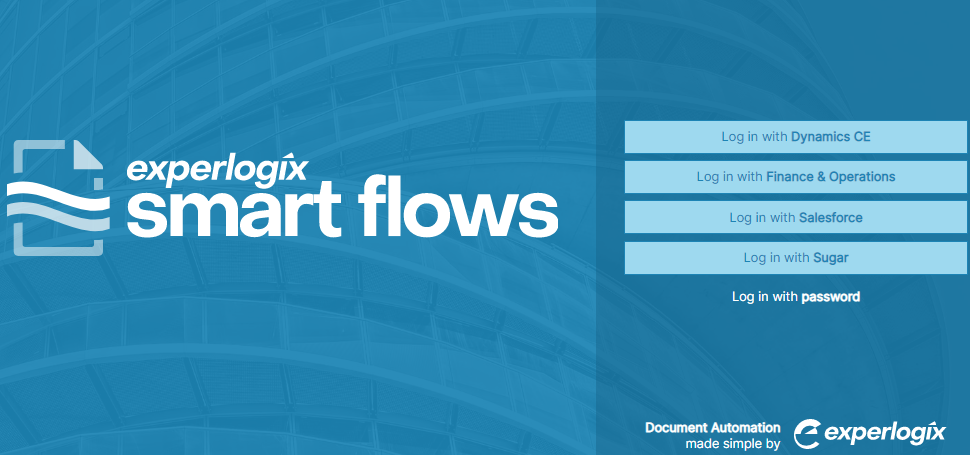
The Smart Flows login screen shows all the primary connectors that can authenticate and serve as login gateways. With the 4.18 release, the Smart Flows administrator can choose which connector is available for the user as a login mechanism.
-
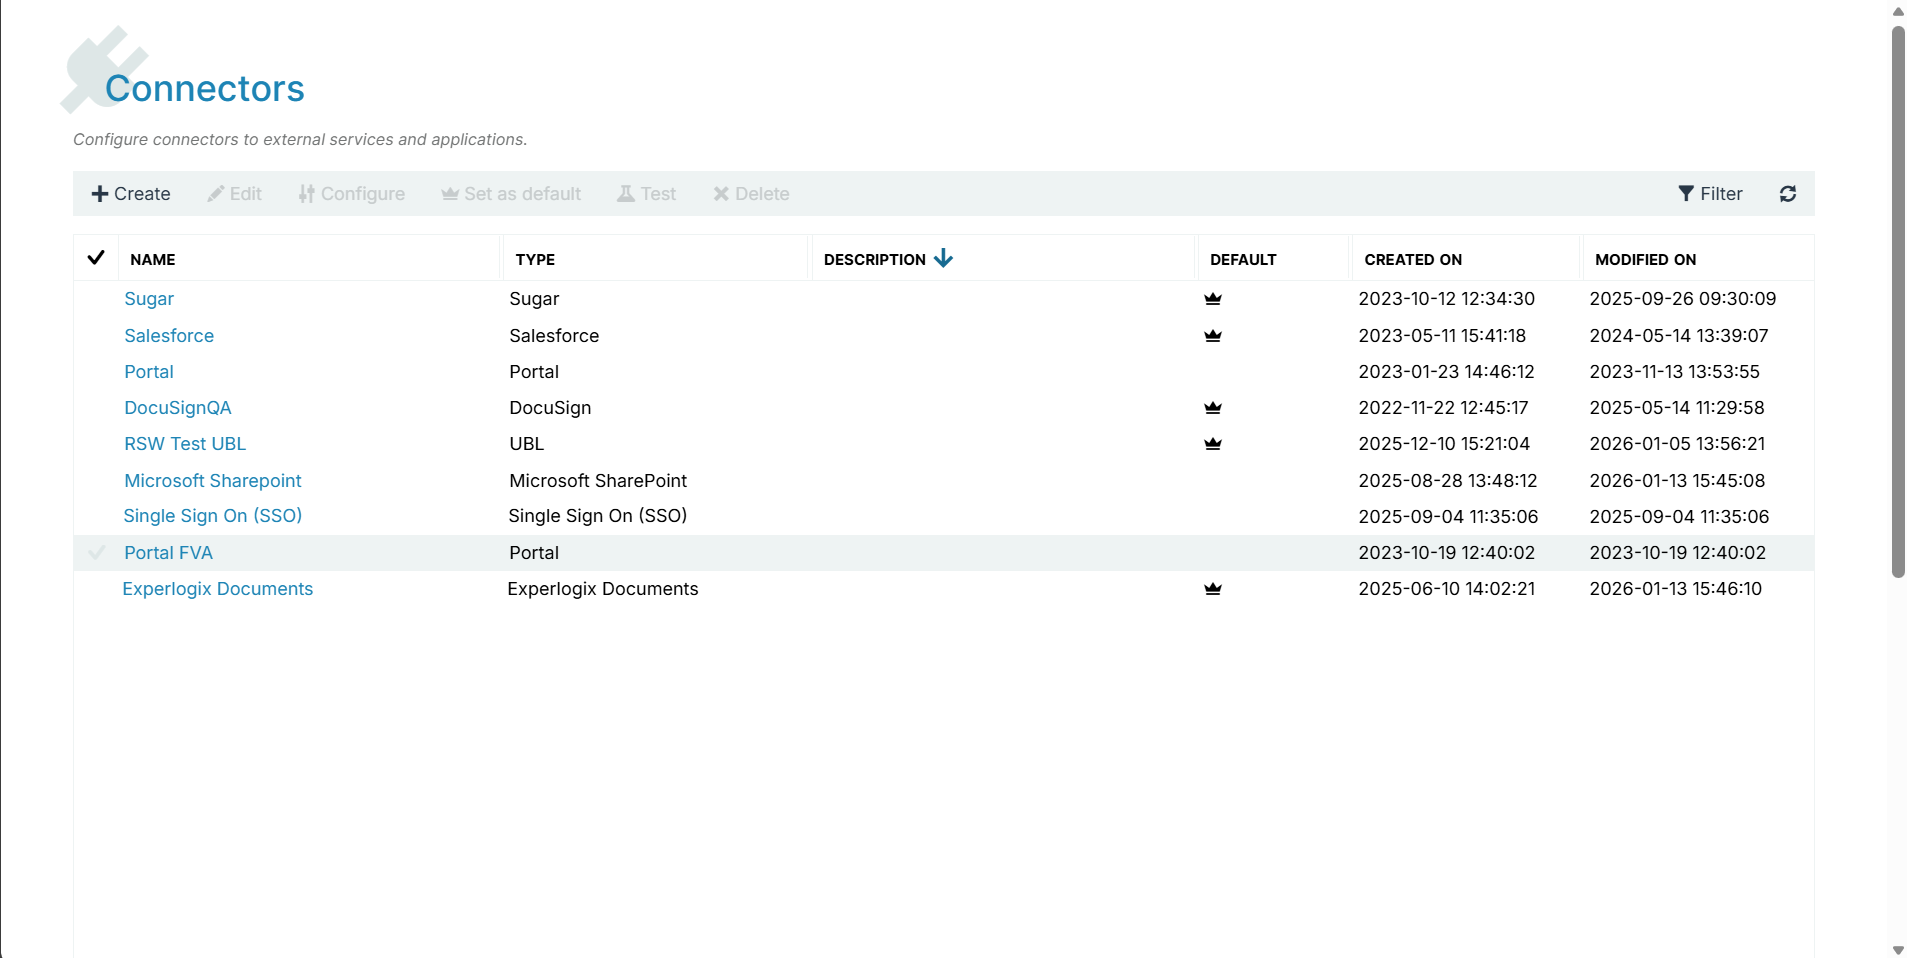
In the Project Console, Navigate to the Control Panel > Connectors.
-
In the Connectors List view, click any connector supporting this feature. (Business central, CE, Salesforce, Sugar, DocuSign, F&O, SSO)
-
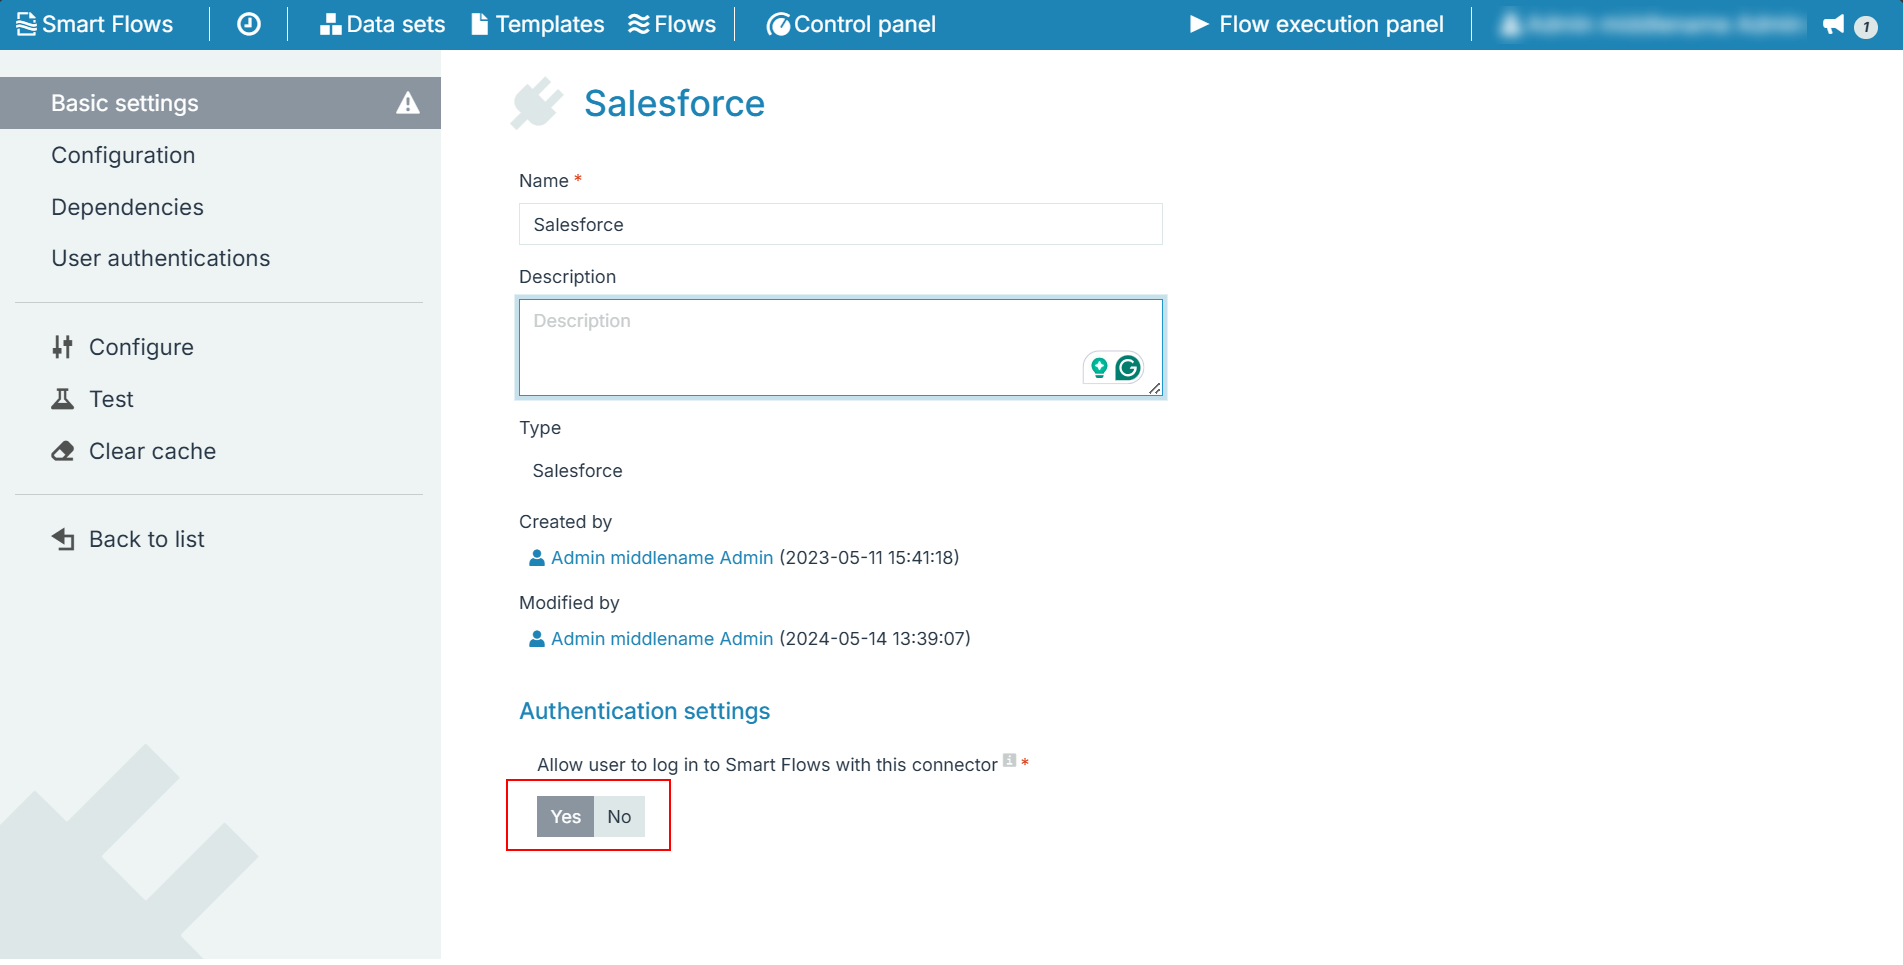
In the Basic settings, you can view the Authentication settings section at the end of the page.
Decision Point
If you want the users to use the Salesforce connector for Smart-Flows login, select Yes.
If you do not want the users to use the Salesforce connector for Smart-Flows login, select No.
Configuring an Existing Connector
You can edit the existing configuration of Connectors using the Configure button at the top navigation of the Connectors window.
The configuration options in the Detail View and Edit Connector wizard differ depending on the connector type. You can find additional details for setup and configuration on the pages for each connector.
Connector Configuration
-
In the Project Console, navigate to the Control panel > Connectors > select a Connector.
-
Select Configure.
Clear Connector Cache
Over time, connectors can slow down due to data buildup in the cache. You can use the Clear cache button to manually clear a Connector’s cache. Clearing the connector cache can also restore missing system tags by refreshing the connector.
To change the layout of your entities, such as adding a new entity, you need to select on the Clear cache button to refresh the entity layout and make the new entity available for Smart Flows.
-
In the Project Console, select Control panel > Connectors > select a Connector.
-
Select Clear Cache.
When the clearing connector cache completes, the "Successfully cleared connector cache" message is displayed.
Deleting Connector
Deleting a Connector removes it from your Smart Flows project. Before deleting a Connector, you must remove all of the Connector's Inbound Dependencies.
In Project Console, navigate to the Control panel > Connectors > select a Connector > Delete.
In this example, we are removing the Google Cloud Printing connector but you can remove any connector.
The system checks for dependencies for the connector.
If your connector has dependencies, then remove the items listed in the Inbound Dependencies list before you can delete the connector.
If your connector does not have dependencies, then select Delete.
The connector is deleted from the system and your changes are automatically saved.
Testing Connector
Once you setup your connector, you can test it using the Test button on the top navigation on the Connectors window.
Note: The testing details differ depending on the connector type. You can find additional details on the pages for each connector, see Connectors.
Testing Generic Connectors
-
In the Project Console, navigate to the Control panel > Connectors > select a Connector > Test.
When the testing process completes, a success message is displayed.
Similarly, if the testing fails after the testing process, a failure message is displayed.