Importing Items
Importing items allows you to move assets between Smart Flows projects. The most common time for doing this is when you have been testing and developing one project and want to promote items to your Production project.
-
Go to Control Panel > Import.
-
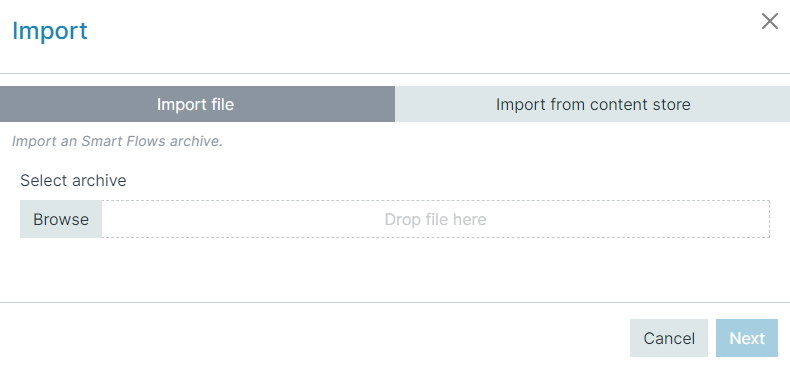
Select Browse.
-
Select the zip file you want to import.
-
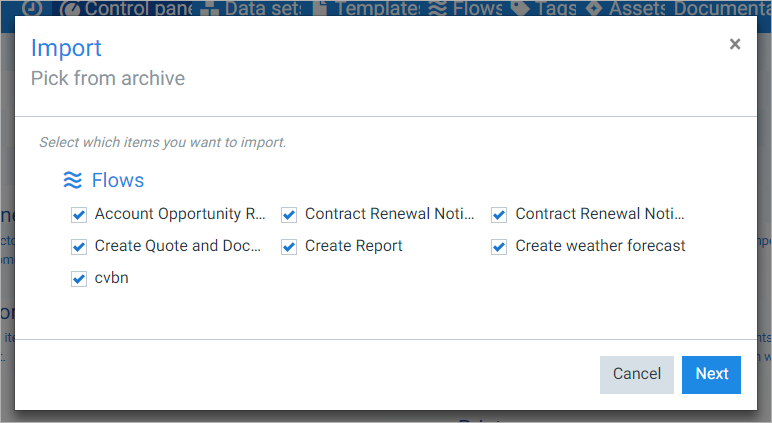
Select the items you want to import, then select Next.
-
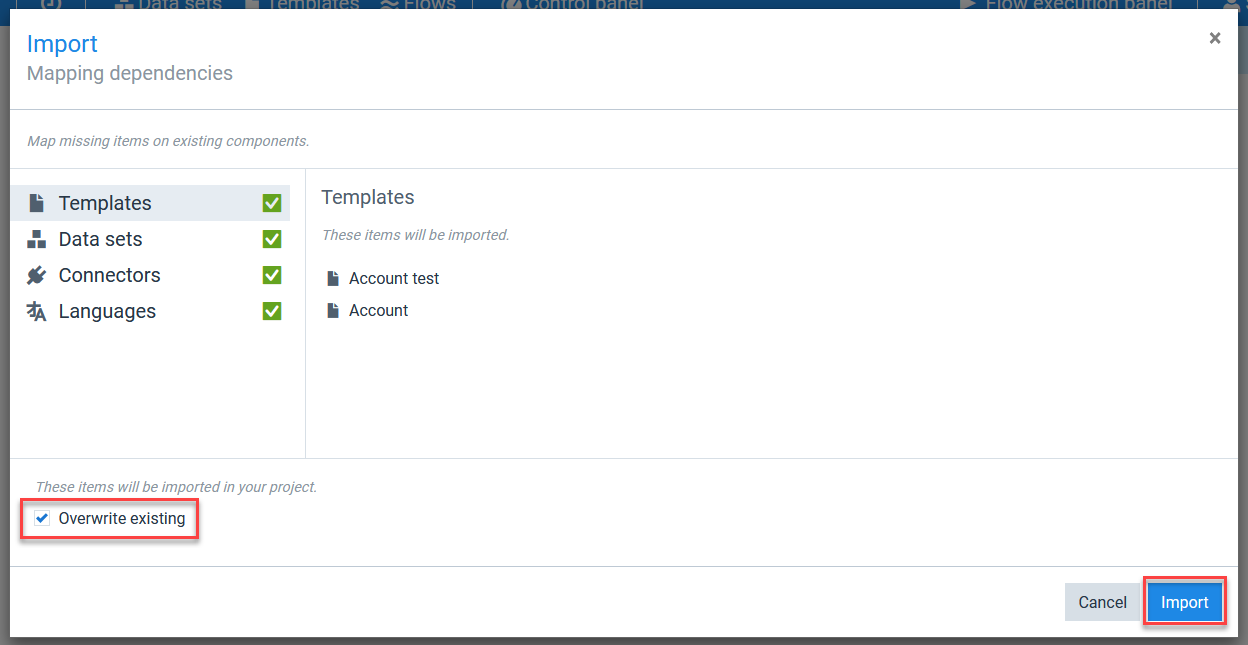
(Optional)Select Overwrite existing to overwrite flows and their dependencies.
-
Select Import to complete the import process.
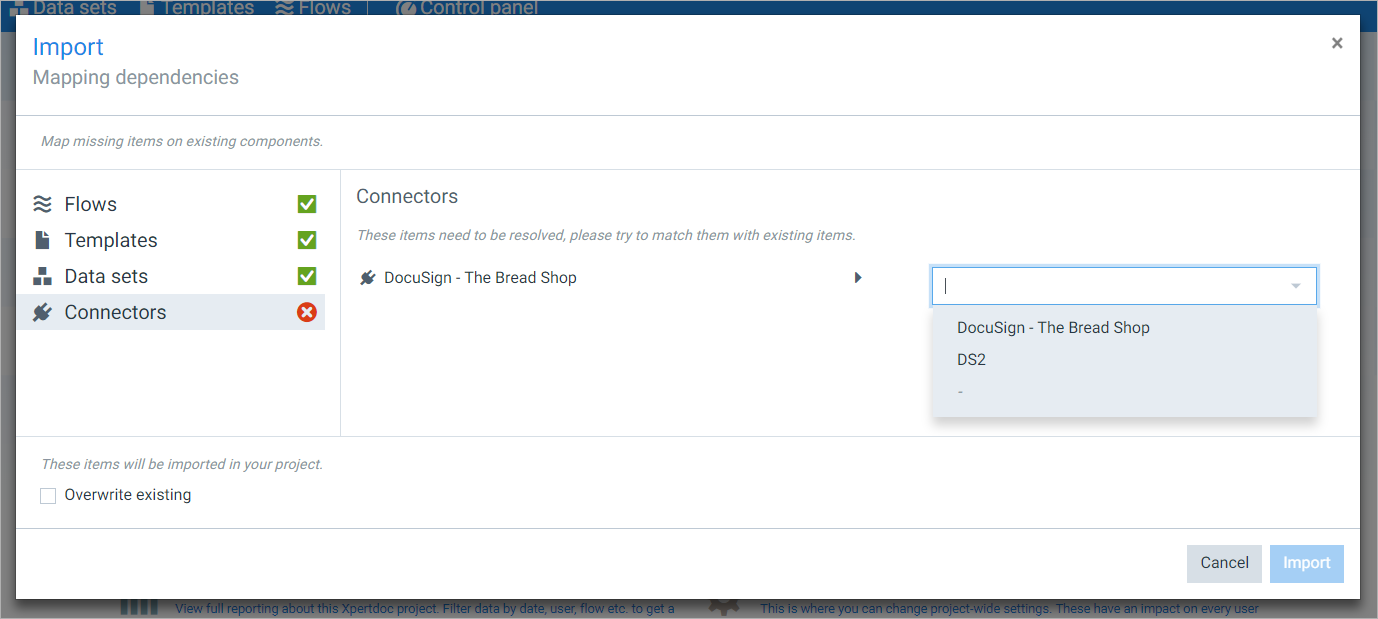
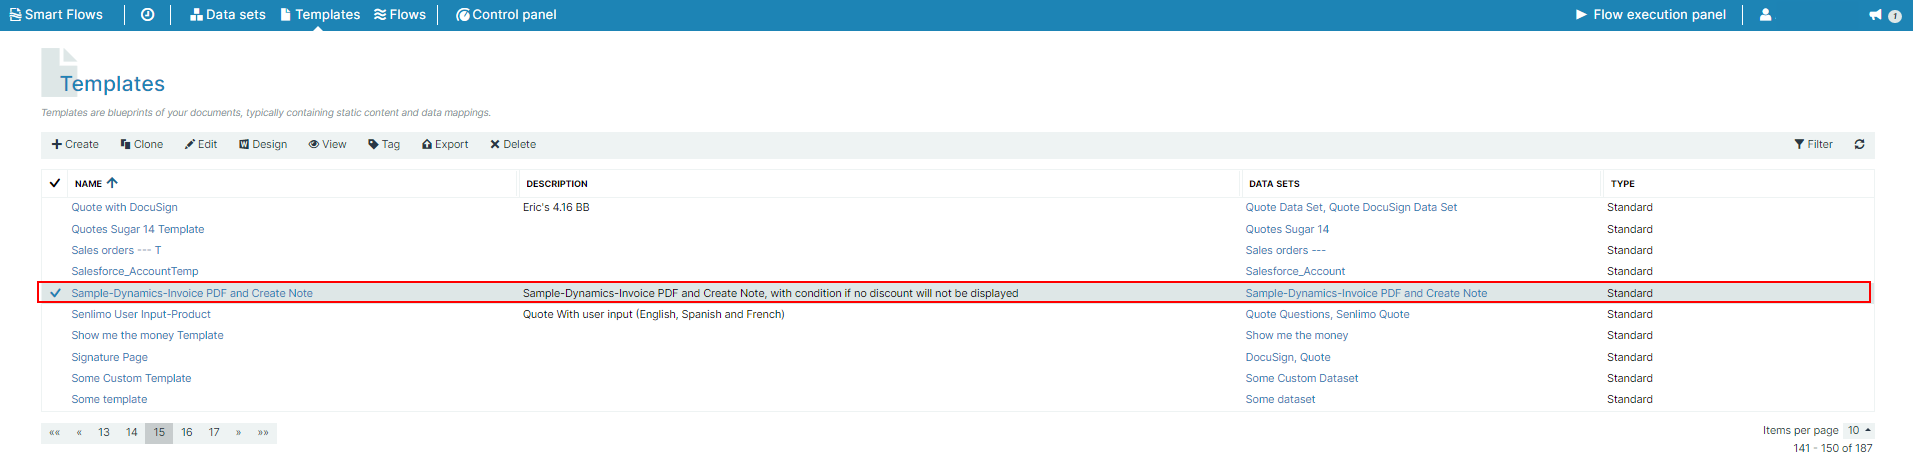
You can find your imported files in the List view for the asset type you imported. For example, imported templates will be available in the Templates List view in the Project Console.
Importing from the Content Store
Importing from the Content Store allows Administrators, Partners, and Designers to leverage pre-built samples to test Smart Flows' capabilities without building out the entire system ahead of time. For Partners in particular, importing from the Content Store allows them to provide demonstrations to clients without creating something from the ground up.
When importing from the Content Store, ensure that you have added and configured a connector in the project before you import its associated package. For example if importing Invoice for Microsoft Dynamics 365 CE, you must ensure you already have a Microsoft Dynamics 365 CE connector in your project. The system does not warn you of the prerequisite before importing.
-
In the Project Console, select Control Panel > Import > Import from Content Store.
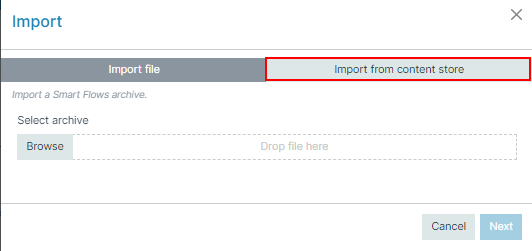
-
(Optional)Select a connector type to use as a filter.
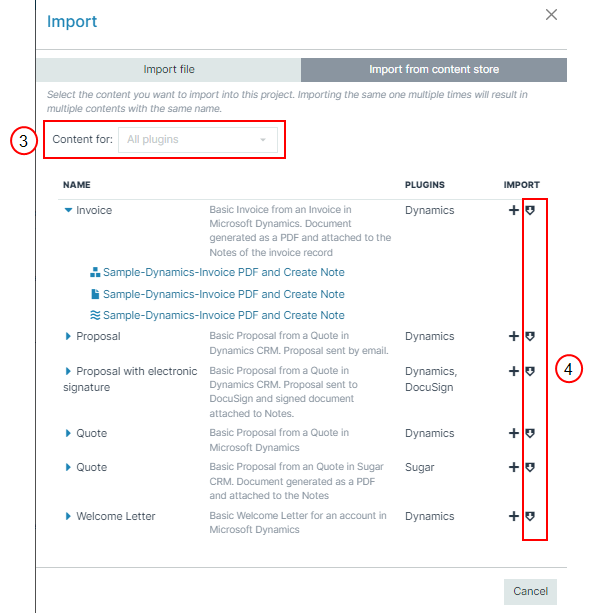
-
(Optional)Select import and overwrite existing.
When importing items into a project, if you select the Overwrite existing items option, all IDs will be kept the same. This means that items you export from the project have identical IDs in the project you exported them from and the project you imported them into.
The overwrite existing behavior is desirable when working with Dynamics workflows in a multi-tenant environment where you use flow IDs in a workflow step. Maintaining your IDs ensures your workflows continue to function.
-
Select import (+) for the content you wish to import into your project. A green check mark indicates a successful import.
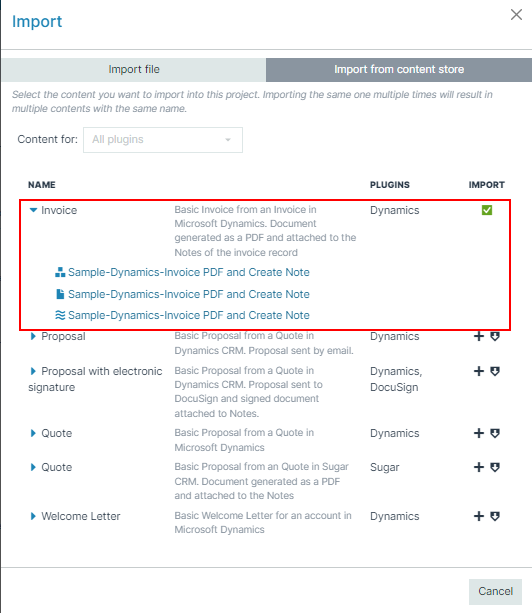
An item that already exists will have a number appended to it (depending on how many times you have imported it).
You can find the imported content in your Templates, Data sets, and Flows List view.