PING identity is a service that allows you to log into multiple applications at the same time. This article provides guidance on configuring Ping Identity to work with your Single Sign-On connector.
Create an Application
-
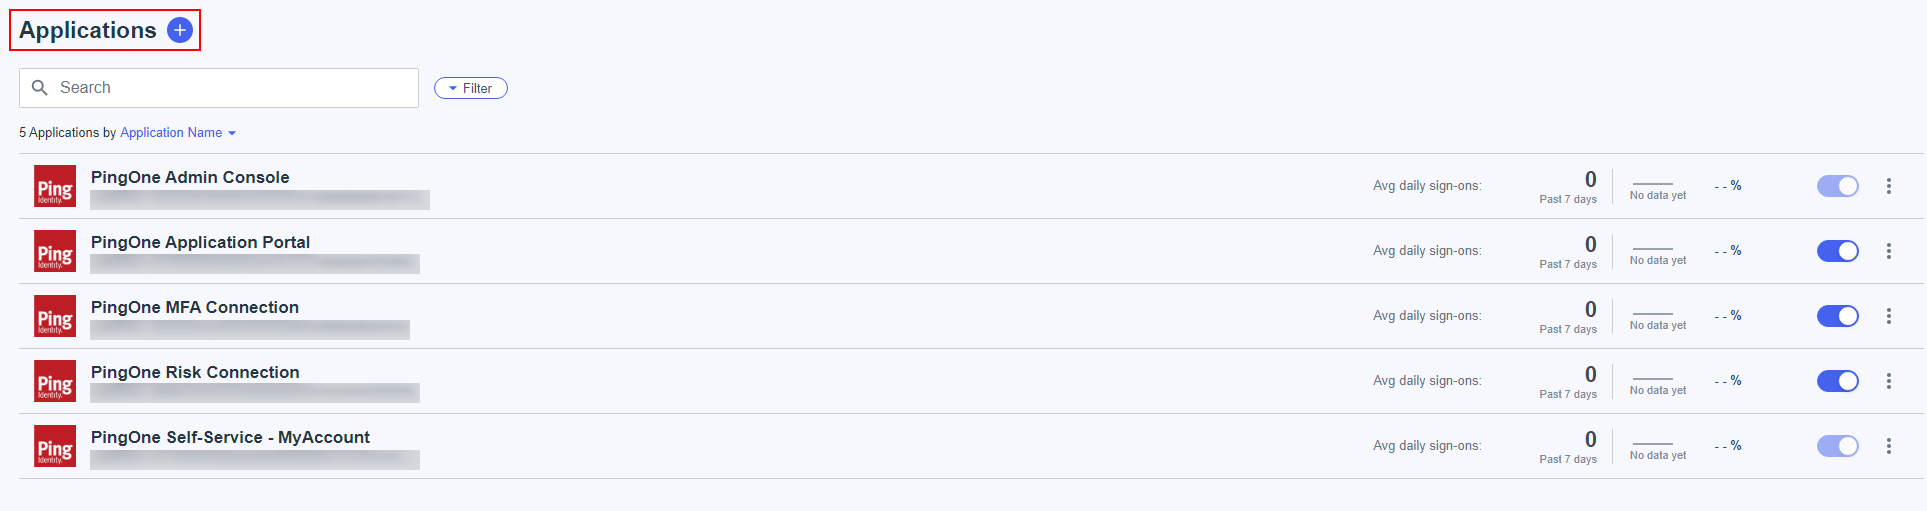
Select the + icon next to Applications.
A side pane displays.
-
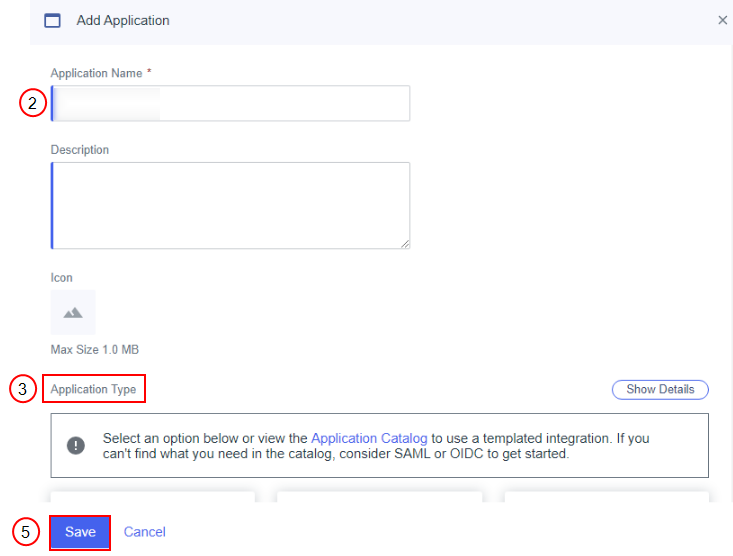
Enter an Application name.
-
Select Show Details next to Application Type.
-
Select OIDC Web App.
-
Select Save.
The Smart Flows page displays.
Configure Smart Flows Application
-
Move the slider next to the Smart Flows heading to ON.

-
Select the Configuration tab.
To edit the Configuration tab attributes, select the pencil icon on the far right.
-
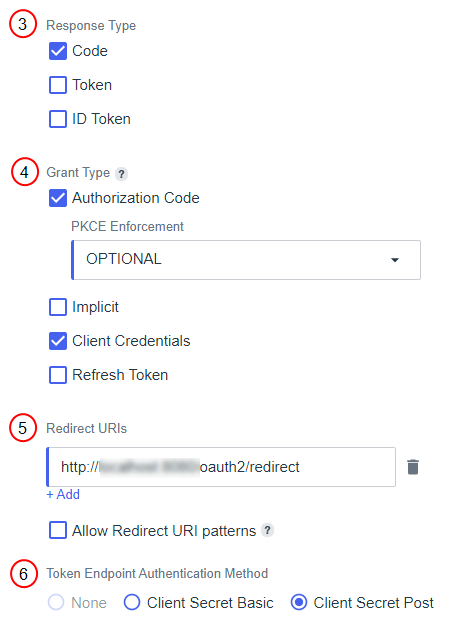
For Response Type, select Code.
-
For Grant types select both the Authorization Code and Client Credentials.
-
Fill in the correct redirect URL for your application. This is the base-url for your application with /oauth2/redirect as the suffix.
-
For the Token Endpoint Authentication Method, select the Client Secret Post.
-
Select the Resources tab.
To edit the Resources tab attributes, select the pencil icon on the far right.
-
Select the Resources tab.
-
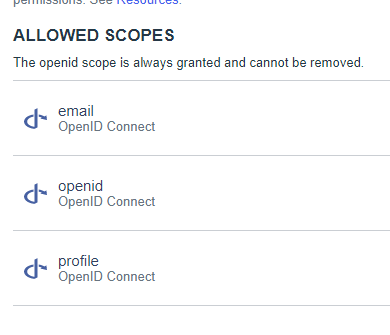
email (OpenID Connect)
-
openid (OpenID Connect)
-
profile (OpenID Connect)
-
-
Select Save.
Assign Roles to Users by Group
To use roles in PING Identity we need to add users to a group.
In the dashboard there is an option to add roles, but this is specifically to perform actions on Ping Identity only and does not reflect to how the user is authenticated in Smart Flows.
-
Go to the left-hand side menu, and under Identities options, select the Groups link.
-
To create a new group, select the + icon next to Groups.
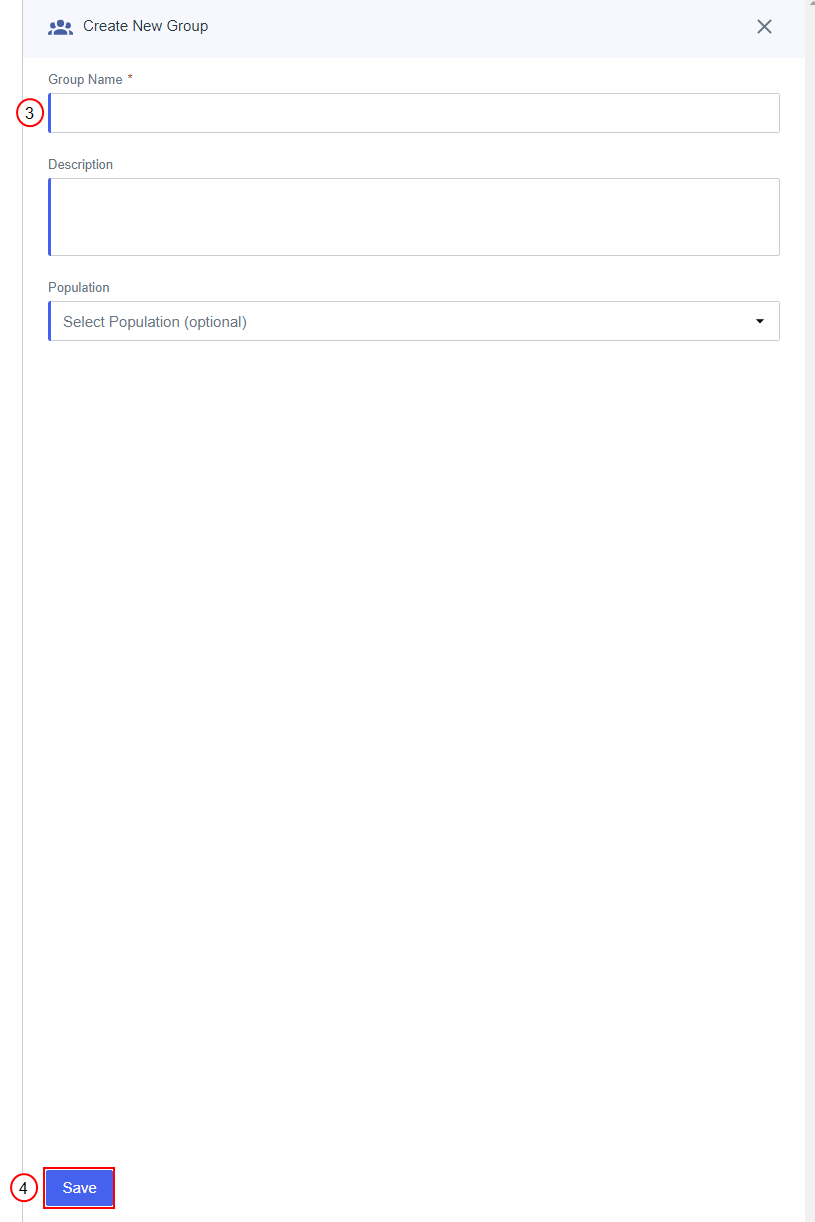
A Create New Group wizard displays.
-
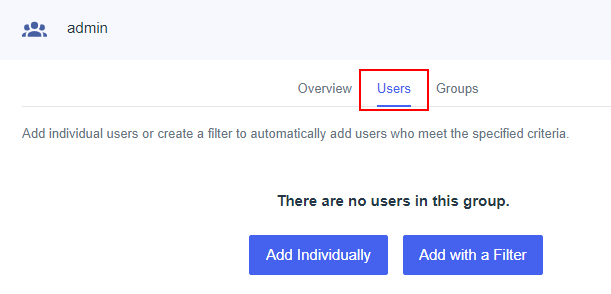
From the admin page, select Users.
-
Enter a Group Name.
Adding a Group Description and selecting a Population are optional.
-
Select Save.
You can now add users to the group.
-
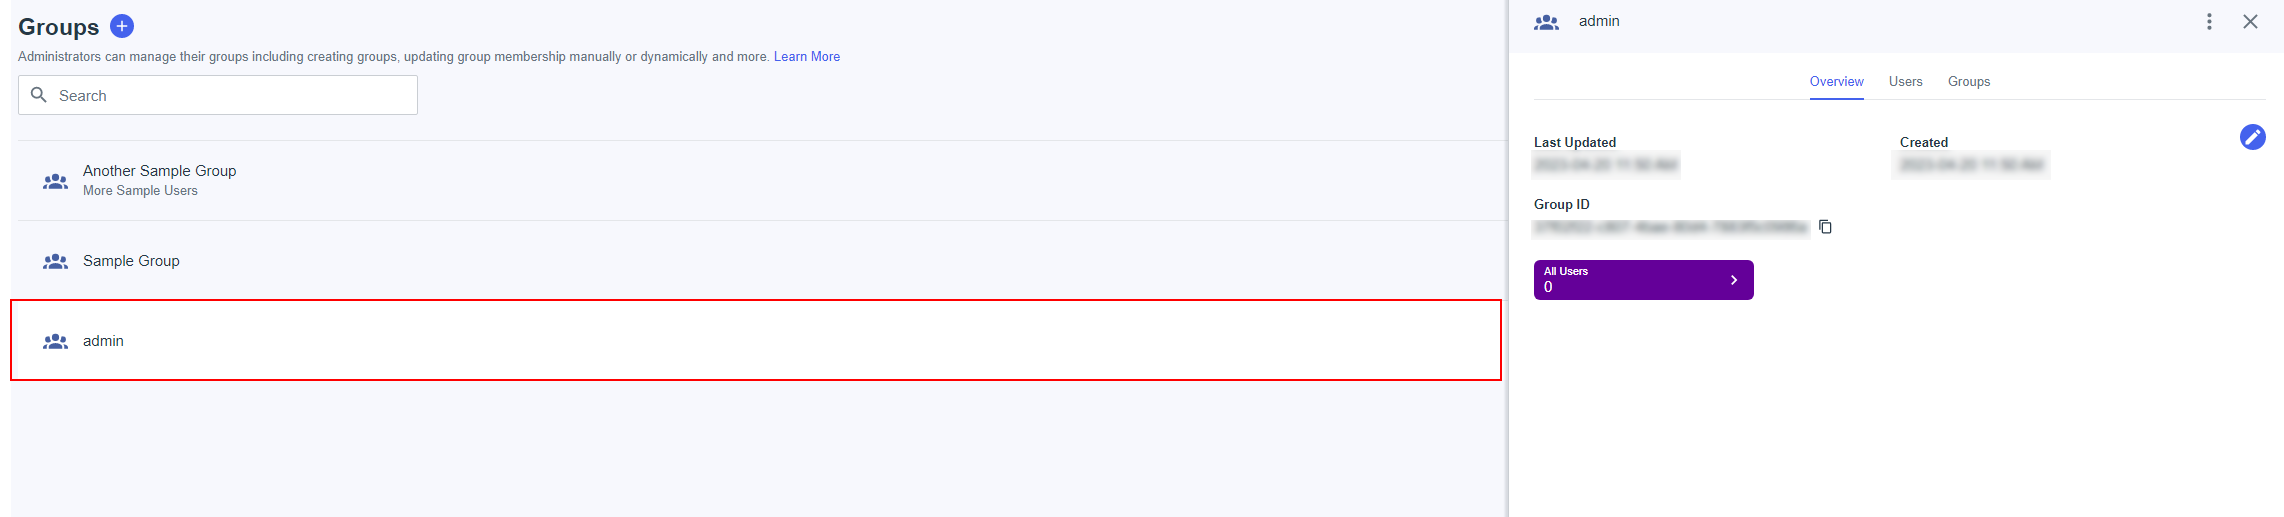
Select the name of the group you just created and want to add users to.
Add Users Individually
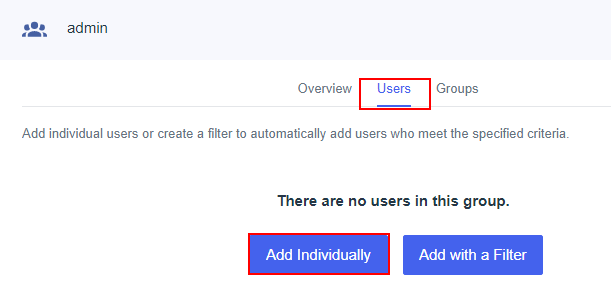
You can add the users individually by manually selecting each person.
-
Select the Add Individually button.
-
Individually select each person to be added as a user.
Add Users with a Filter
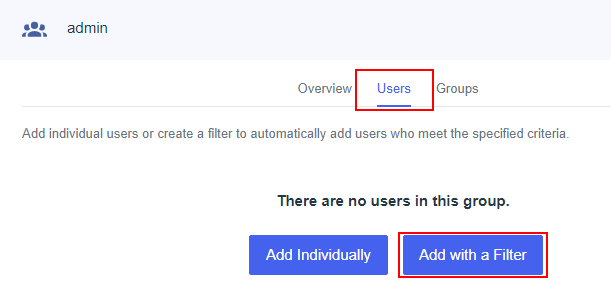
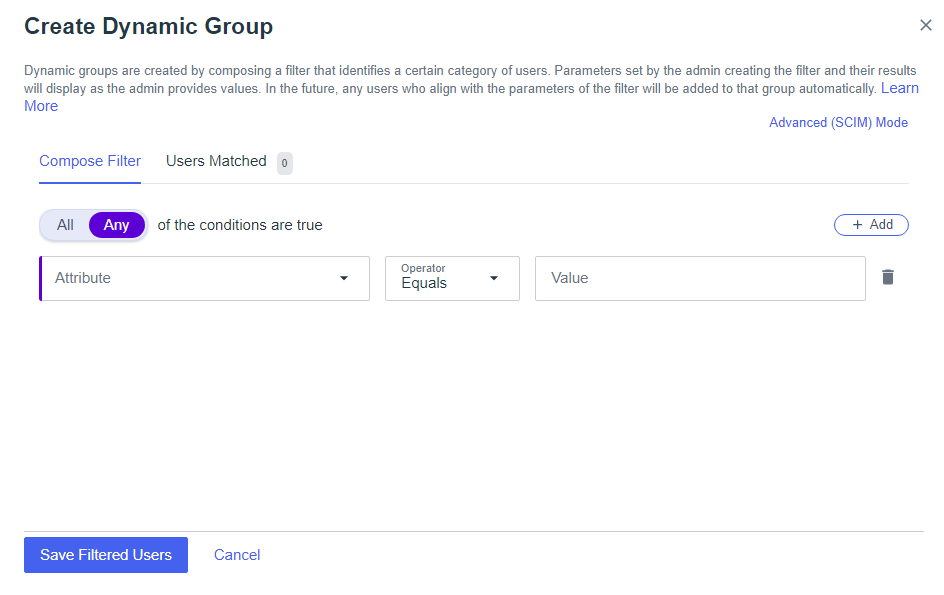
You can also add users by applying a filter.
-
Select Add with a Filter.
-
In the Create Dynamic Group create the filter attributes to extract your users.
-
Select all the users to add to the given group.
-
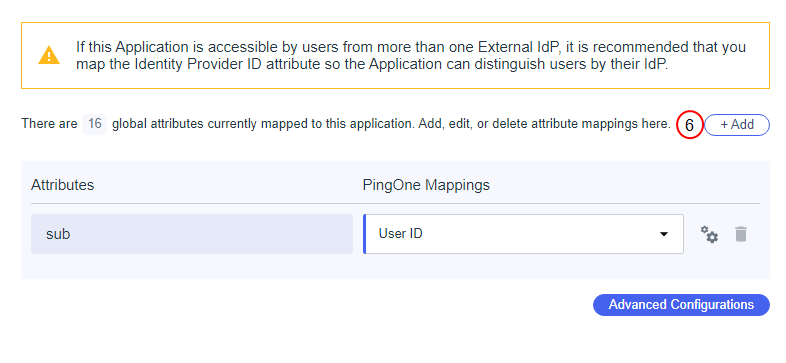
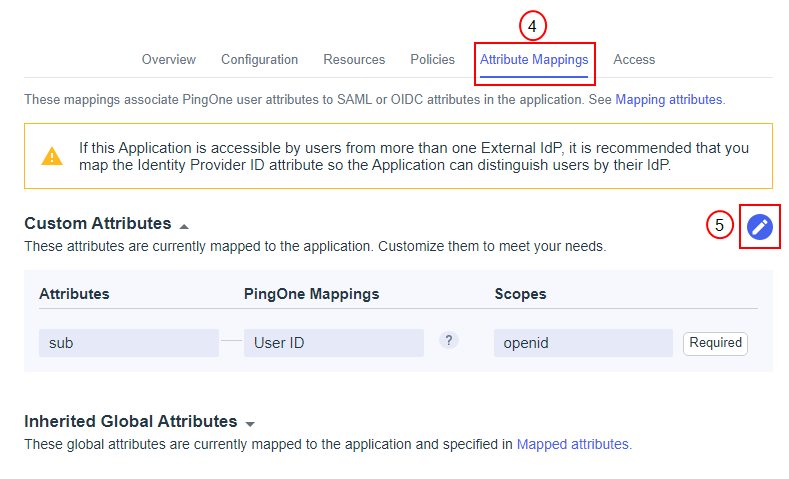
In PING go to Applications Applications and select Attribute Mappings.
-
Select the pencil icon to edit the attributes.
-
Select on the + Add button to add a new attribute.
-
Enter a name for the attribute.
For example, group, and map that to the group names under the PingOne Mappings.
-
Go back to Smart Flows and configure the Single Sign-On Connector, see Configuring Microsoft Entra ID for Single Sign-On for more details.