Creating a ConsignO Cloud Connector
The Create connector wizard guides you through the configuration when creating a connector. You can only create one ConsignO Cloud type connector.
You can only create a ConsignO Cloud connector if you have a ConsignO Cloud license.
-
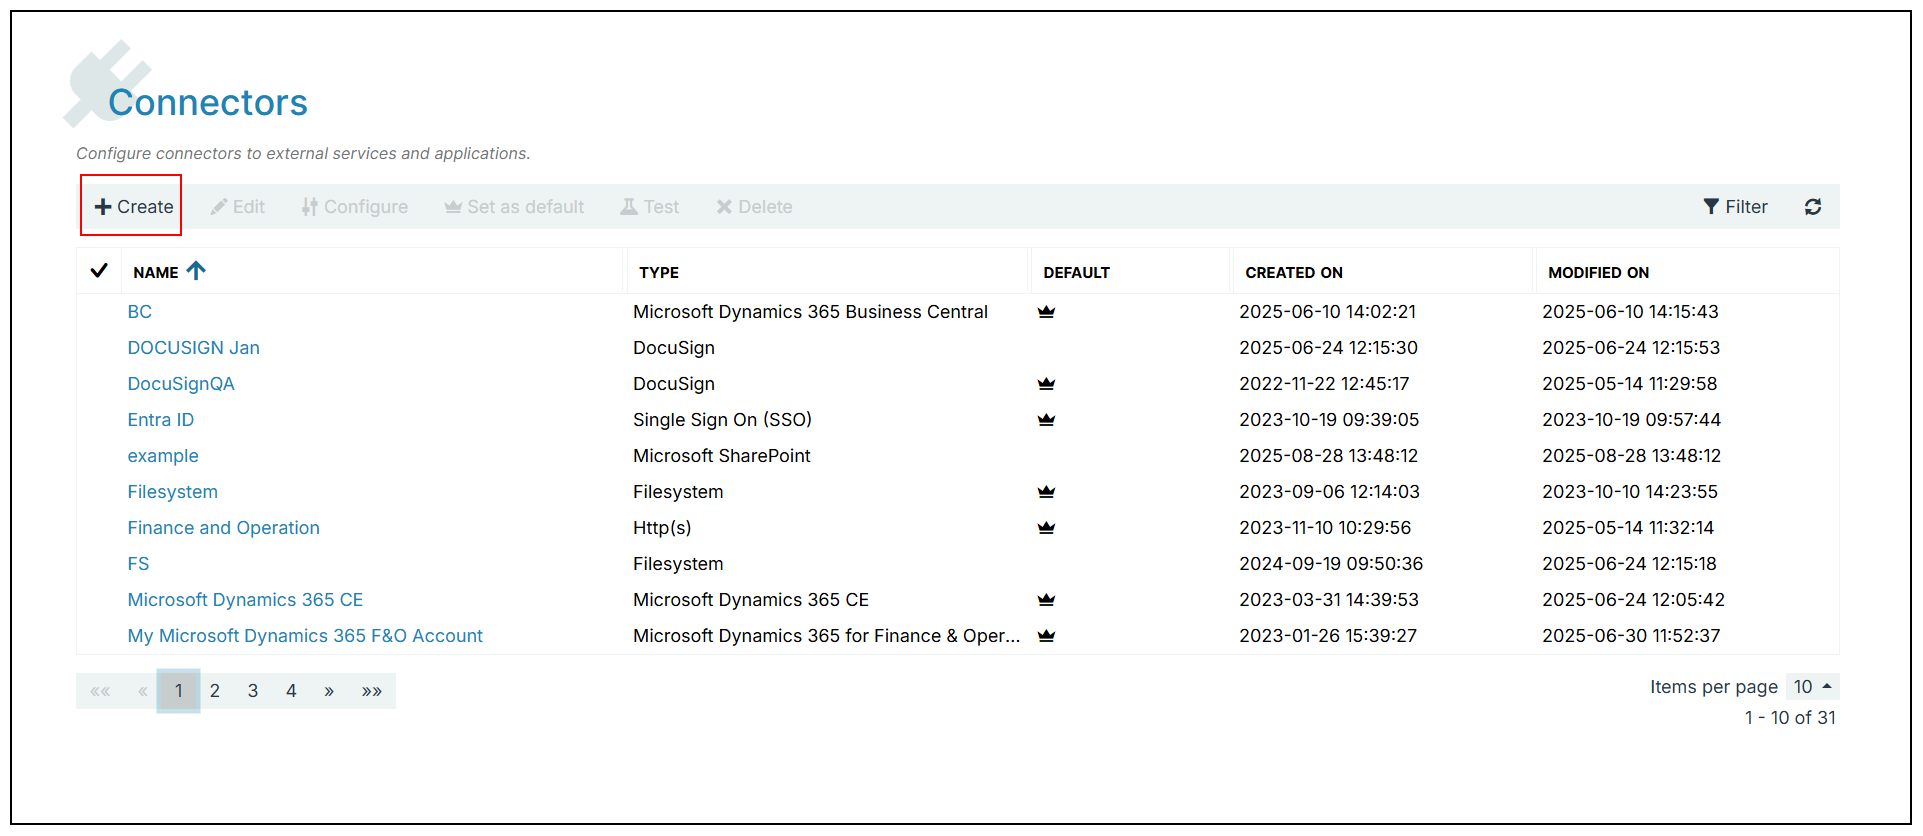
In Project Console, select Control Panel > Connectors > +Create.
-
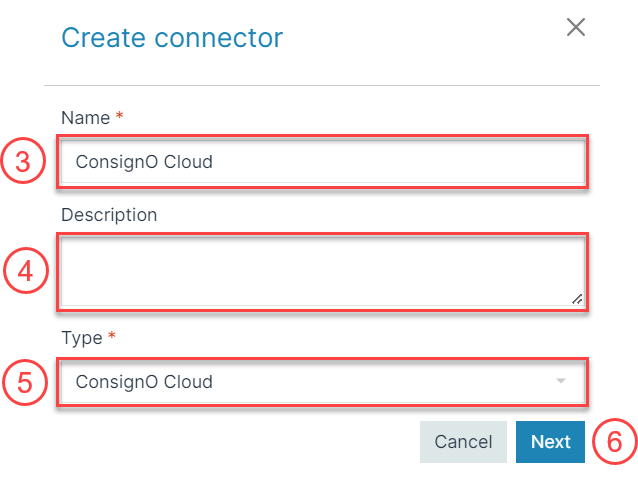
In the Name field, input the name of your connector.
-
(Optional) In the Description field, input a description for your connector.
-
In the Type dropdown menu, select ConsignO Cloud.
-
Select Next.
-
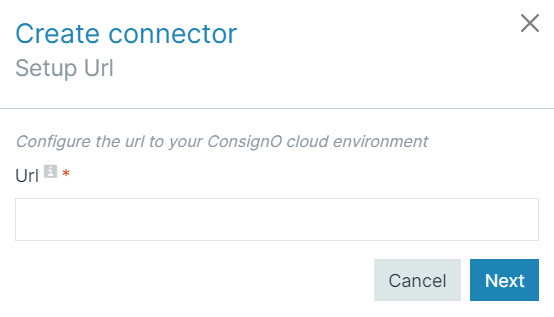
In the URL field, input the ConsignO Cloud environment URL.
-
Select Next.
-
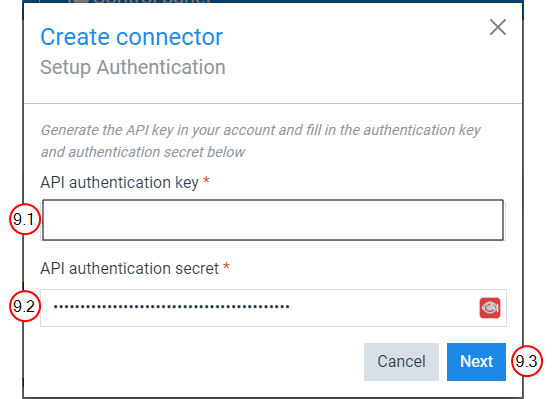
To set up authentication, generate an API key in your account.
-
Input the Smart Form authentication key.
-
Input the Smart Form authentication secret.
-
Select Next.
-
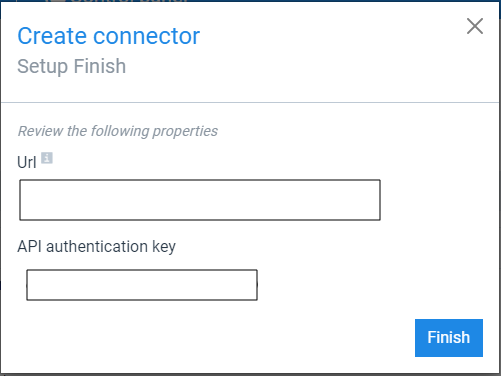
The image below does not include text in the field for privacy purpores. Your Create connector Setup Finish window will have text in the URL and API Authentication key fields.
-
Select Finish.
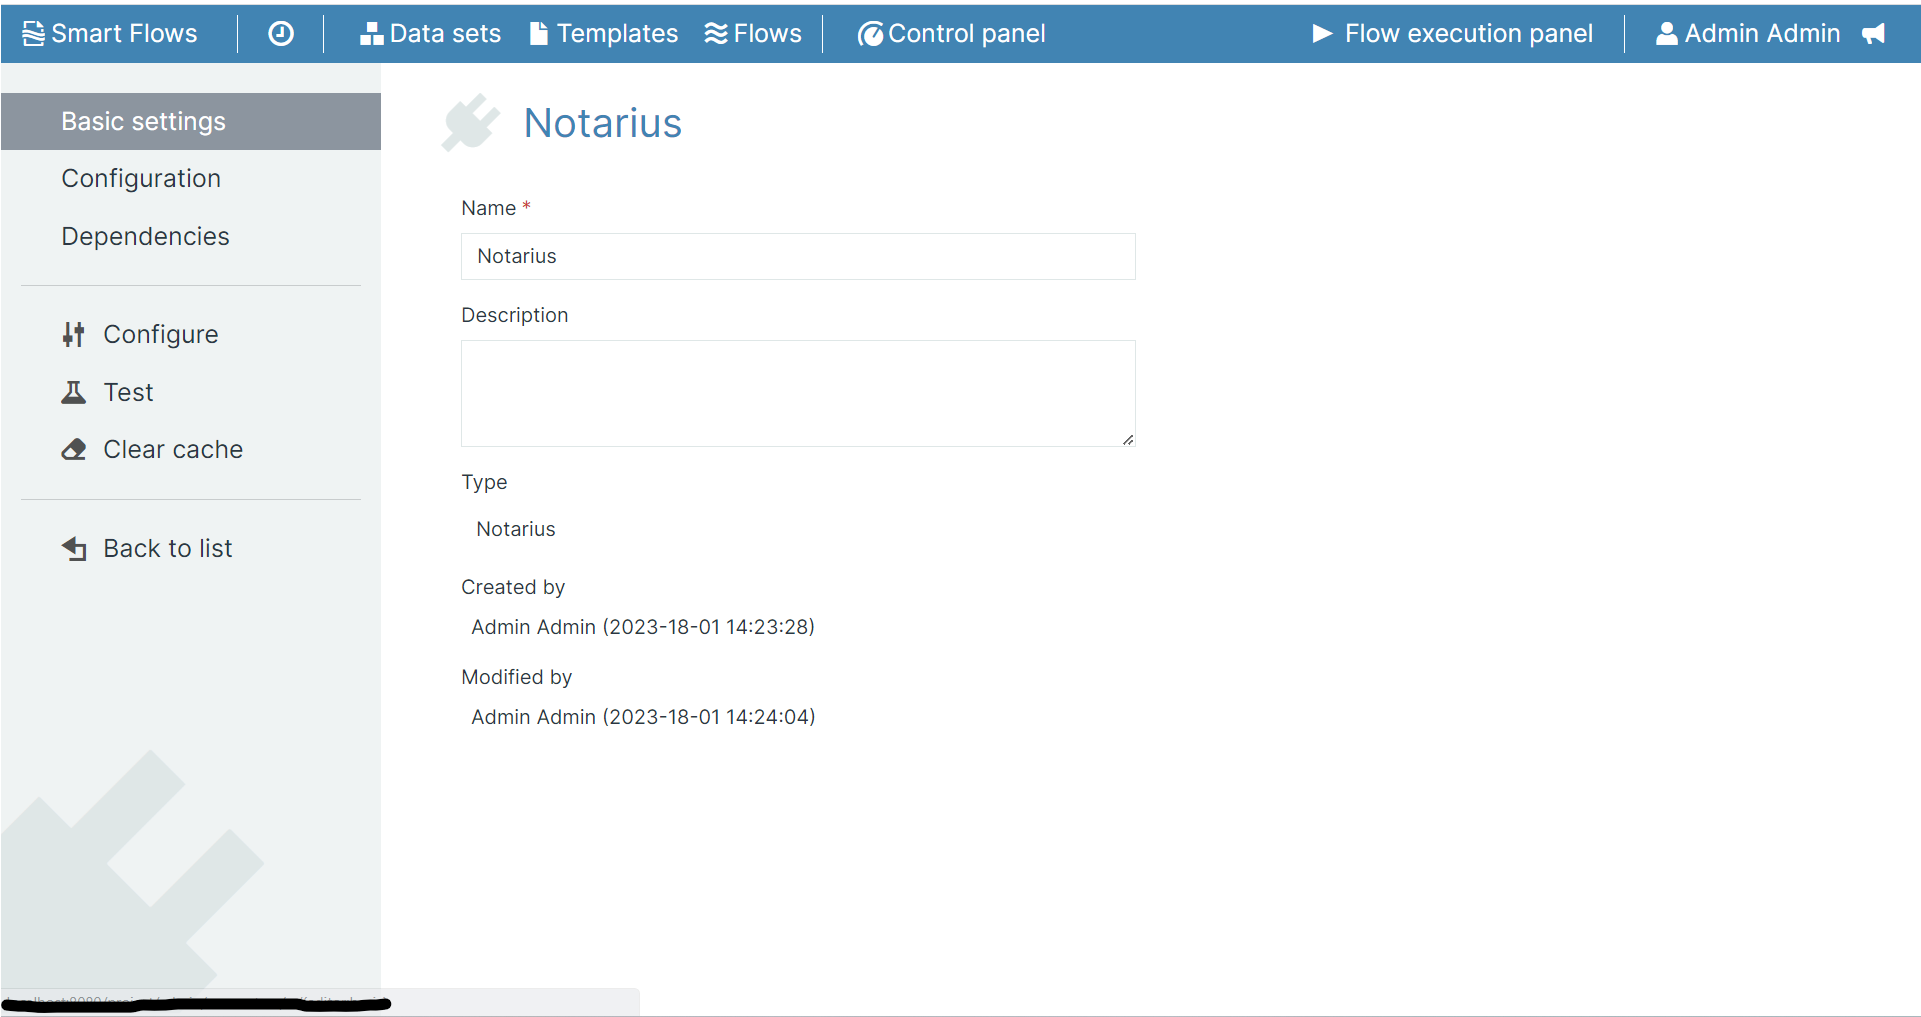
Now you can see a detailed view of the new ConsignO Cloud connector.
Testing a ConsignO Cloud Connector
-
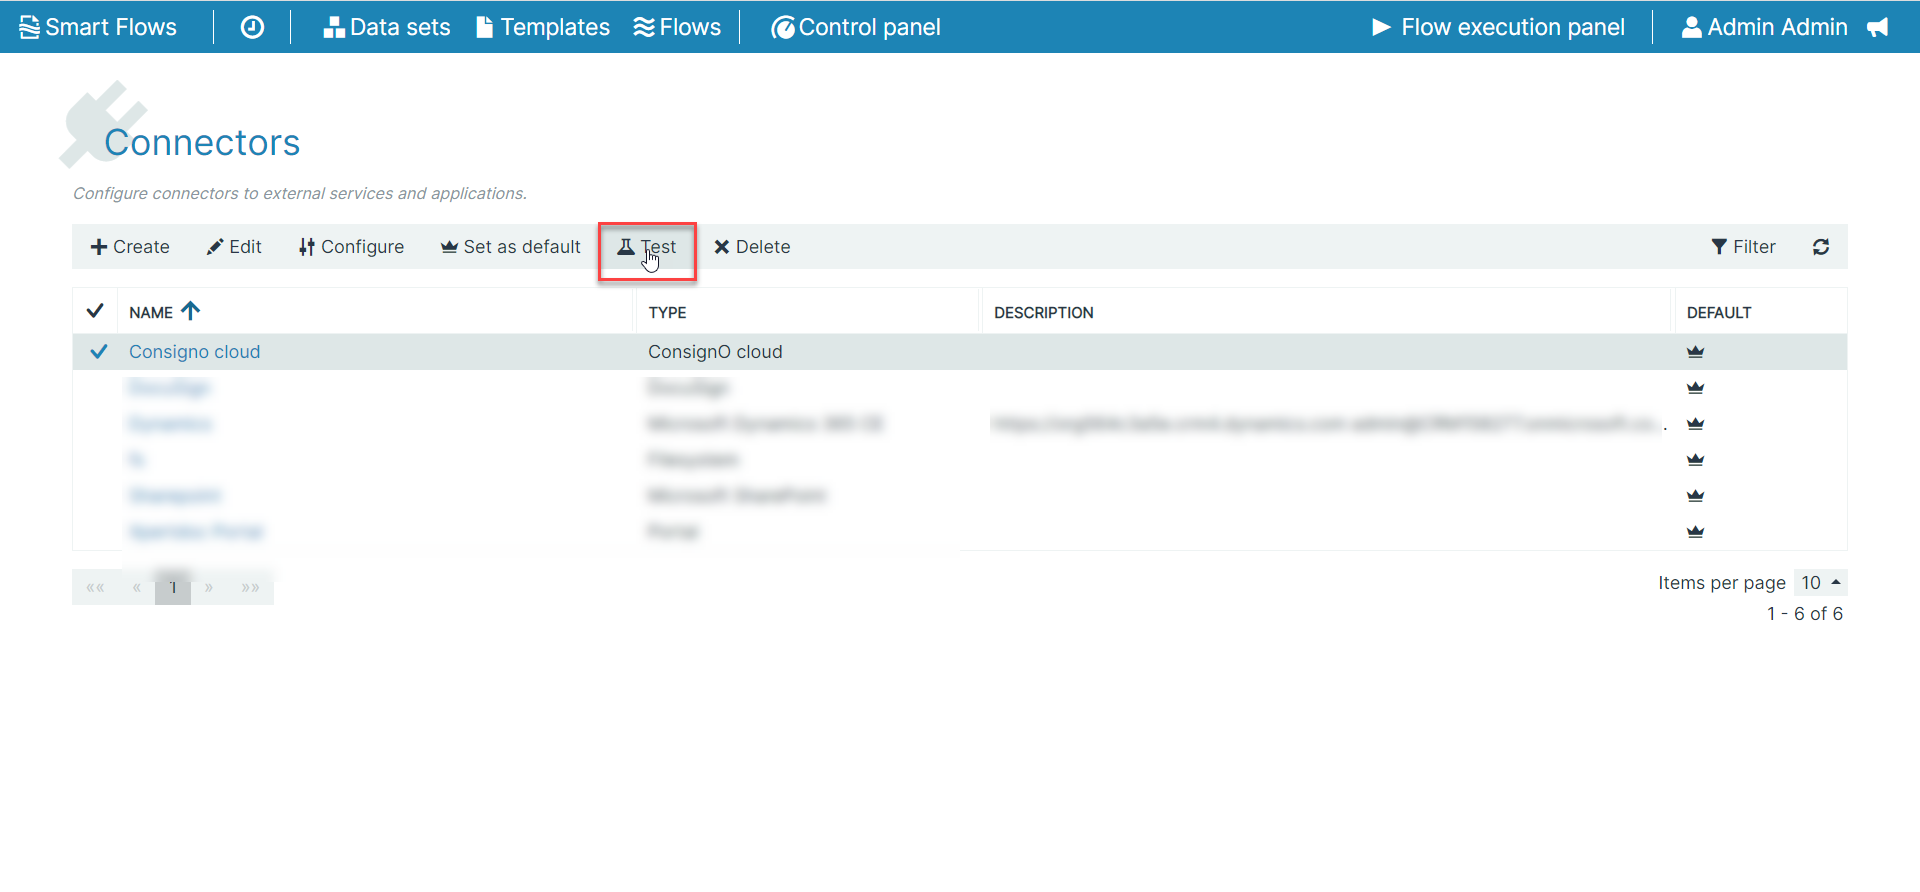
In the Project Console, select Control panel > Connectors > select the ConsignO Cloud connector.
-
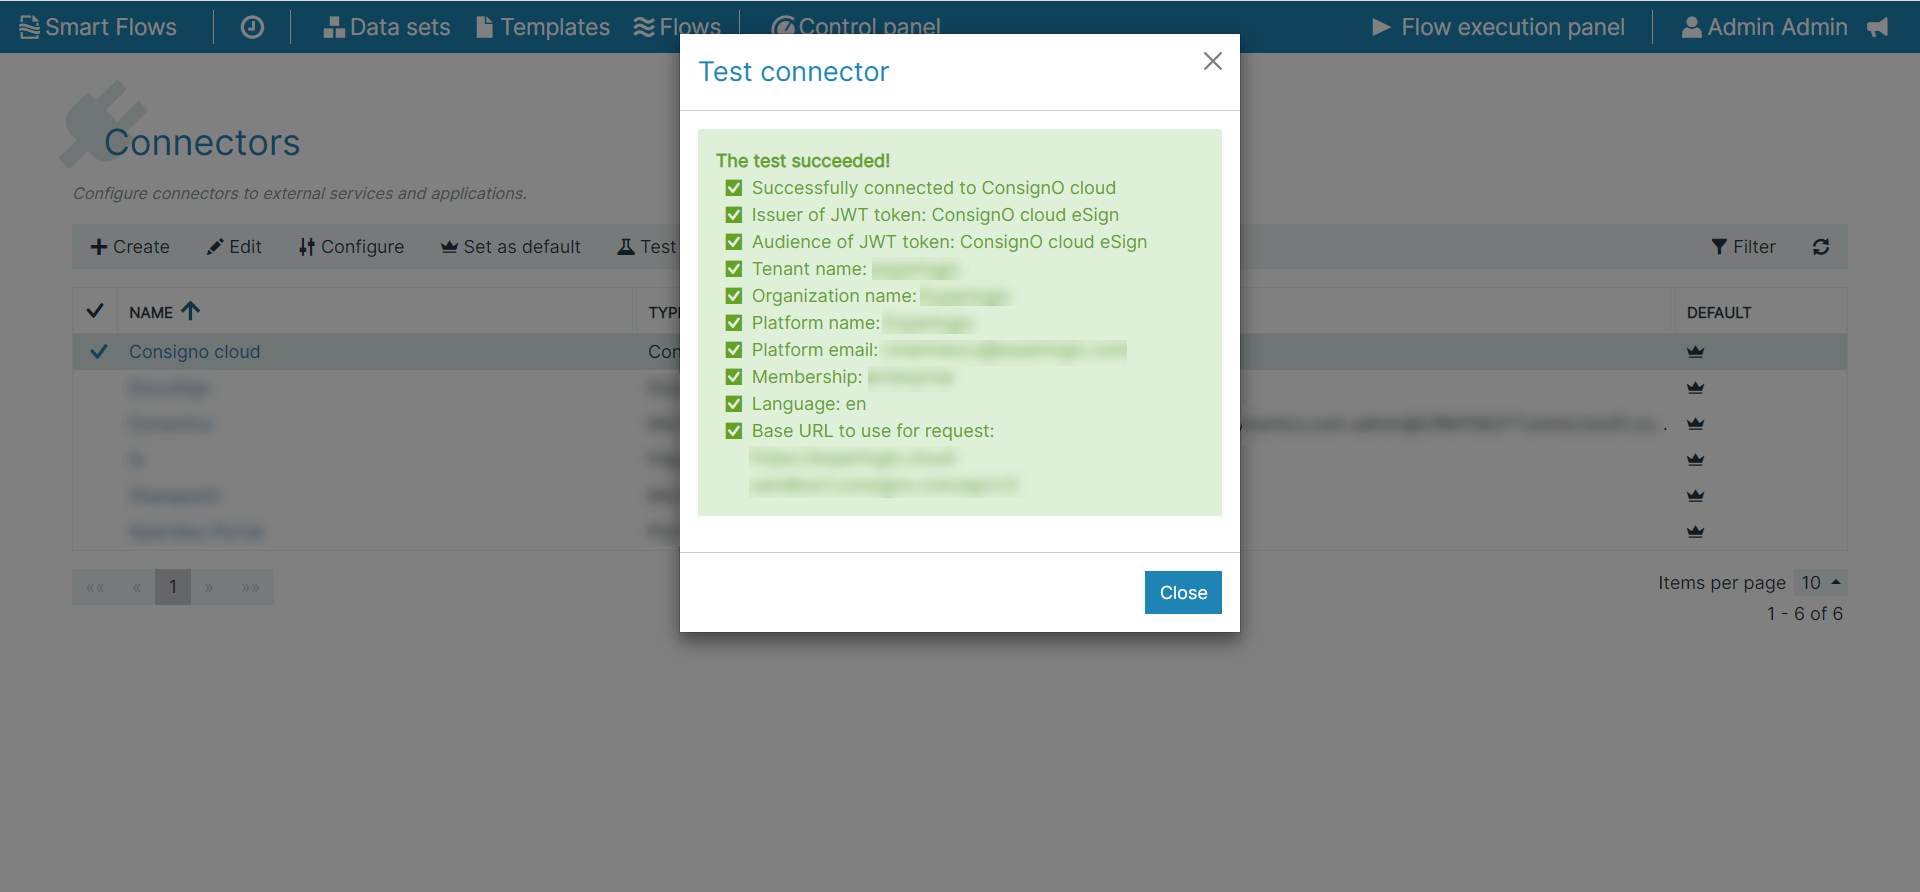
Select Test.
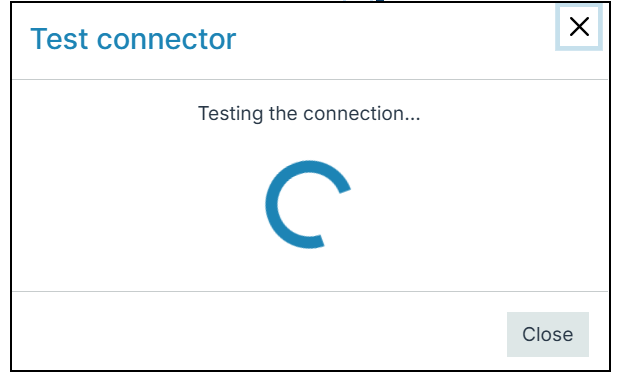
When the testing process completes, a success message displays in green stating The test succeeded!