
When creating an Xpertdoc Portal connector, the Create connector wizard guides you through the configuration. You can add multiple Portal-type connectors; however, you must make one of your Portal Connectors the Default Portal connector.
Create Xpertdoc Portal connector in Project Console
-
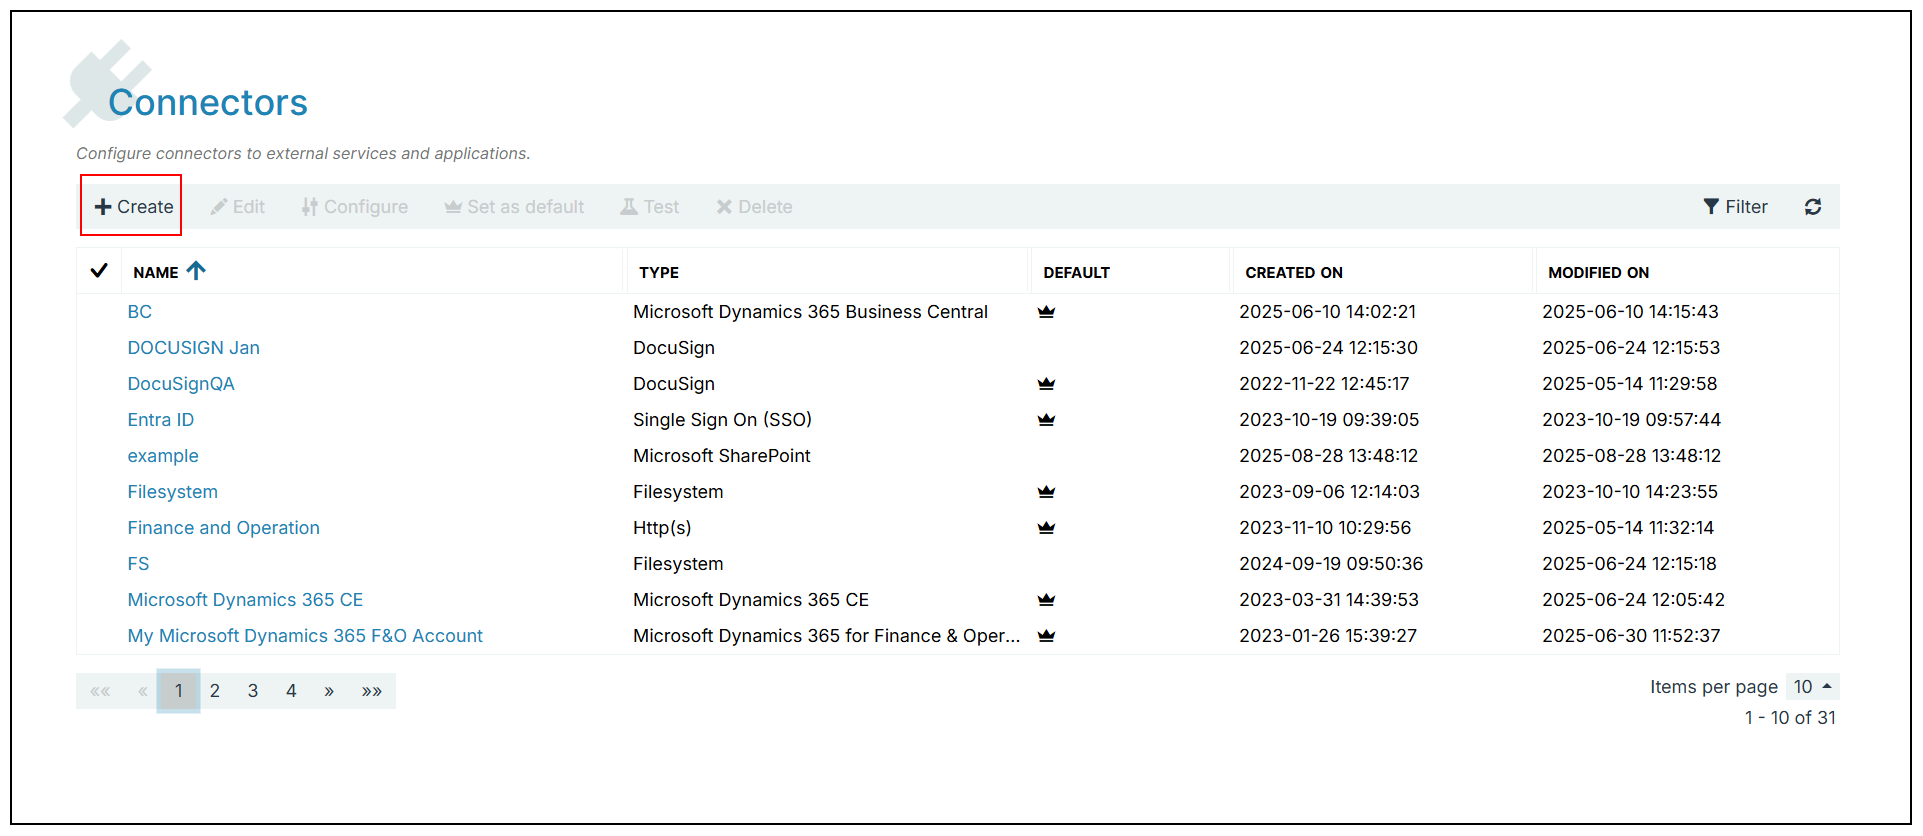
In the Project Console, navigate to Control panel > Connectors > +Create.
-
In the Name field, input the name for your Portal connector.
-
(Optional)In the Description field, input a description for your Portal connector.
-
In the type dropdown menu, select Portal.
-
Select Next.
The Create connector Portal instance window displays.
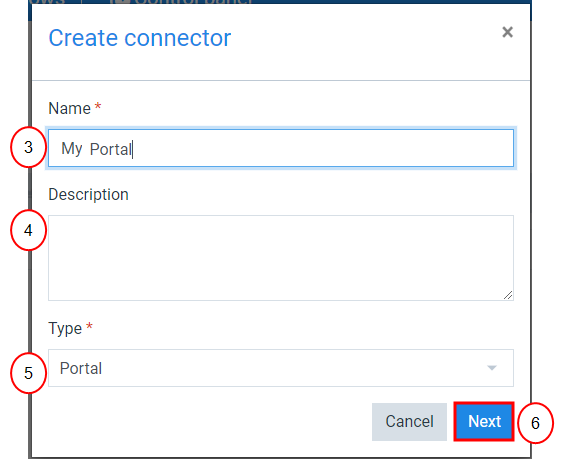
To configure a non-default Portal connector, select Other in the Portal instance dropdown menu.
-
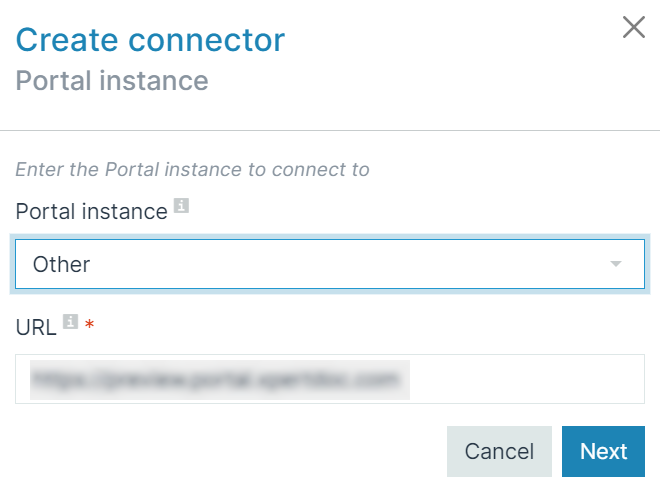
In the Portal instance dropdown menu, select Default.
By default, the system uses the Portal instances hosted in the US. If you don't know the URL, please get in touch with your administrator or Experlogix support.
-
In the URL, enter the URL for your default portal instance.
-
Select Next.
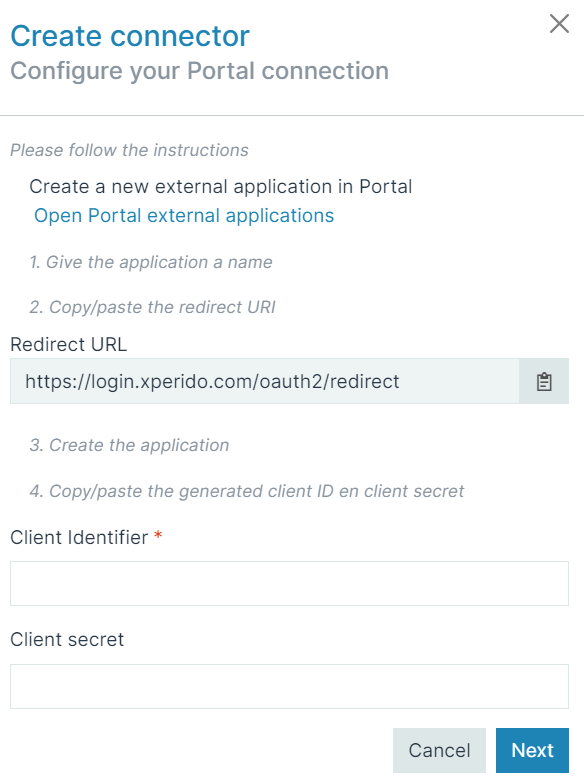
The Create connector Configure your Portal connection window displays.
-
Select Open Portal external applications.
Your Portal instance opens in a new window.
Collect your Portal External Application Data
If you have never logged into the Portal instance, you can use the Want to Register button to create a login.
-
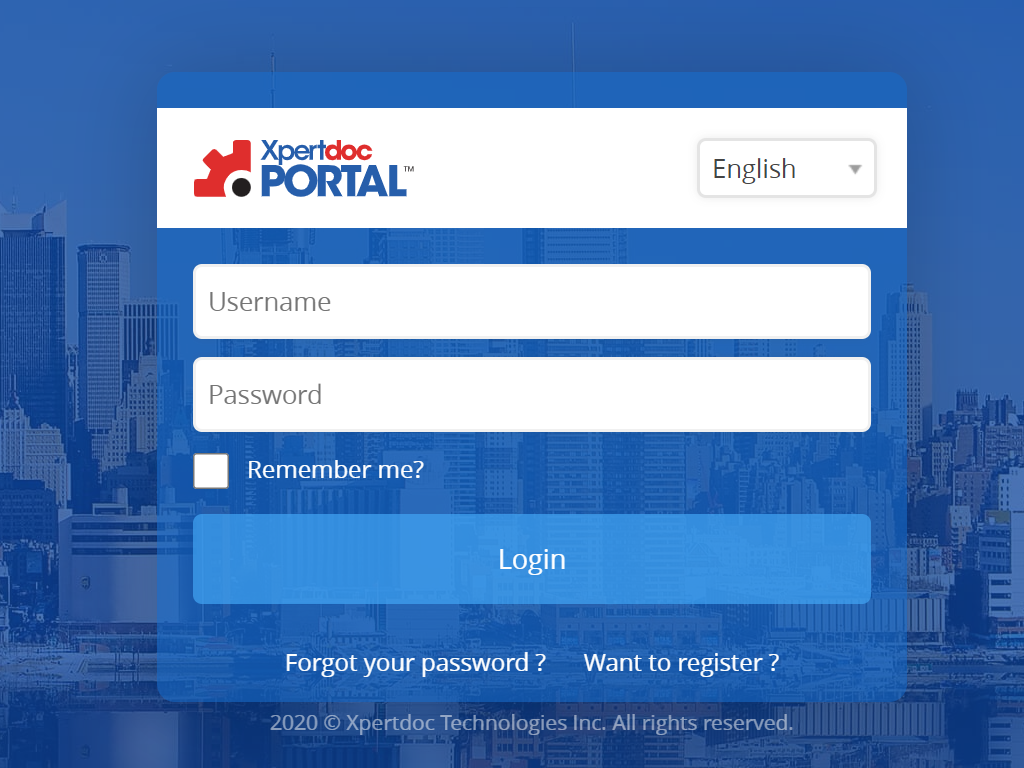
Log in to your Portal instance.
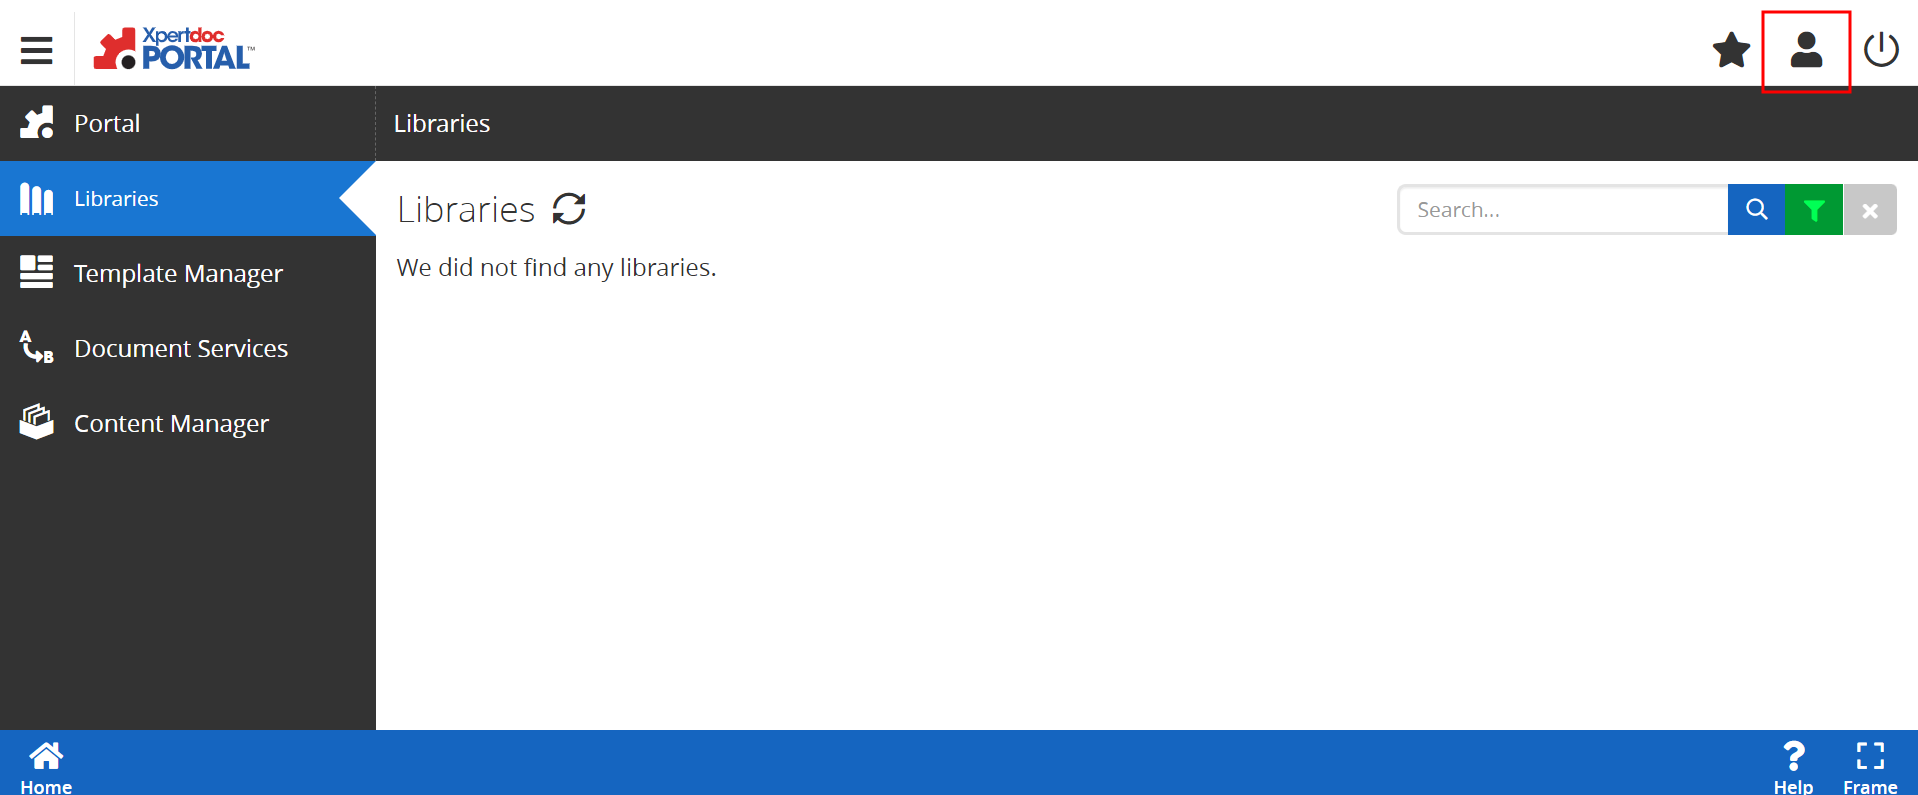
The Libraries page displays.
-
In the top right, select the user silhouette.
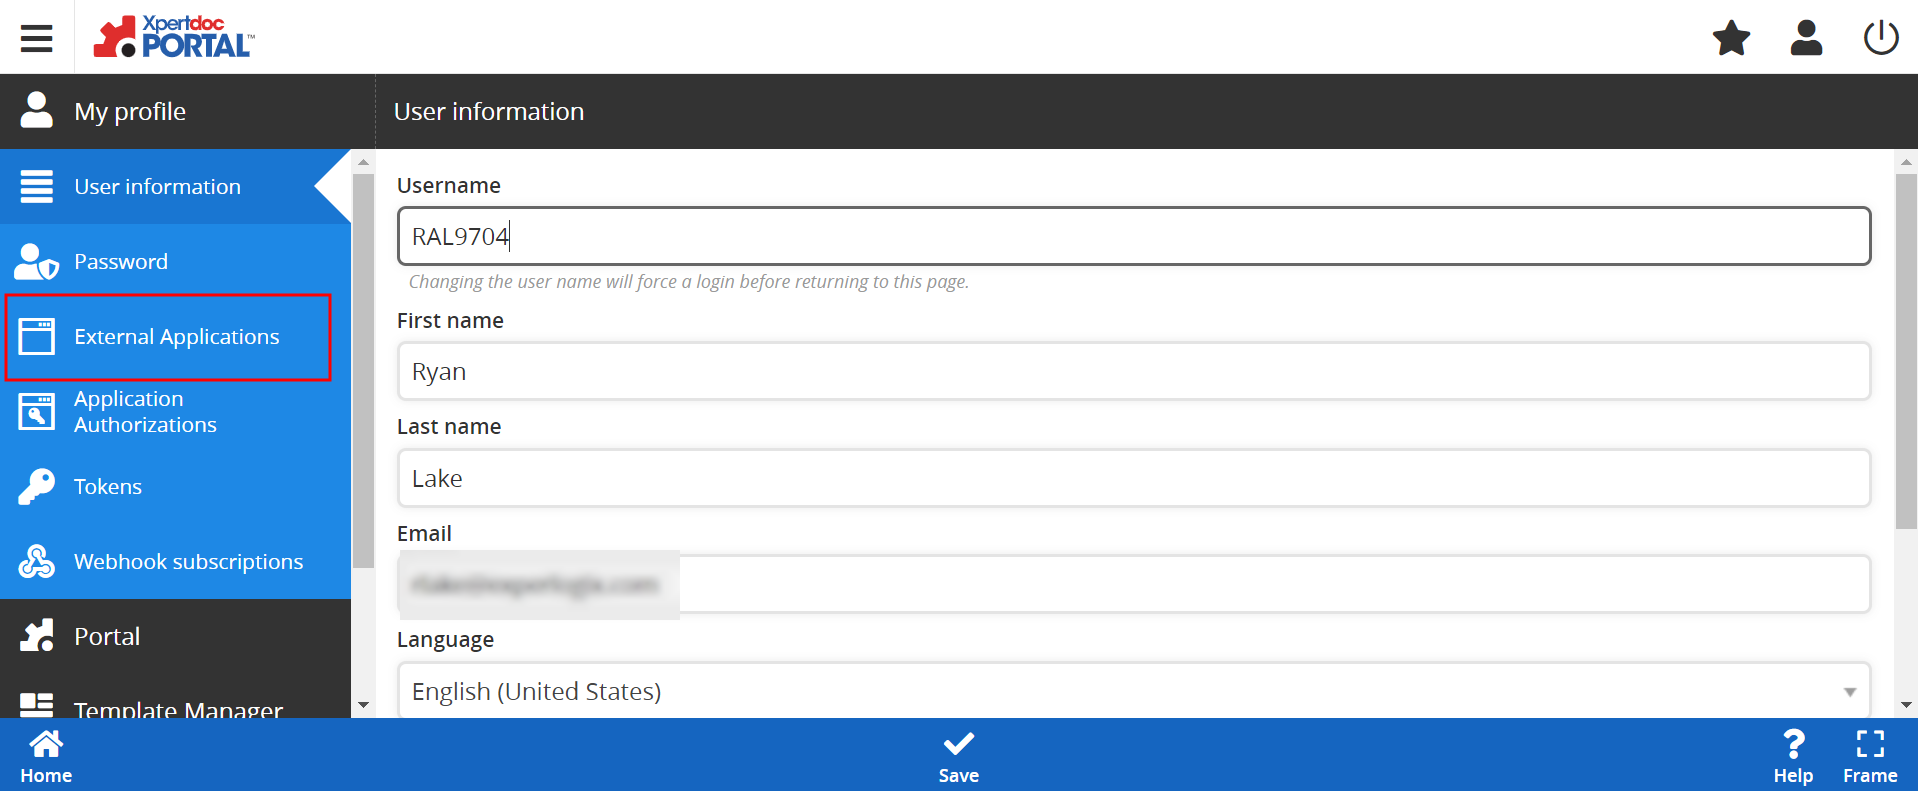
The My Profile side navigation displays.
-
Select External Applications.
-
Collect your External Application information.
-
If you have an existing Portal External Application you wish to use, continue to Step 8.
-
If you do not have an existing Portal External Application, skip to Step 5.
-
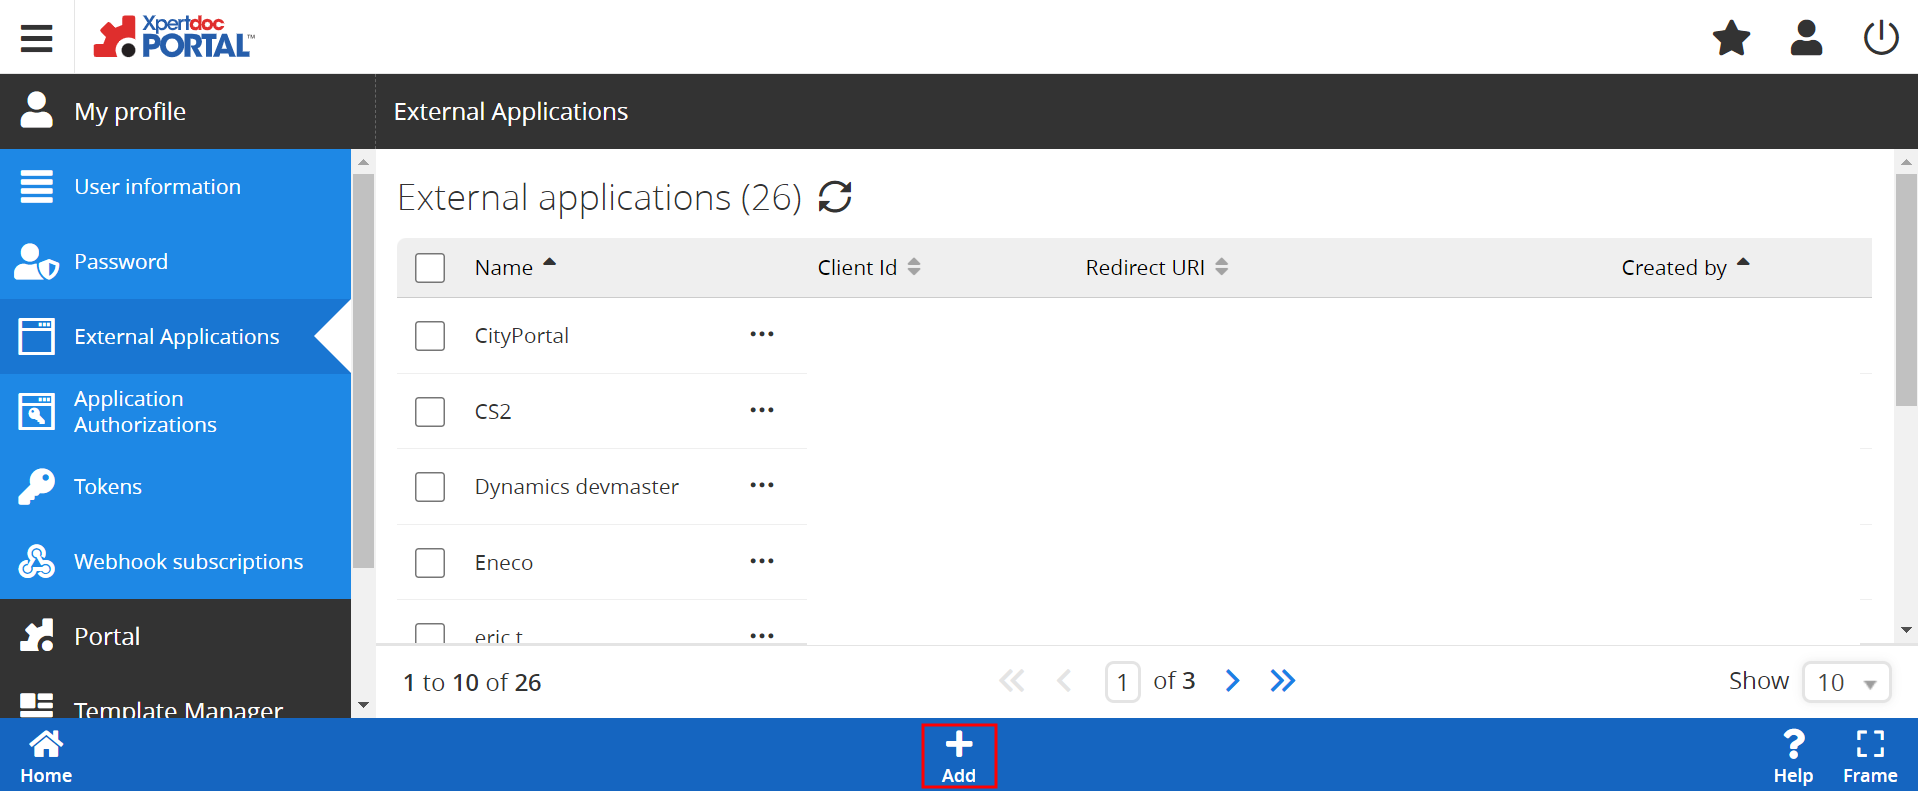
In the External Applications List view, select the +Add button.
The New external application page displays.
-
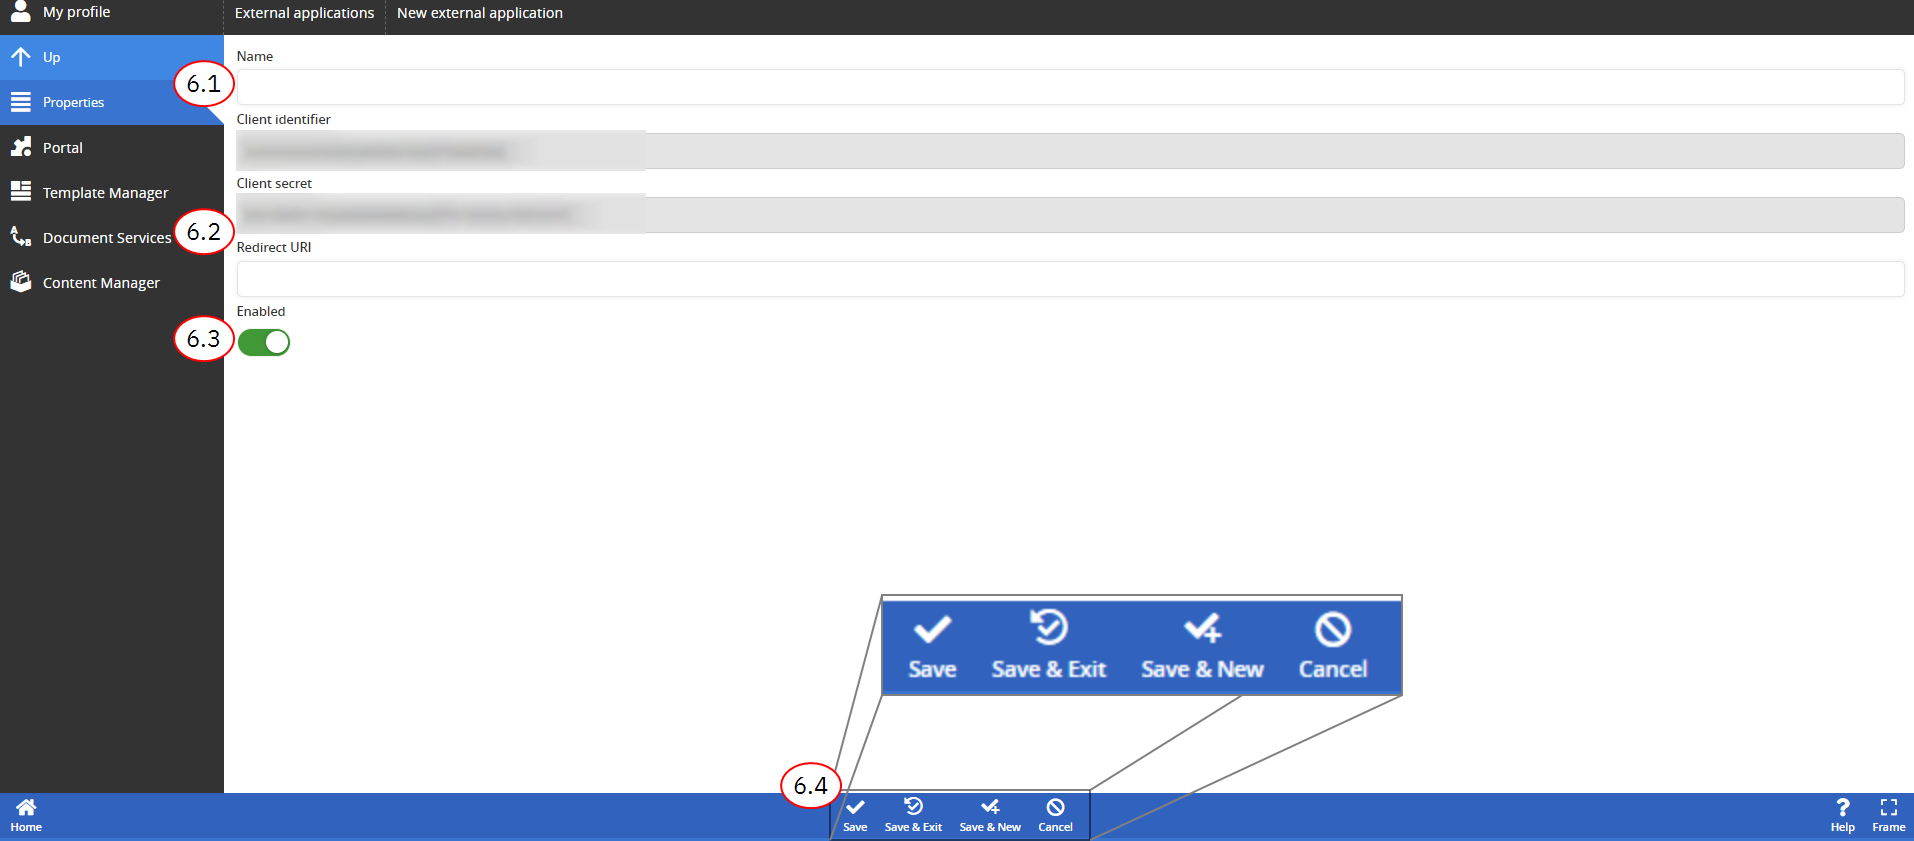
Configure your new external application.
The system automatically creates your Client identifier and Client secret when you add a new external application.
-
In the Name field, input a name for your new external application.
-
In the Redirect URI, input your Redirect URI.
-
Ensure Enabled is toggled to the right.
-
Select Save.
You can copy and paste your Client identifier and Client secret into Notepad or a similar program.
-
Note the Client identifier, Client secret, and Redirect URI for your External Application. Continue to Step 1.
-
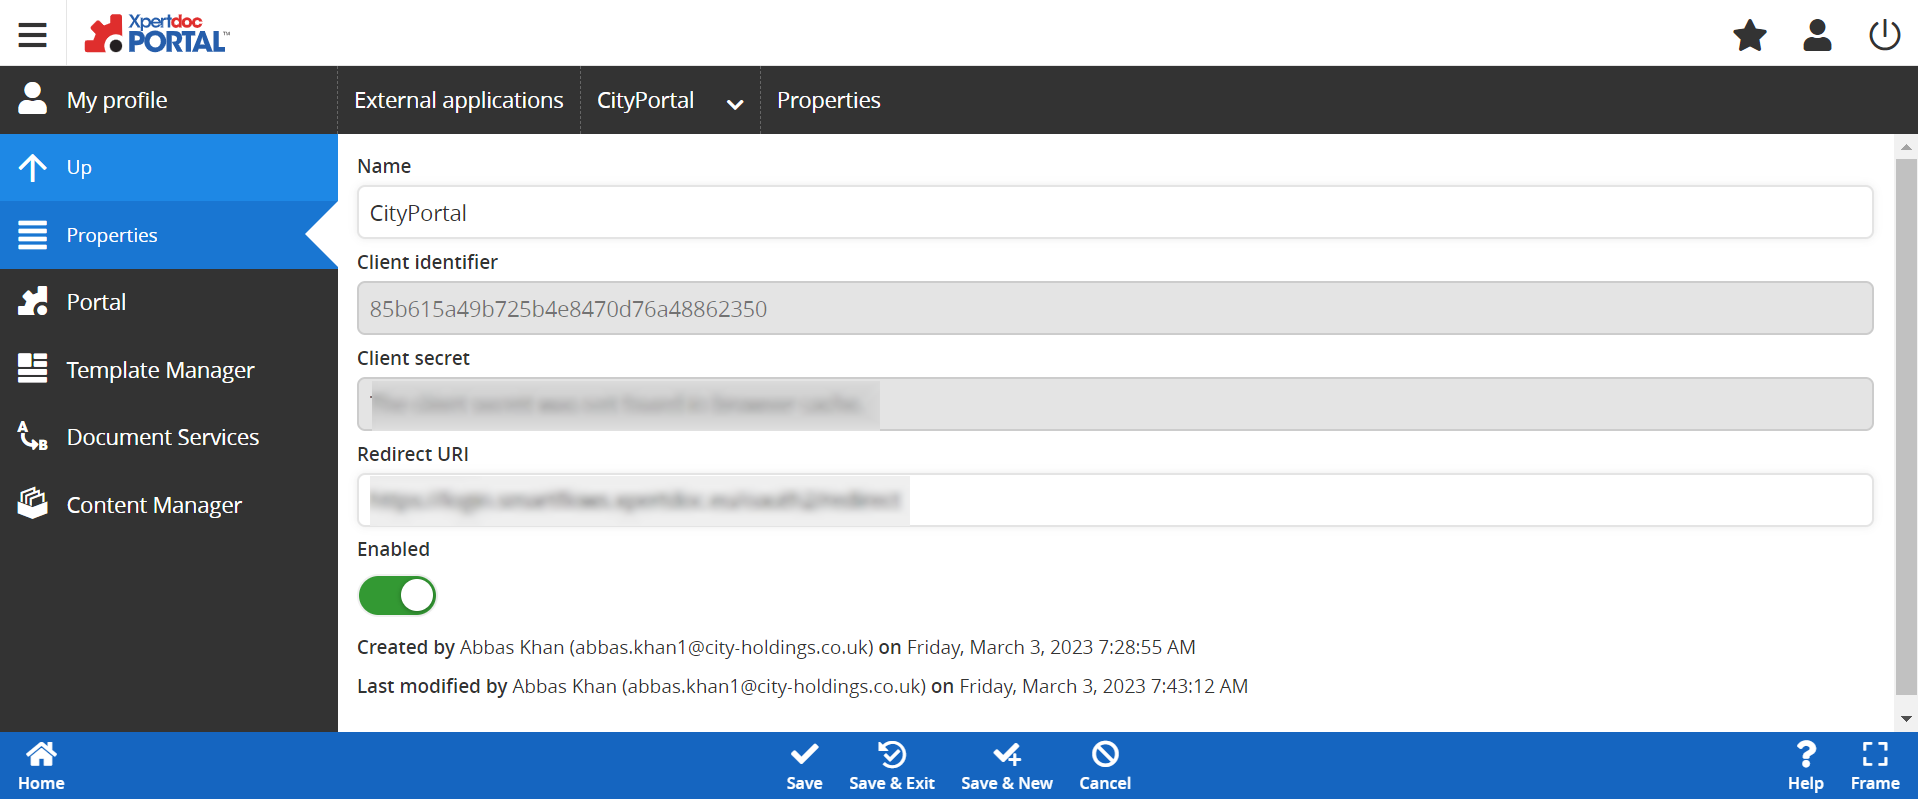
In the External Applications List view, select the Portal instance you wish to use for your connector.
The External Application Editor displays.
You can copy and paste your Client identifier and Client secret into Notepad or a similar program.
-
Note the Client identifier, Client secret, and Redirect URI for your External Application. Continue to Step 1.
Finish Xpertdoc Portal Connector Creation in Project Console
-
In Smart Flows, enter the information from your Portal’s External Application.
-
In the Redirect URL field, enter the Redirect URL from your External Application.
-
In the Client Identifier field, enter your Client Identifier for your External Application.
-
In the Client secret field, enter the Client secret value for your External Application.
-
Select Next.
-
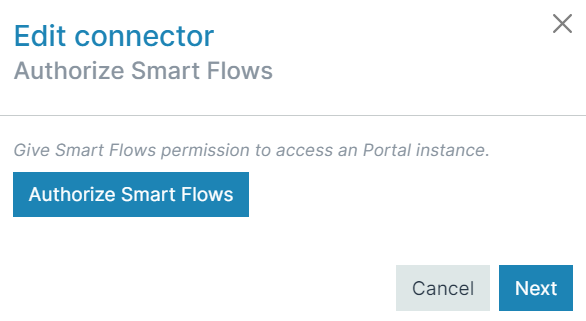
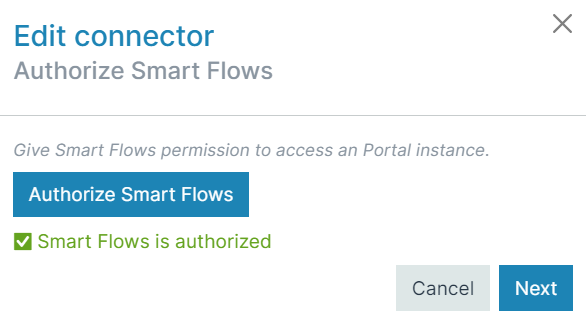
Select Authorize Smart Flows.
-
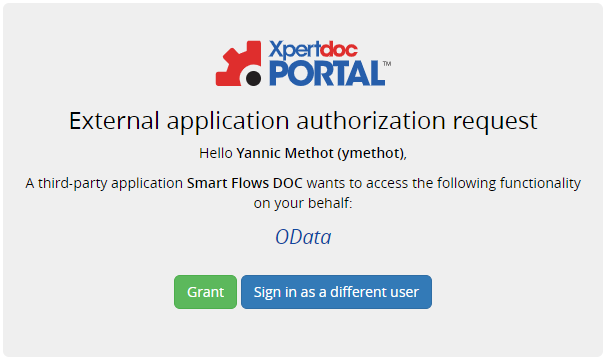
Select the Grant button to authorize the connection between Smart Flows and Xpertdoc Portal.
The system redirects you to Smart Flows. Under the Authorize Smart Flows button, Smart Flows is authorized and displays in green.
-
Select Next.
-
Select Finish.
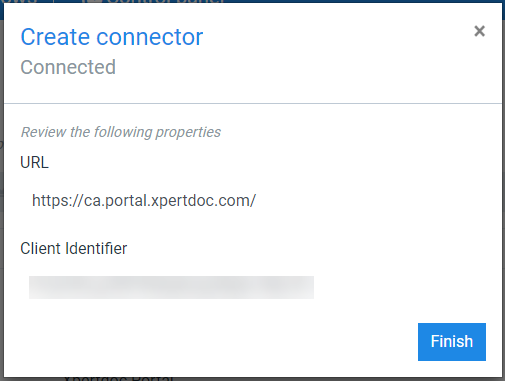
Congratulations, you have successfully created an Xpertdoc Portal connector. To see everything you can do with Experlogix Portal.