
The connector creation wizard guides you through the configuration when setting up a OneSpan Sign connector. You can have multiple OneSpan Sign-type connectors.
You must have access to a OneSpan Sign account to complete the connector creation in Smart Flows.
-
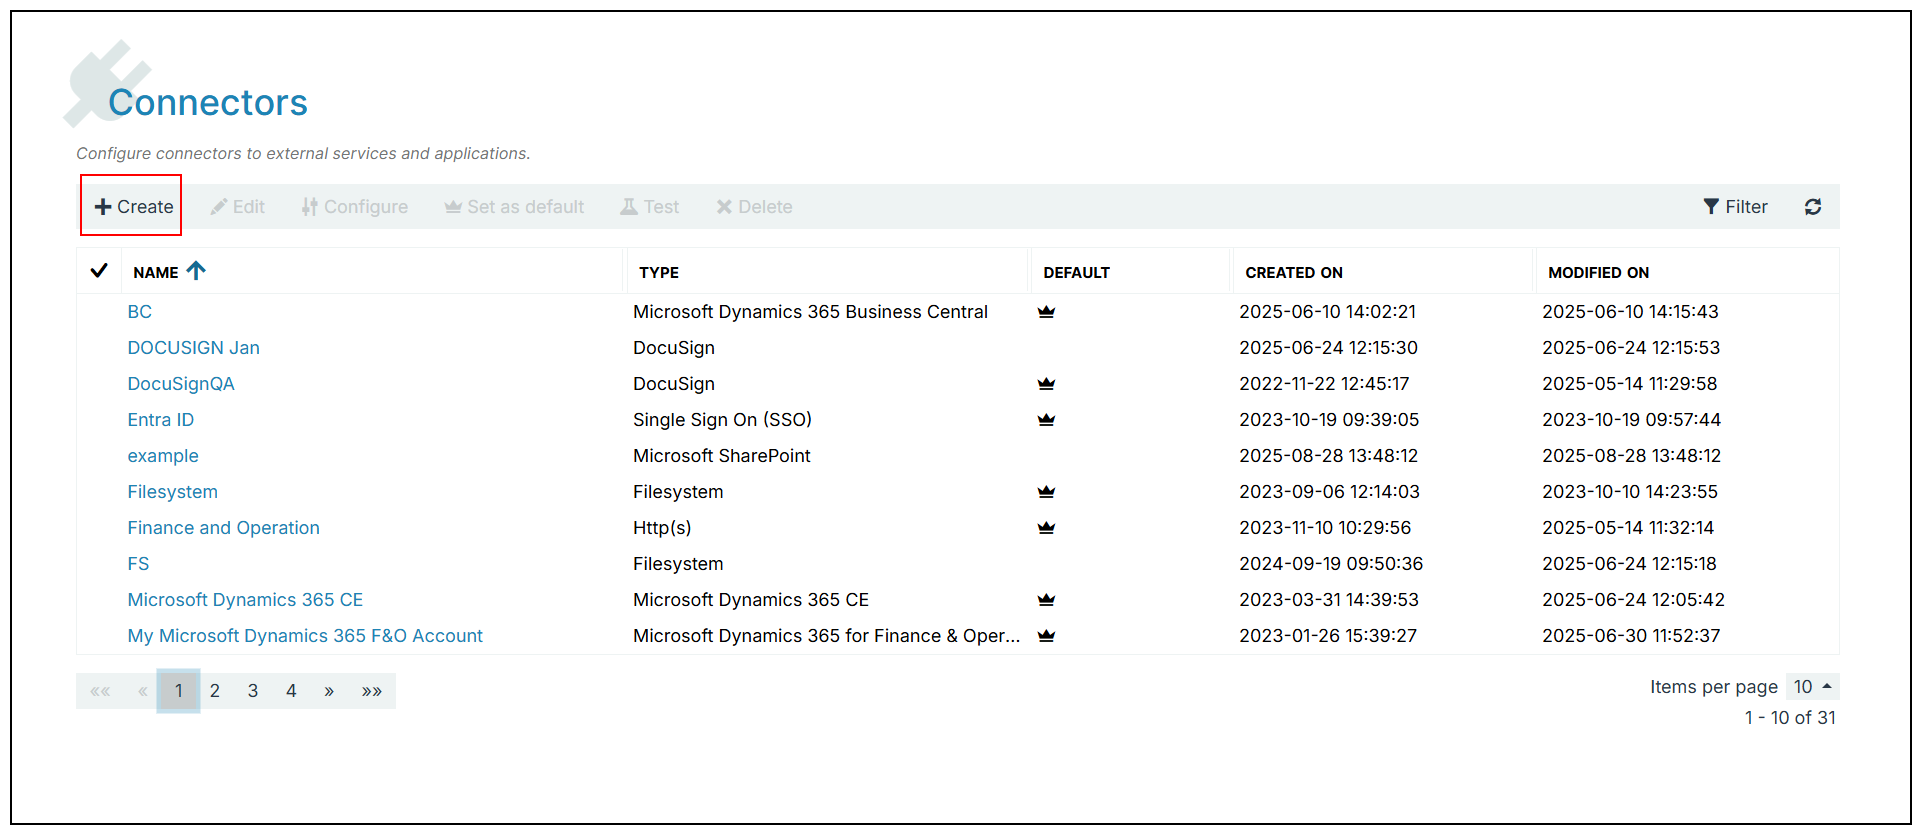
In the Project Console, navigate to Control panel > Connectors > +Create button.
-
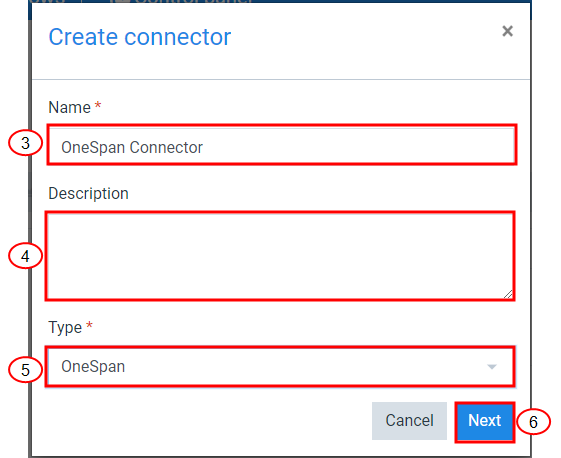
In the Name field, input the name of your connector.
-
(Optional) In the Description field, input a description for your connector.
-
In the Type dropdown menu, select OneSpan.
-
Select Next.
Standard OneSpan Sign URLs
-
Sandbox: https://sandbox.esignlive.com
-
Production: https://esignlive.com
Validate the URL with your OneSpan account manager to ensure you target the right environment.
-
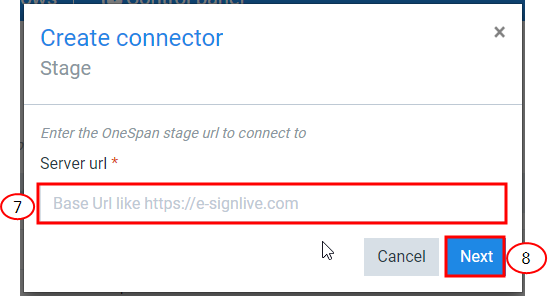
In the Server URL, input the URL for your OneSpan Sign environment, and select Next.
-
Select the Onespan admin link.
-
Login to OneSpan Sign with your credentials.
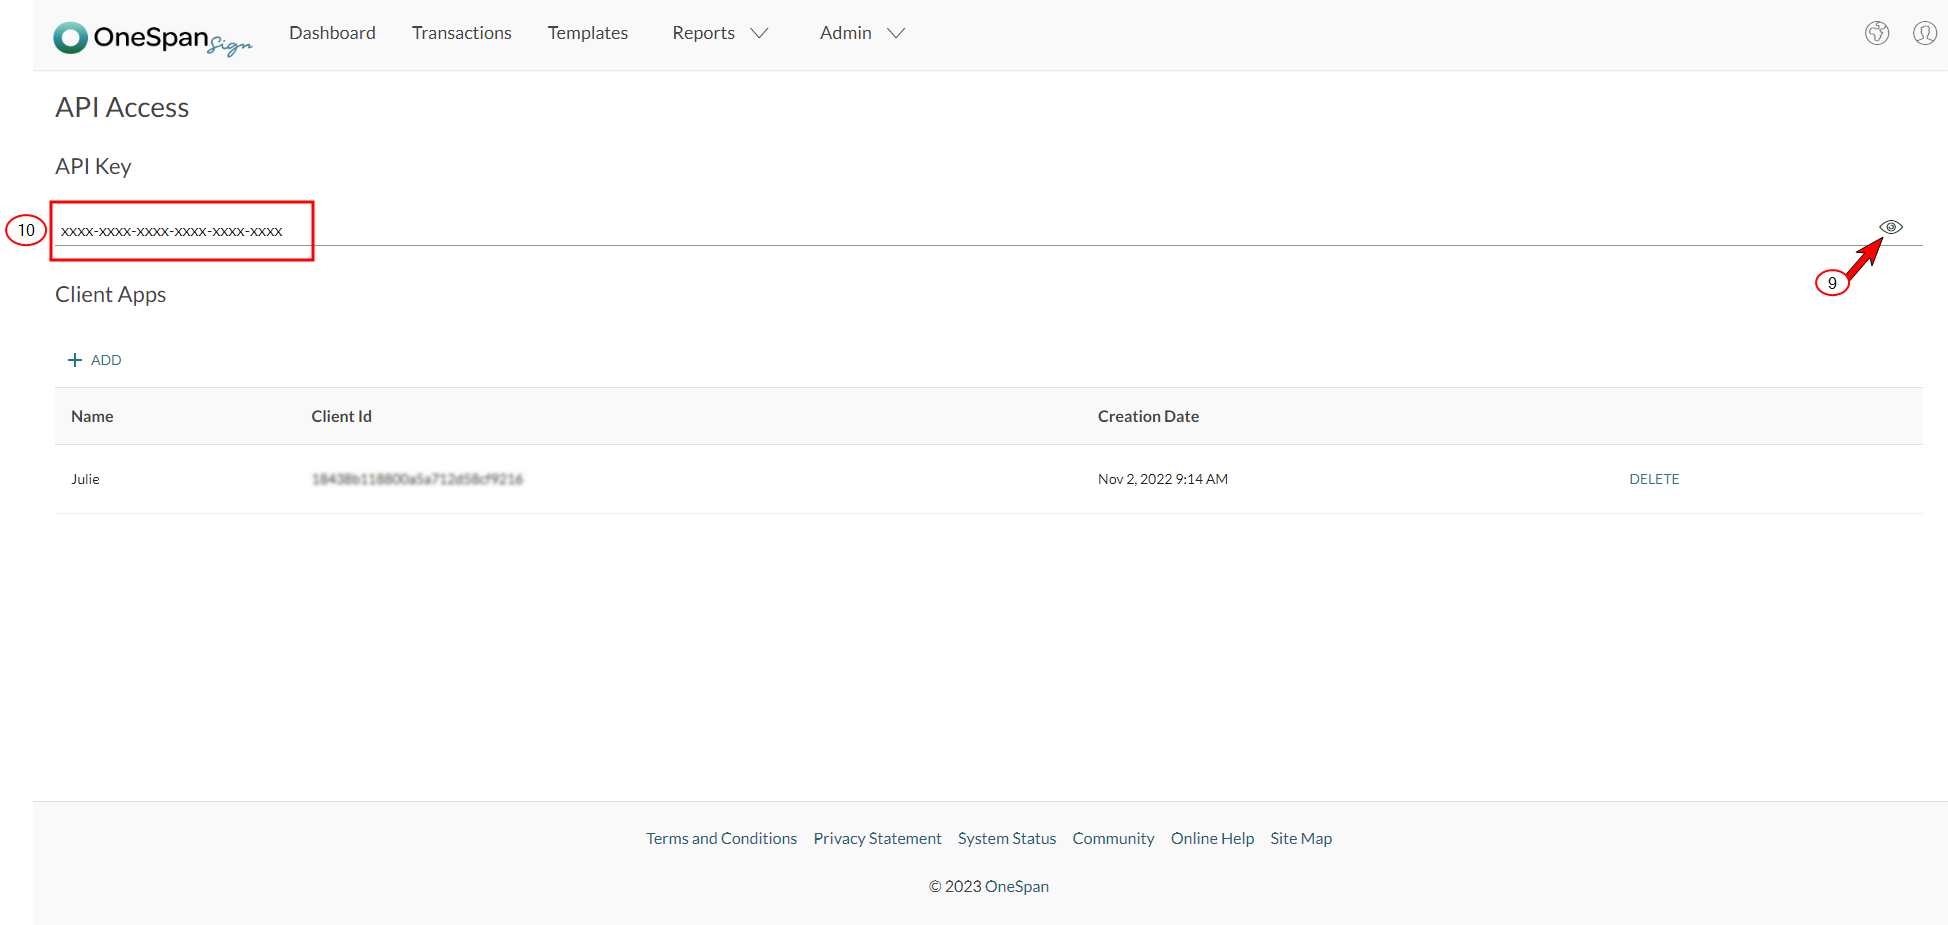
The OneSpan Sign API Access page displays.
By default, your API key is masked as an asterisk when you load the page in OneSpan Sign. You must unmask the API so you can copy it into Smart Flows.
-
Select the unmask button to expose your API Key.
-
Select and copy your API key.
-
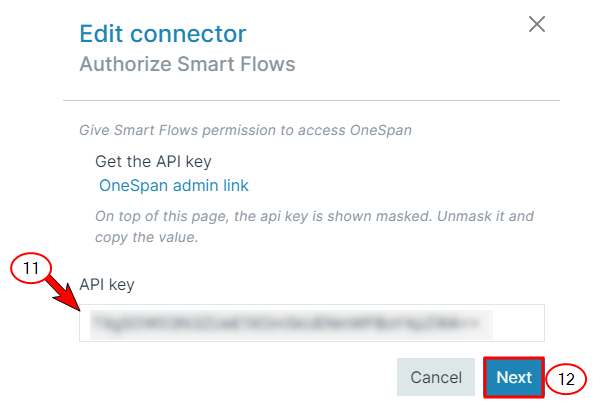
In Smart Flows, in the API key field, paste your OneSpan Sign API key, and select Next.
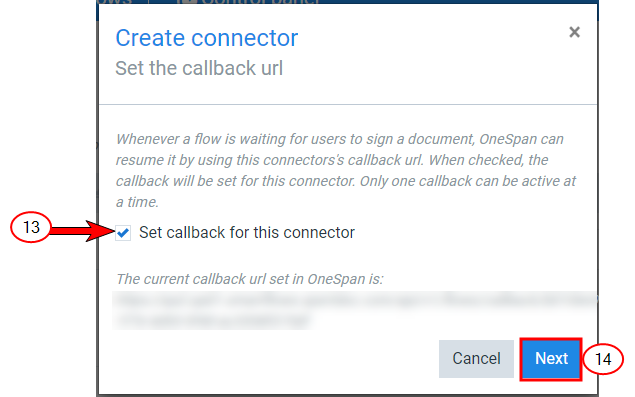
The Create connector Set the callback url window displays.
-
(Optional) To give Smart Flows the ability to be notified when a document is signed, select the checkbox for Set callback for this connector.
The system automatically configures the callback properly on the OneSpan Sign side.
-
Select Next.
-
Select Finish.
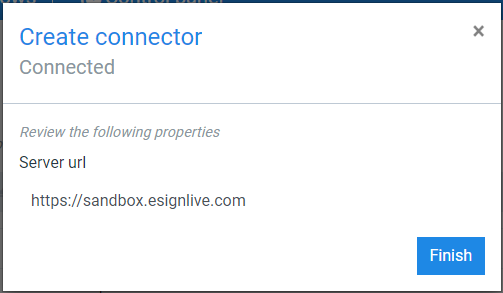
The Configuration page for your new OneSpan Sign connector displays. You've successfully created a OneSpan Sign connector for Smart Flows.