
Before you begin leveraging Experlogix Documents, you must create an organization and a project. The Create connector dialog guides you through the configuration when creating an Experlogix Documents connector. You can only create one Experlogix Documents type connector in a Smart Flows project.
Register a new Experlogix Documents Project
If you haven't already created an Experlogix Documents project, you must register to submit a request to create one.
-
In Project Console, navigate to Control panel > Connectors > +Create.
-
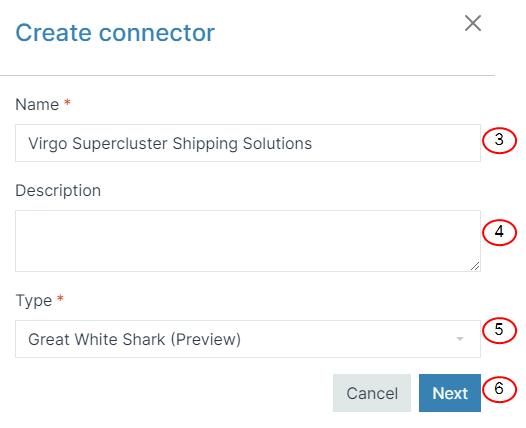
In the Name field, input the name of your connector.
-
(Optional) In the Description field, input a description for your connector.
-
In the Type dropdown menu, select Experlogix Documents.
-
Select Next.
-
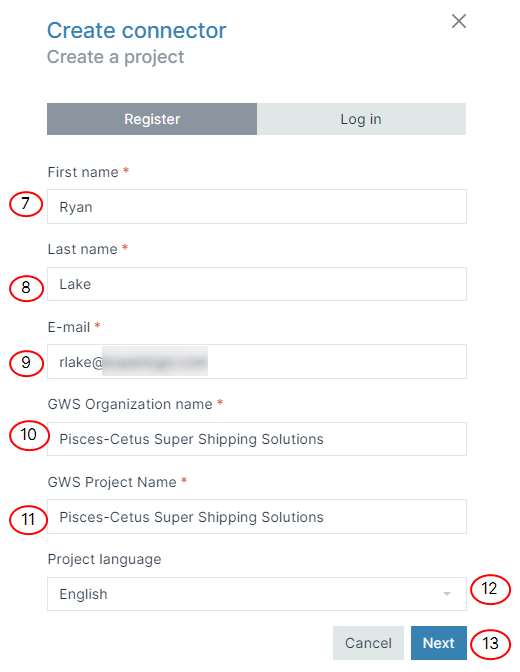
In the First name field, enter your first name.
-
In the Last name field, enter your last name.
-
In the E-mail field, enter your email address.
-
In the Experlogix Documents Organization name field, enter the name you wish to use for your organization.
An organization includes all the projects included under a given license.
-
In the Experlogix Documents Project name field, enter the name of the project.
Typical project names define either the function for the project or the work it supports, such as Dev, Test, and Production.
-
In the Language dropdown menu, select the default language for the project.
-
Select Finish.
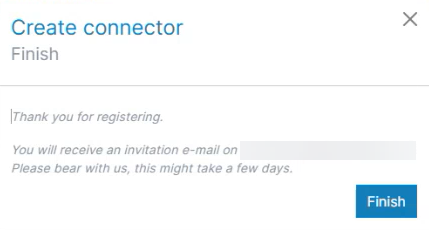
Once you submit the request, our provisioning team will create the environment for you. Once you receive the confirmation email, proceed to Log in to Experlogix Documents Project Console.
Log in to Experlogix Documents Project Console
If you already have an Experlogix Documents project, select the environment and authenticate to connect to your project.
-
In Project Console, navigate to Control panel > Connectors > +Create.
-
In the Name field, input the name of your connector.
-
(Optional) In the Description field, input a description for your connector.
-
In the Type dropdown menu, select Experlogix Documents.
-
Select Next.
-
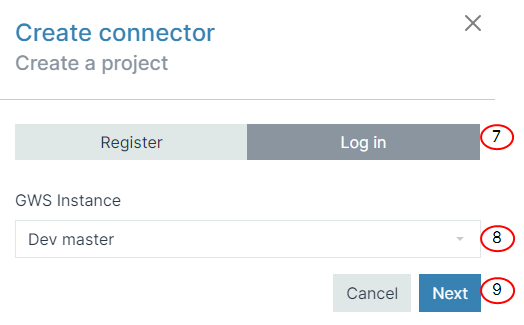
Select the Log in tab.
-
In the Experlogix Documents instance dropdown menu, select the instance of your Experlogix Documents project.
-
Select Next.
-
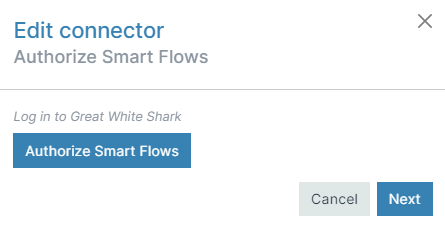
Select Authorize Smart Flows.
-
Enter your username and password to login or login with an SSO provider.

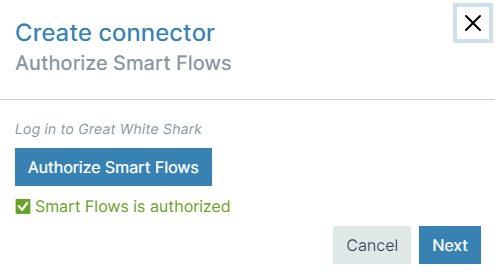
The page refreshes after authentication. "Smart Flows is authorized" displays with a green check mark.
-
Select Next.
-
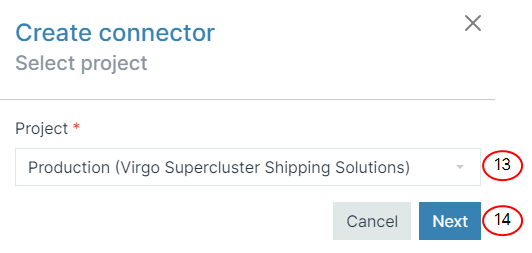
In the Project dropdown menu, select the project to link to your connector.
-
Select Next.
-
Select Finish.
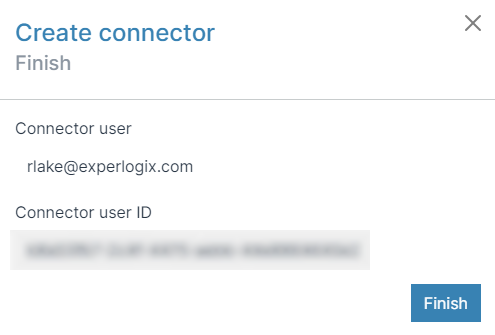
The Basic settings page for your Experlogix Documents connector displays.
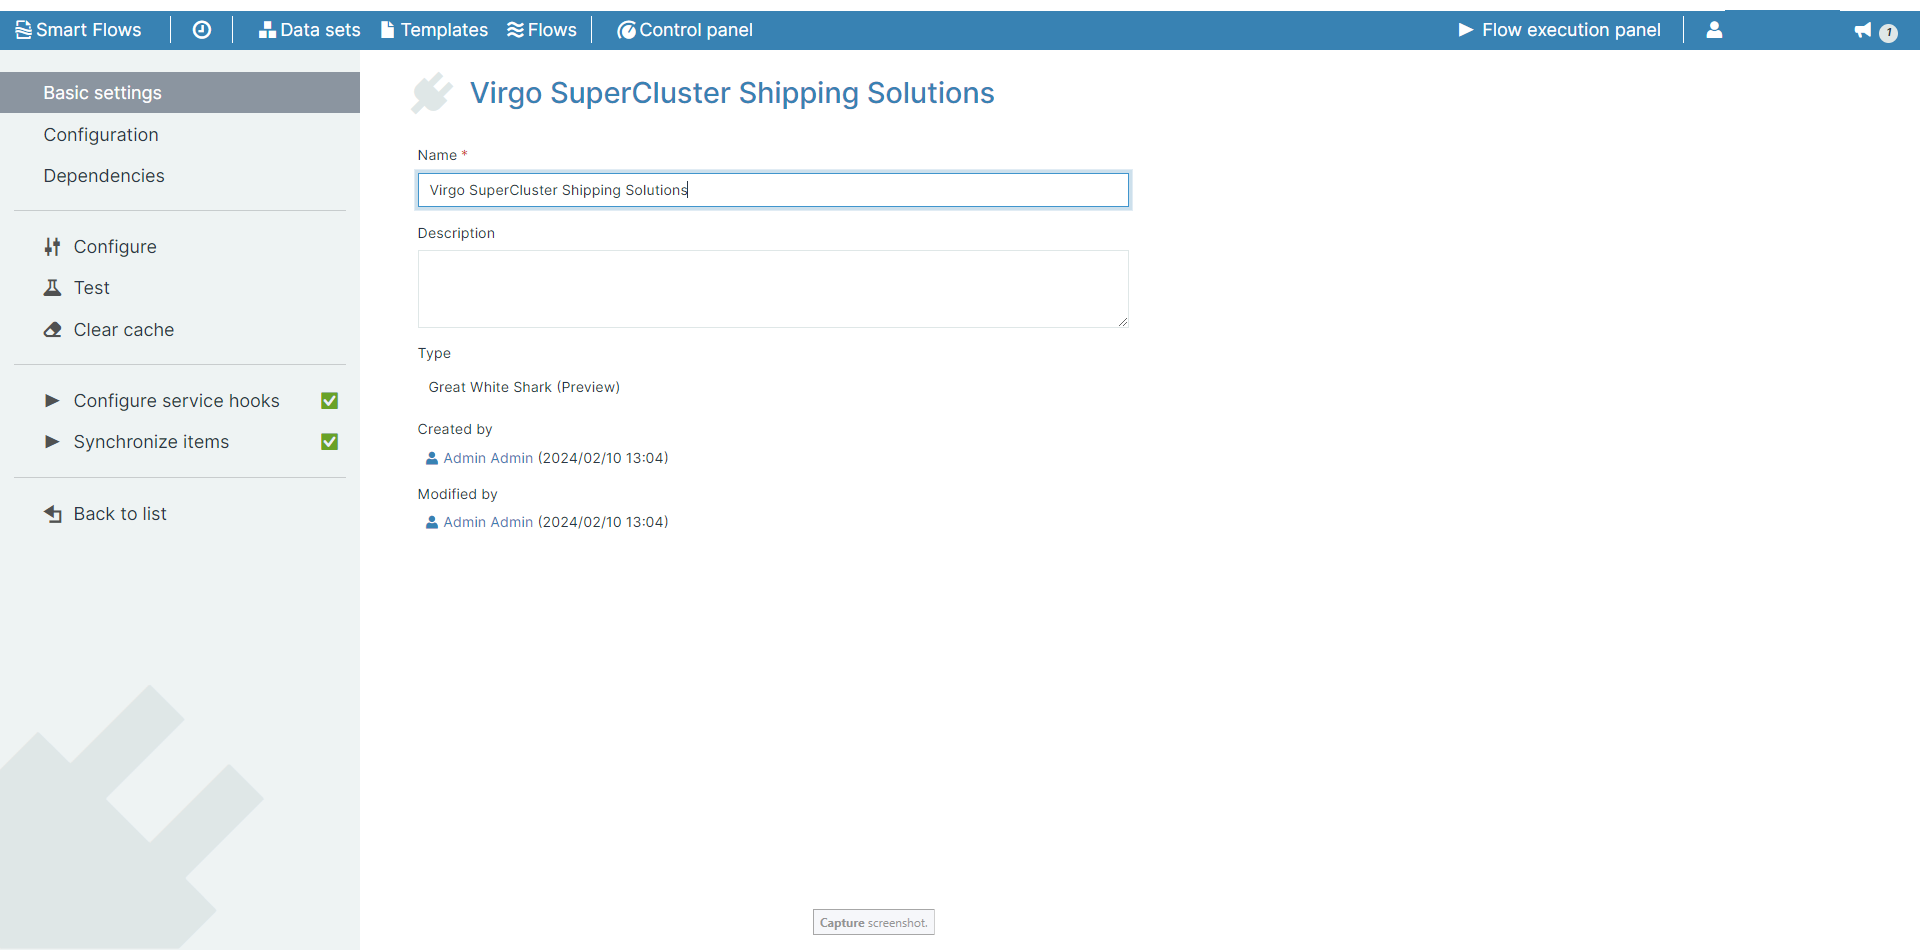
Congratulations, you've successfully created your Experlogix Documents connector. You can now configure or start utilizing the additional data sets allowed in Experlogix Documents connector. SeeExperlogix Documents Connector for more information.