
The Switch flow block allows designers to add branches that flow into multiple paths. Designers are able to choose the paths taken based on the value of a given field. Which path is chosen depends on the value of a field.
Flow Block Parameters
The dropdown menus below provide all of the flow block's configuration options with detailed information and recommendations to help you configure your flow block.
Flow block customization buttons
You can further customize your flow block's parameters in several ways
-

-

-

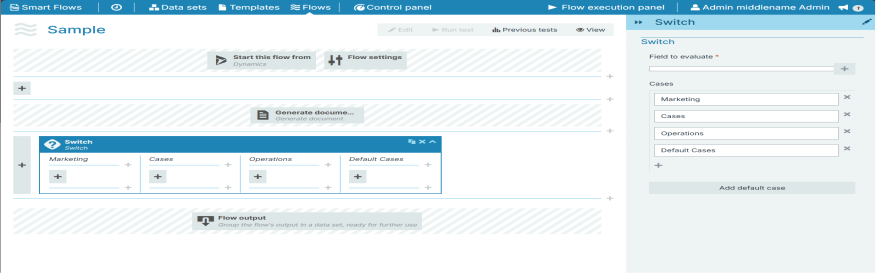
Example: Setting a flow behavior based on the Department field from a Data Set
-
If the Department field is Marketing, take path A.
-
If the Department field is Sales field, take path B.
-
If the Department field is Operations, take path C.
-
If the Department field is any other value, take the default path.
Basic settings
|
Index No. |
Field name |
Description |
|---|---|---|
|
1 |
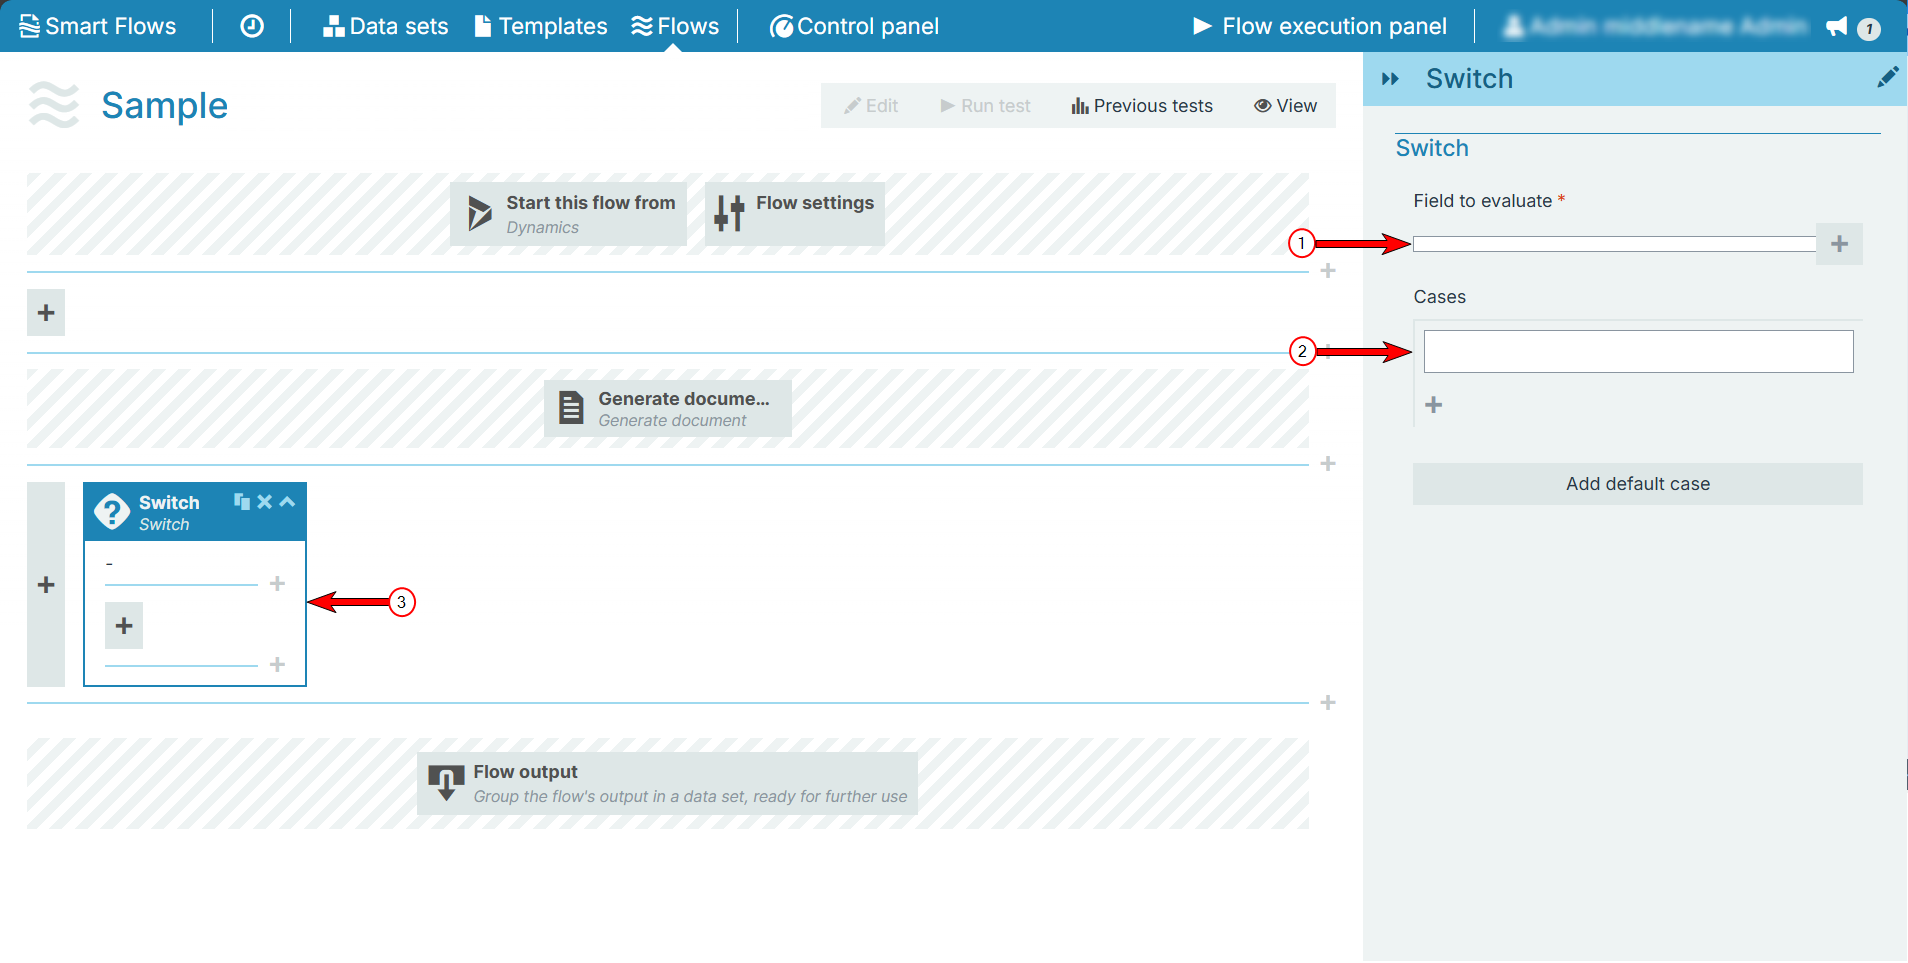
Field to Evaluate |
Defines the flow block to monitor for the switch triggering value. |
|
2 |
Cases |
The value that has to match for the flow to branch into this path. You can add as many cases as you want by clicking the +. Select the X to remove a case. |
|
3 |
Add/remove default case |
The default case happens when none of the cases' values match the field's value. Select the button to toggle the existence of the default case lane. |