The Create connector wizard guides you through the configuration when creating a PrintNode connector. You can create multiple PrintNode-type connectors, each connecting to a different account. However, you can only have one default PrintNode connector.
-
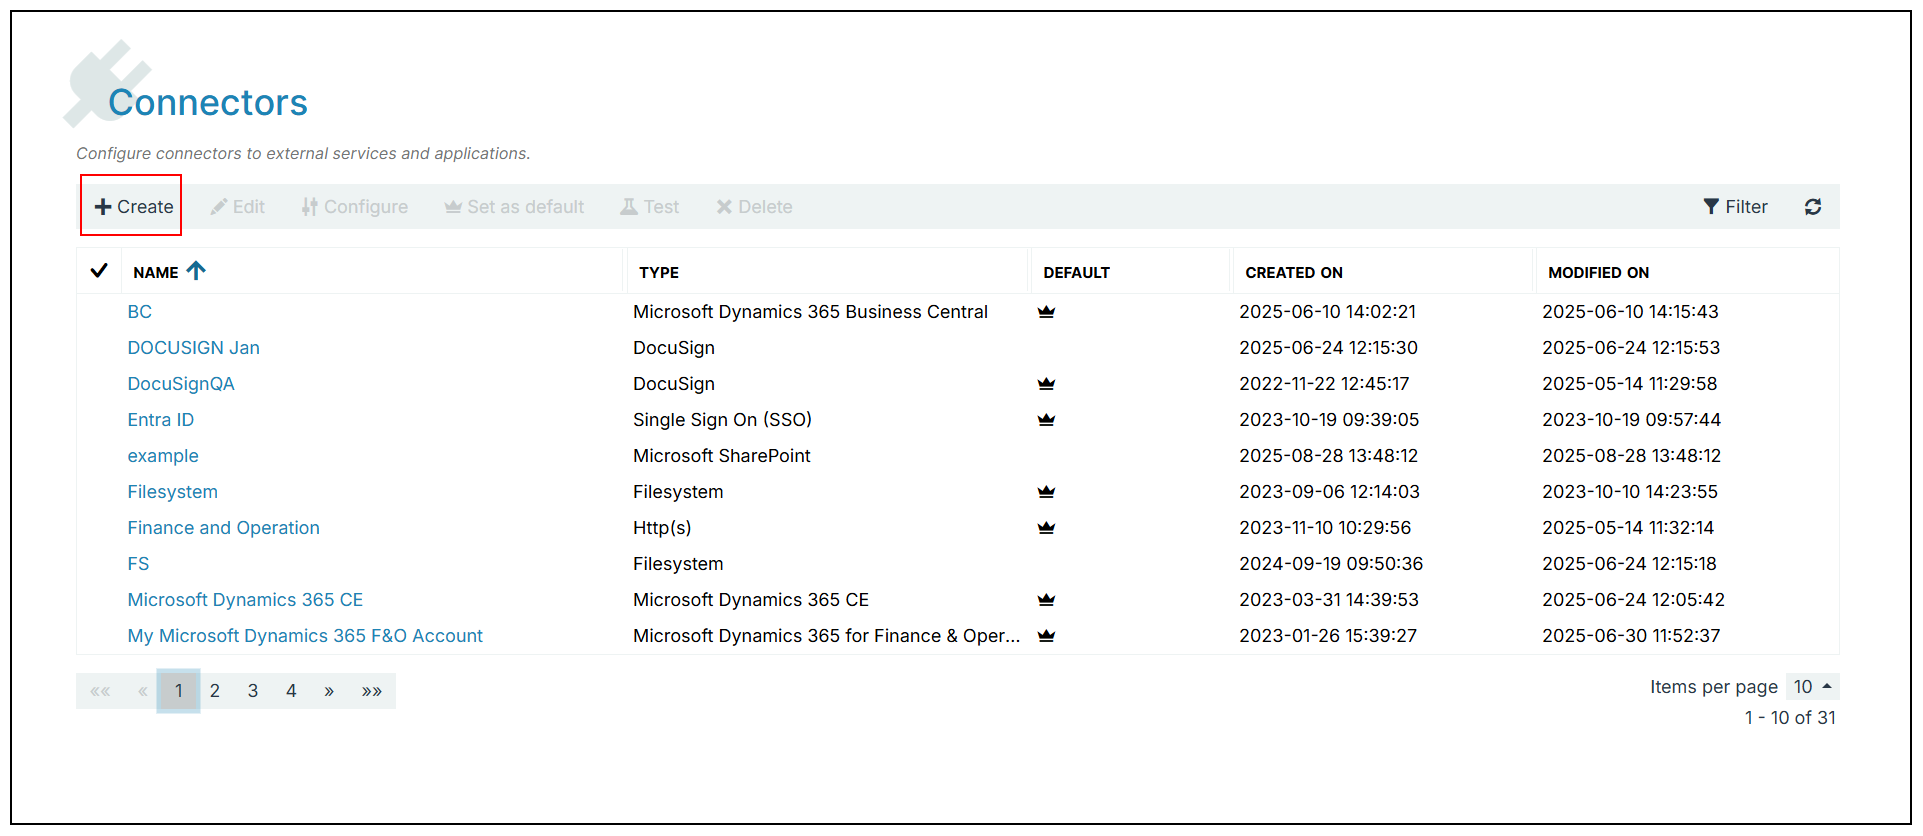
In the Project Console, select Control Panel > Connectors > +Create.
-
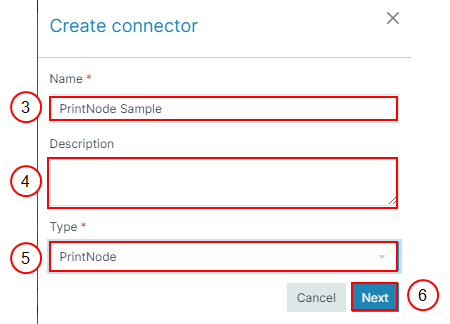
In the Name field, input the name of your connector.
-
(Optional) In the Description field, input a description for your connector.
-
In the Type dropdown menu, select PrintNode.
-
Select Next.
-
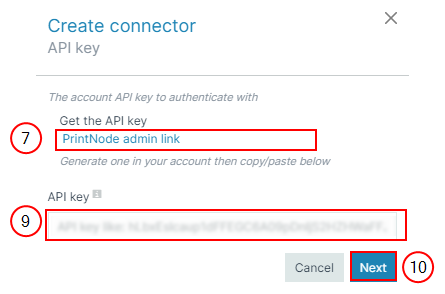
To get the Smart Form key, select PrintNode admin link.
You will be redirected to your PrintNode account.
-
Confirm your credentials for PrintNode.
Copy the Smart Form key.
-
In the Smart Form key field, paste the Smart Form key.
-
Select Next.
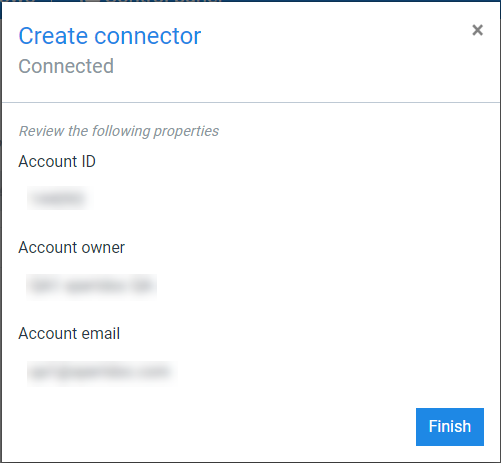
Smart Flows displays the summary of account details.
-
Select Finish.
The detailed view of the PrintNode connector displays.