
To use Gmail SMTP with OAuth authentication in Smart Flows, you must create an app registration in Google Cloud. This registration provides the OAuth client credentials that Smart Flows uses to authenticate securely without storing a password.
Prerequisites
Before you start, make sure you have:
-
Access to a Google account with permission to create projects in Google Cloud.
-
Your Smart Flows project domain, needed to construct the redirect URI
https://login.[your-smart-flows-project-domain]/oauth2/redirect
Process Overview
Create a new Google Cloud project
-
Navigate to the Google Cloud Console (console.cloud.google.com).
-
In the project selector at the top, select a Project.
-
Enter a Project name (for example: Smart Flows SMTP Integration).
-
Select the appropriate Organization (if applicable).
-
Select Create.
Once the project is created, make sure it is selected as the active project.
Enable the Gmail API
-
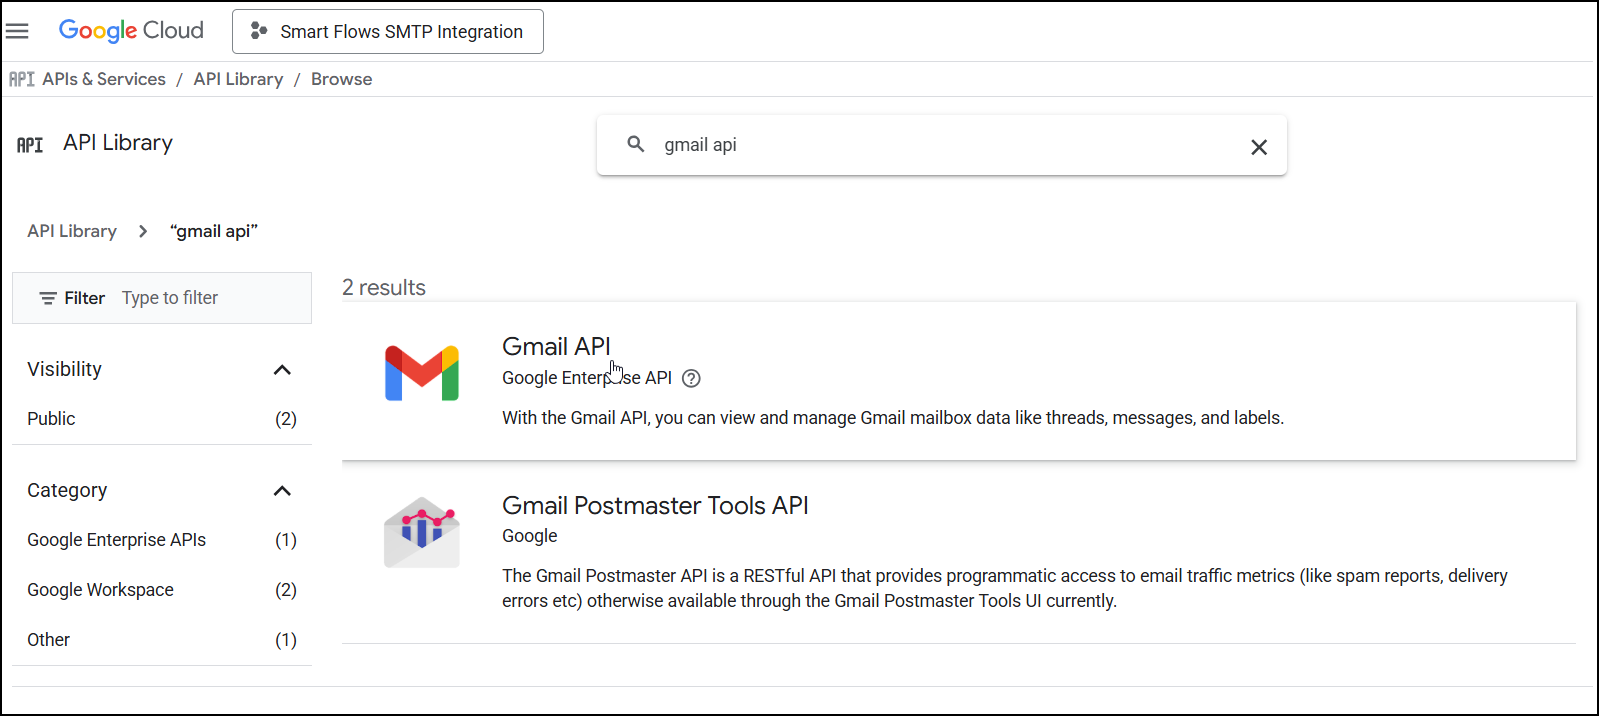
In the Google Cloud Console, navigate to APIs & Services > Library.
-
Search for Gmail API.
-
Open the Gmail API page.
-
Select Enable.
This allows your application to send email via Gmail using OAuth.
Configure the OAuth consent screen
Navigate to APIs & Services > OAuth consent screen.
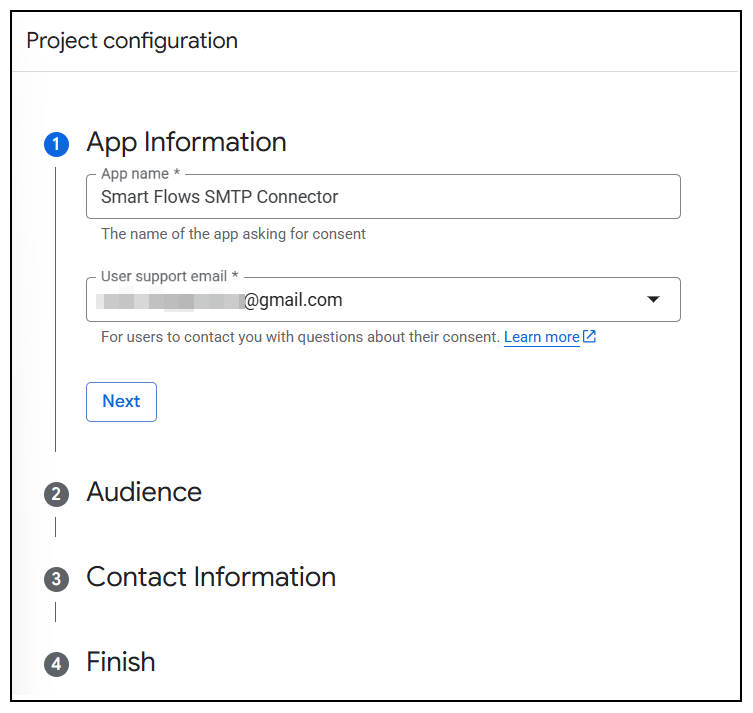
App information
-
Enter the App name (for example: Smart Flows SMTP Connector).
-
Select a User support email.
Audience
-
Choose the User Type:
-
Internal – if all users belong to your Google Workspace organization.
-
External – if users may be outside your organization.
-
Contact information
-
Provide your contact email address.
Finish
-
Agree to the Google API Services: User Data Policy and continue.
-
Select Create to create your app.
Create OAuth client
-
Navigate to APIs & Services > Credentials.
-
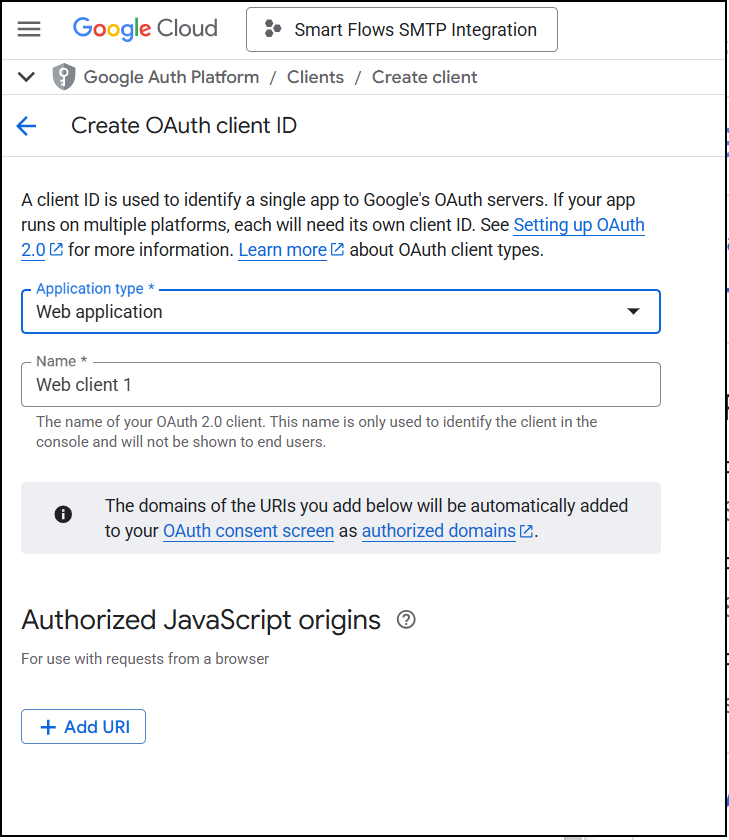
Select Create Credentials > OAuth client ID.
-
Select Application type: Web application.
-
Enter a name (for example: Smart Flows SMTP Client).
Authorized redirect URI
-
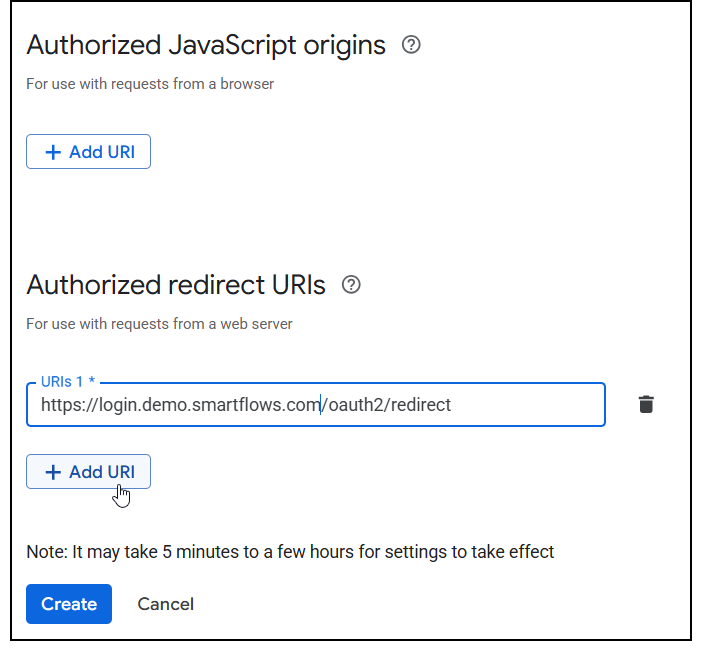
Under Authorized redirect URIs, add:
https://login.[your-smart-flows-project-domain]/oauth2/redirect -
Select Create.
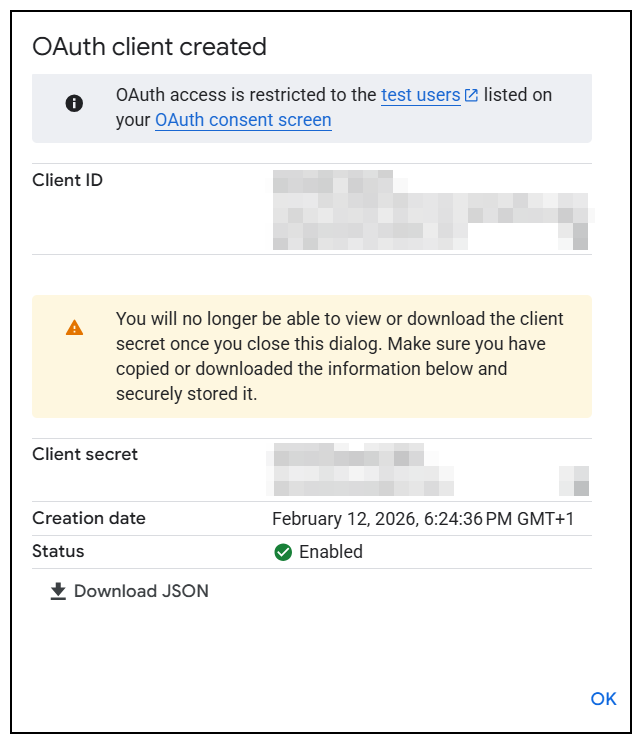
Google generates Client ID and Client secret.
Configure test users (if using External user type)
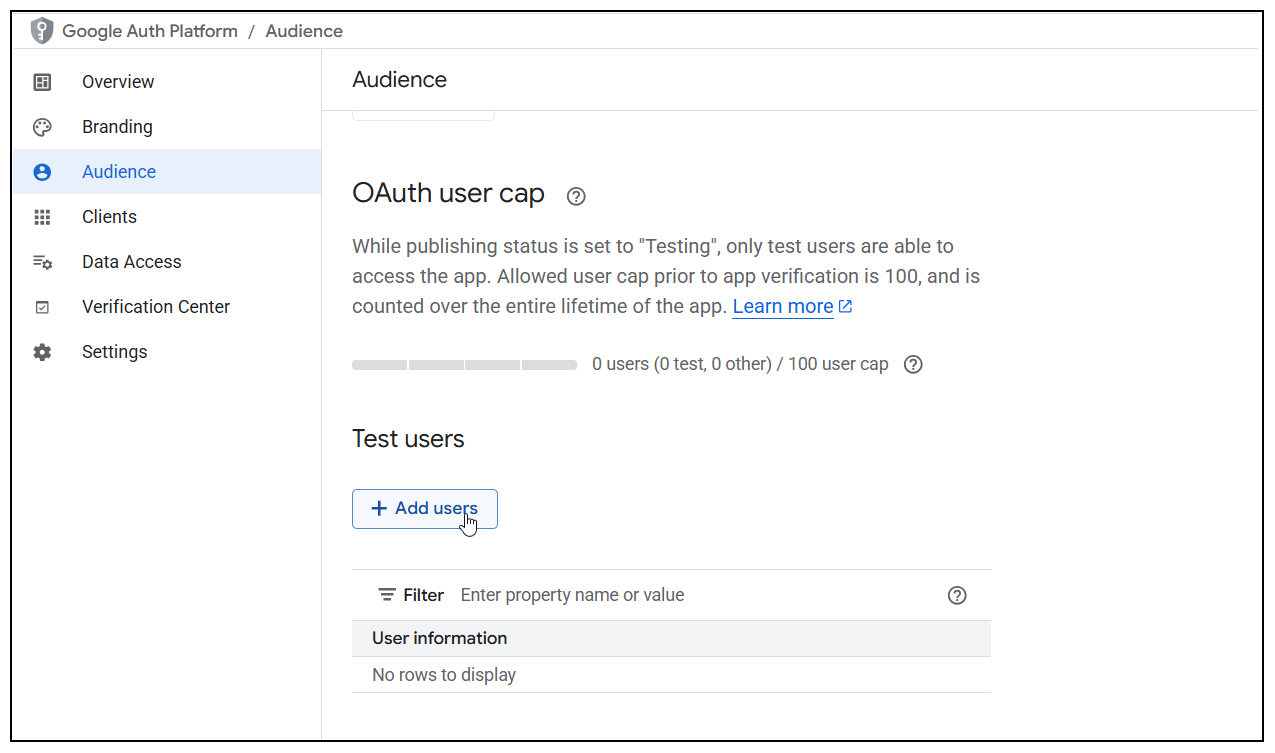
If you selected External as the user type, select Audience and configure your audience:
-
Add one or more Test users (email addresses).
-
These users will be allowed to complete the OAuth authorization flow.
-
Select Save and Continue.
You can publish the app later via the Verification Center if broader access is required.
Configure scopes
-
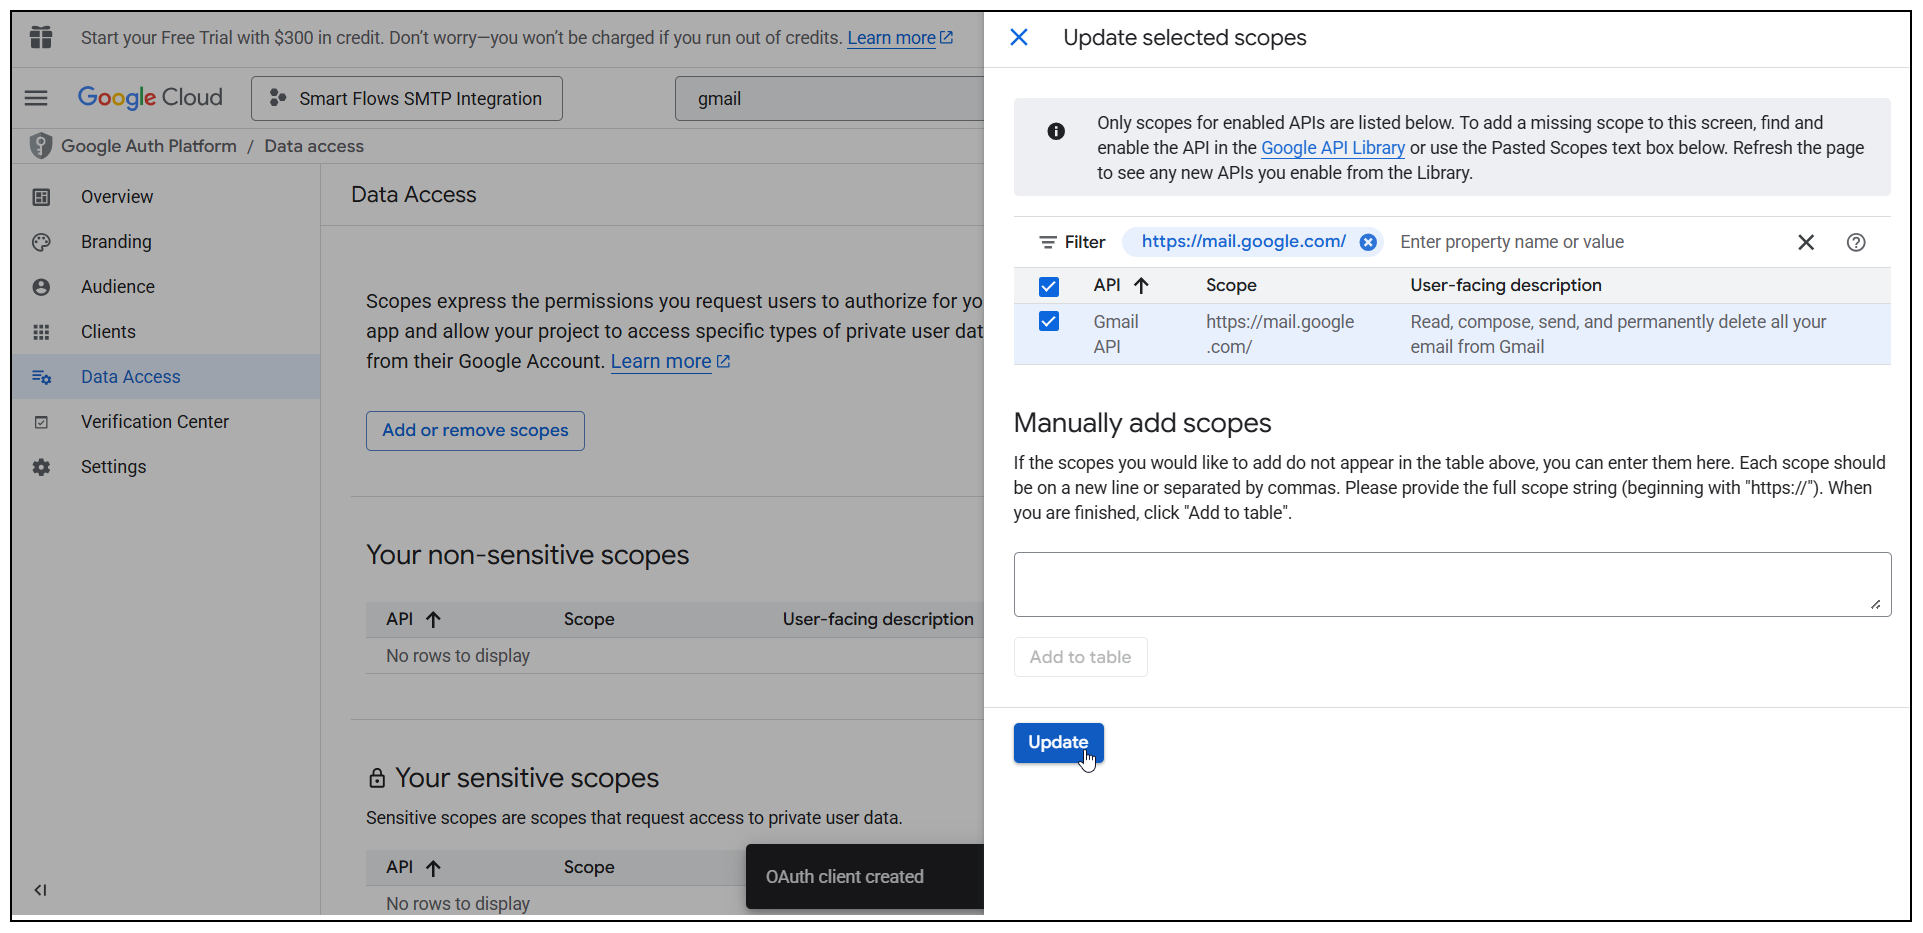
In the Data Access section of the newly created client, click Add or Remove Scopes.
-
Find and add the required scope:
https://mail.google.com/ -
Confirm the selected scope.
This scope is required to allow Smart Flows to send email via Gmail SMTP using OAuth.
Configure the SMTP connector in Smart Flows
-
In Smart Flows, open the SMTP connector configuration.
-
Select Gmail (Google) SMTP as provider.
-
Select OAuth authentication.
-
Paste the following values from Google Cloud:
-
Client ID
-
Client Secret
-
-
Complete the OAuth authorization flow when prompted
Once authorized, Smart Flows can send emails via Gmail SMTP using OAuth, without storing user passwords.
Result
After completing these steps:
-
Gmail SMTP is enabled using secure OAuth authentication.
-
Credentials are centrally managed in Google Cloud.
-
Smart Flows can send emails in compliance with modern security policies.
This setup is recommended for production environments where password-based SMTP authentication is restricted or disabled.