Template Best Practices — Guidance on template naming, structure, complexity management, and testing to keep templates maintainable and performant. Includes recommendations for reducing compilation time in large or multi-language templates.
Map the flow initiator details to the template
Mapping the flow initiator to a template ensures that key details about the person launching the process are automatically captured and applied throughout the document. This is especially useful when their information needs to populate specific fields.
The steps below are specific to Microsoft Dynamics 365 CE but the concepts should be applicable to other CRMs.
-
On the Project Console, navigate to Data sets and create a Dynamics (Microsoft Dynamics 365 CE / BC / F&O) Data set. See Creating a Data Set.
-
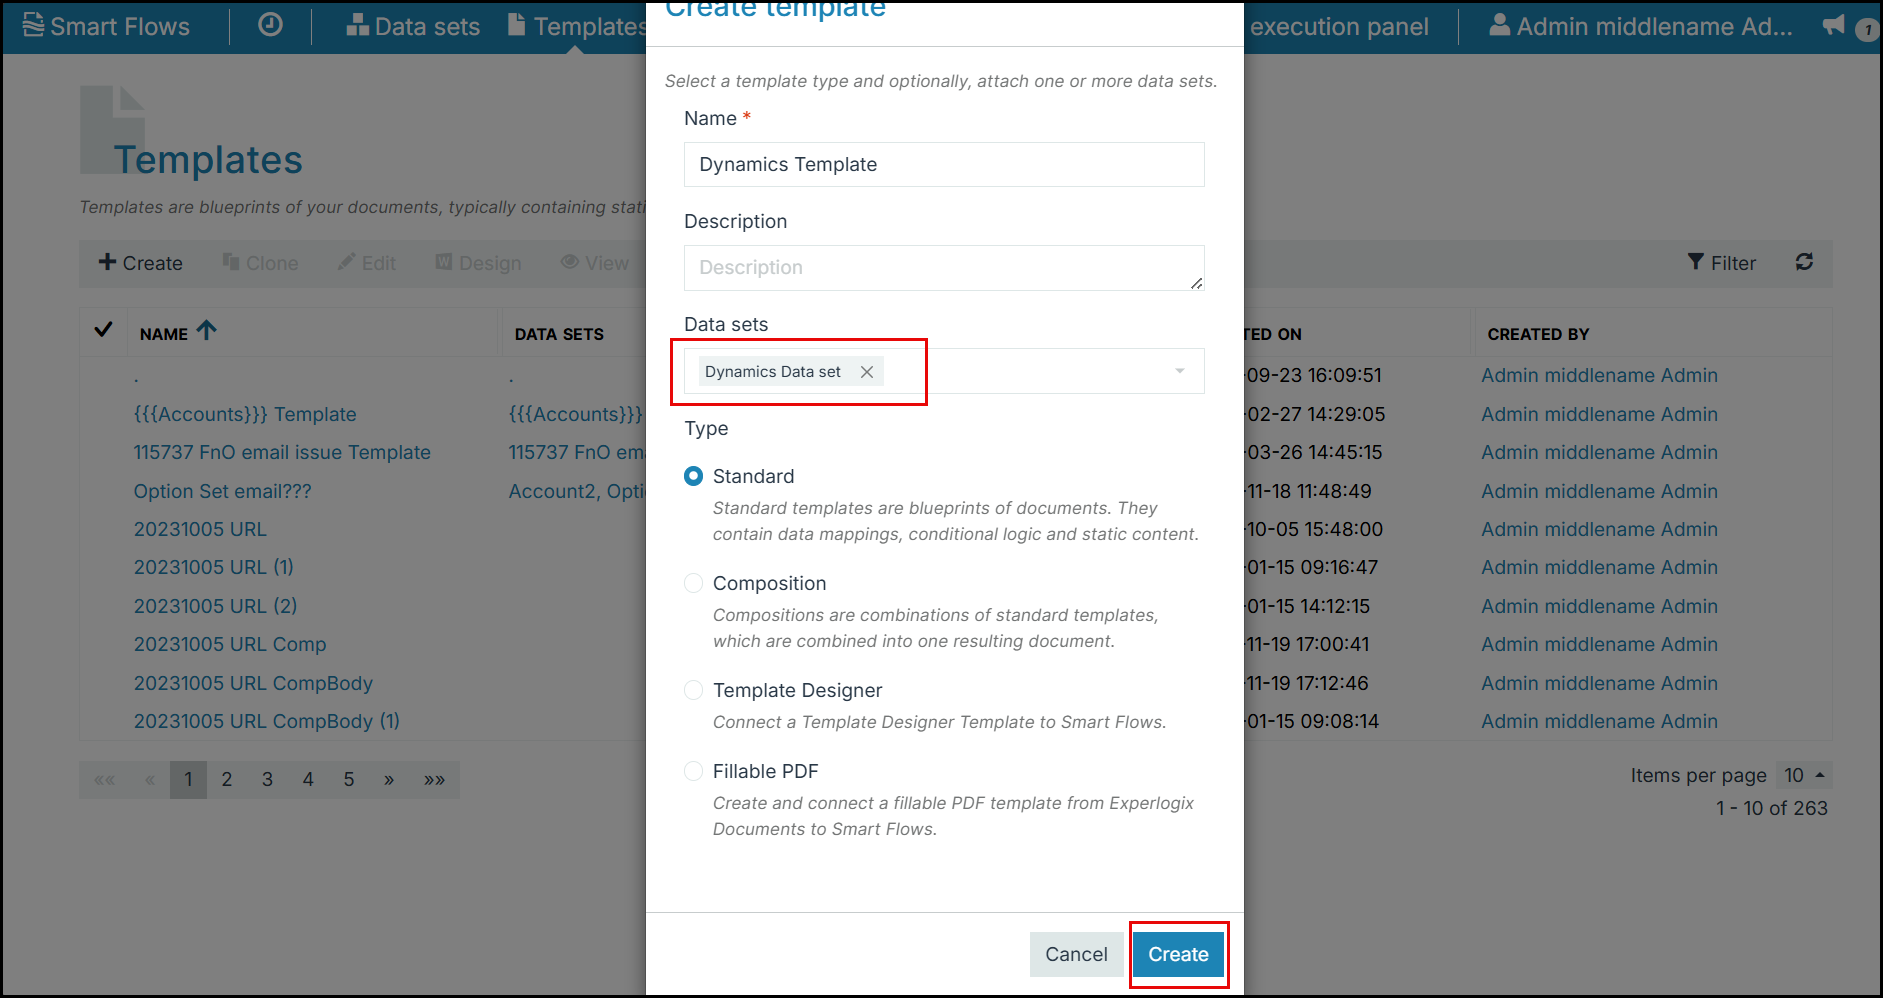
Add the data set to a new Template. See Creating a template.
-
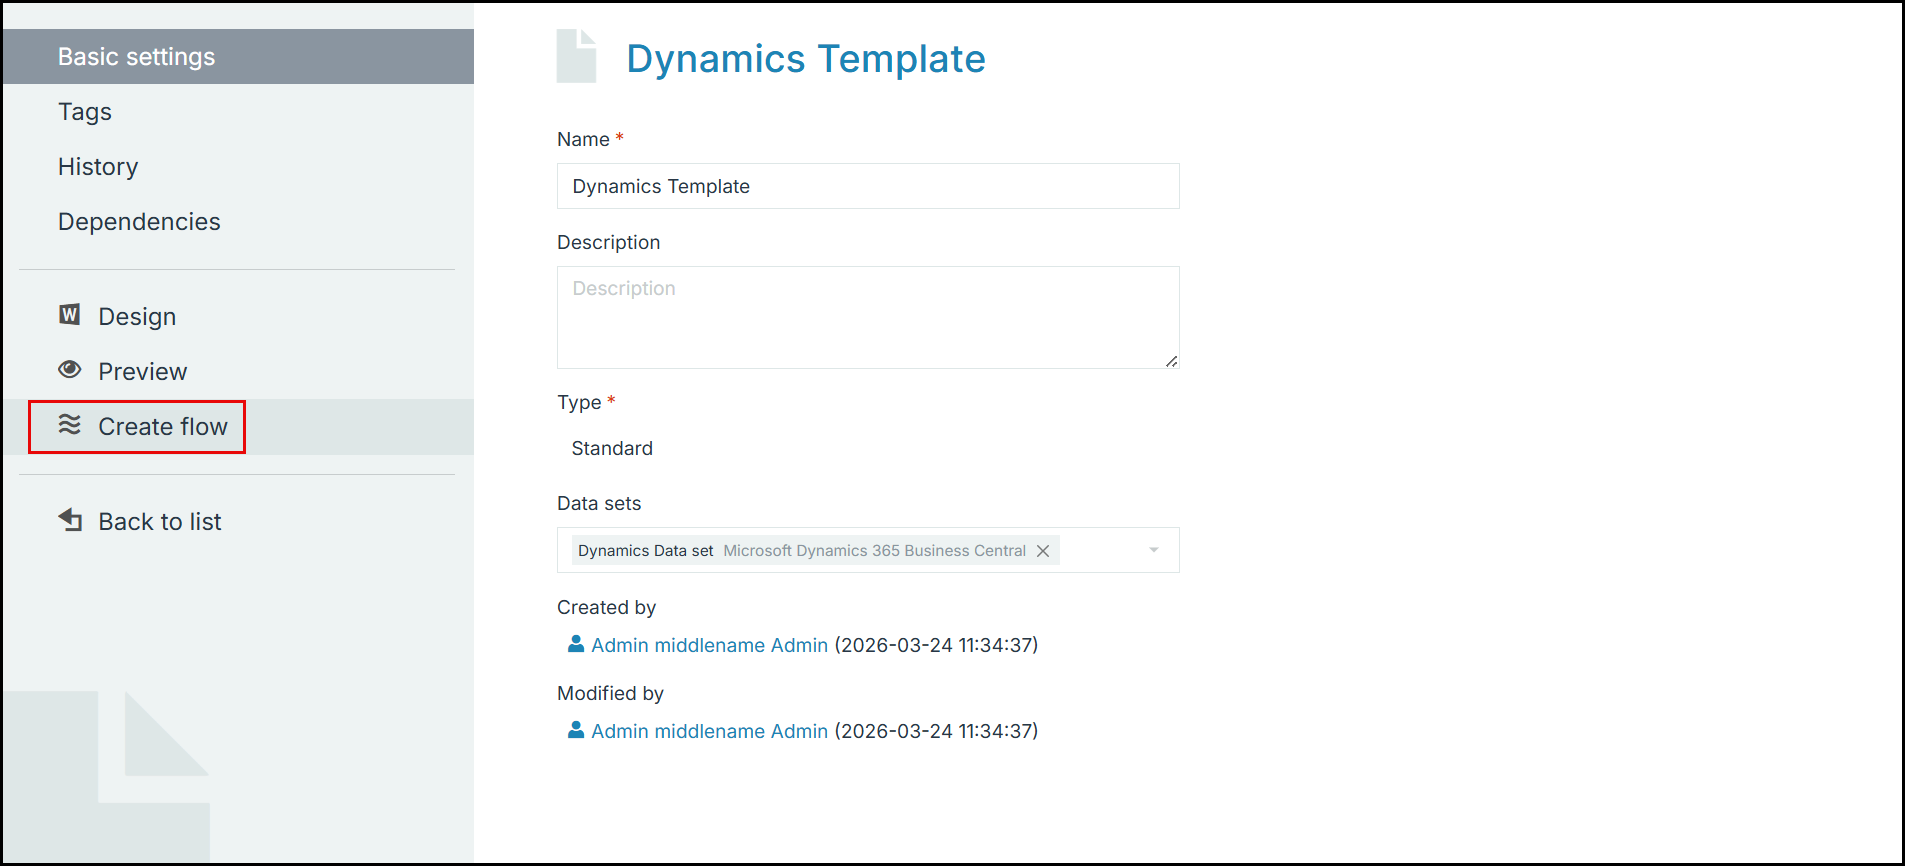
Create a Flow using the above template. See Creating a Flow.
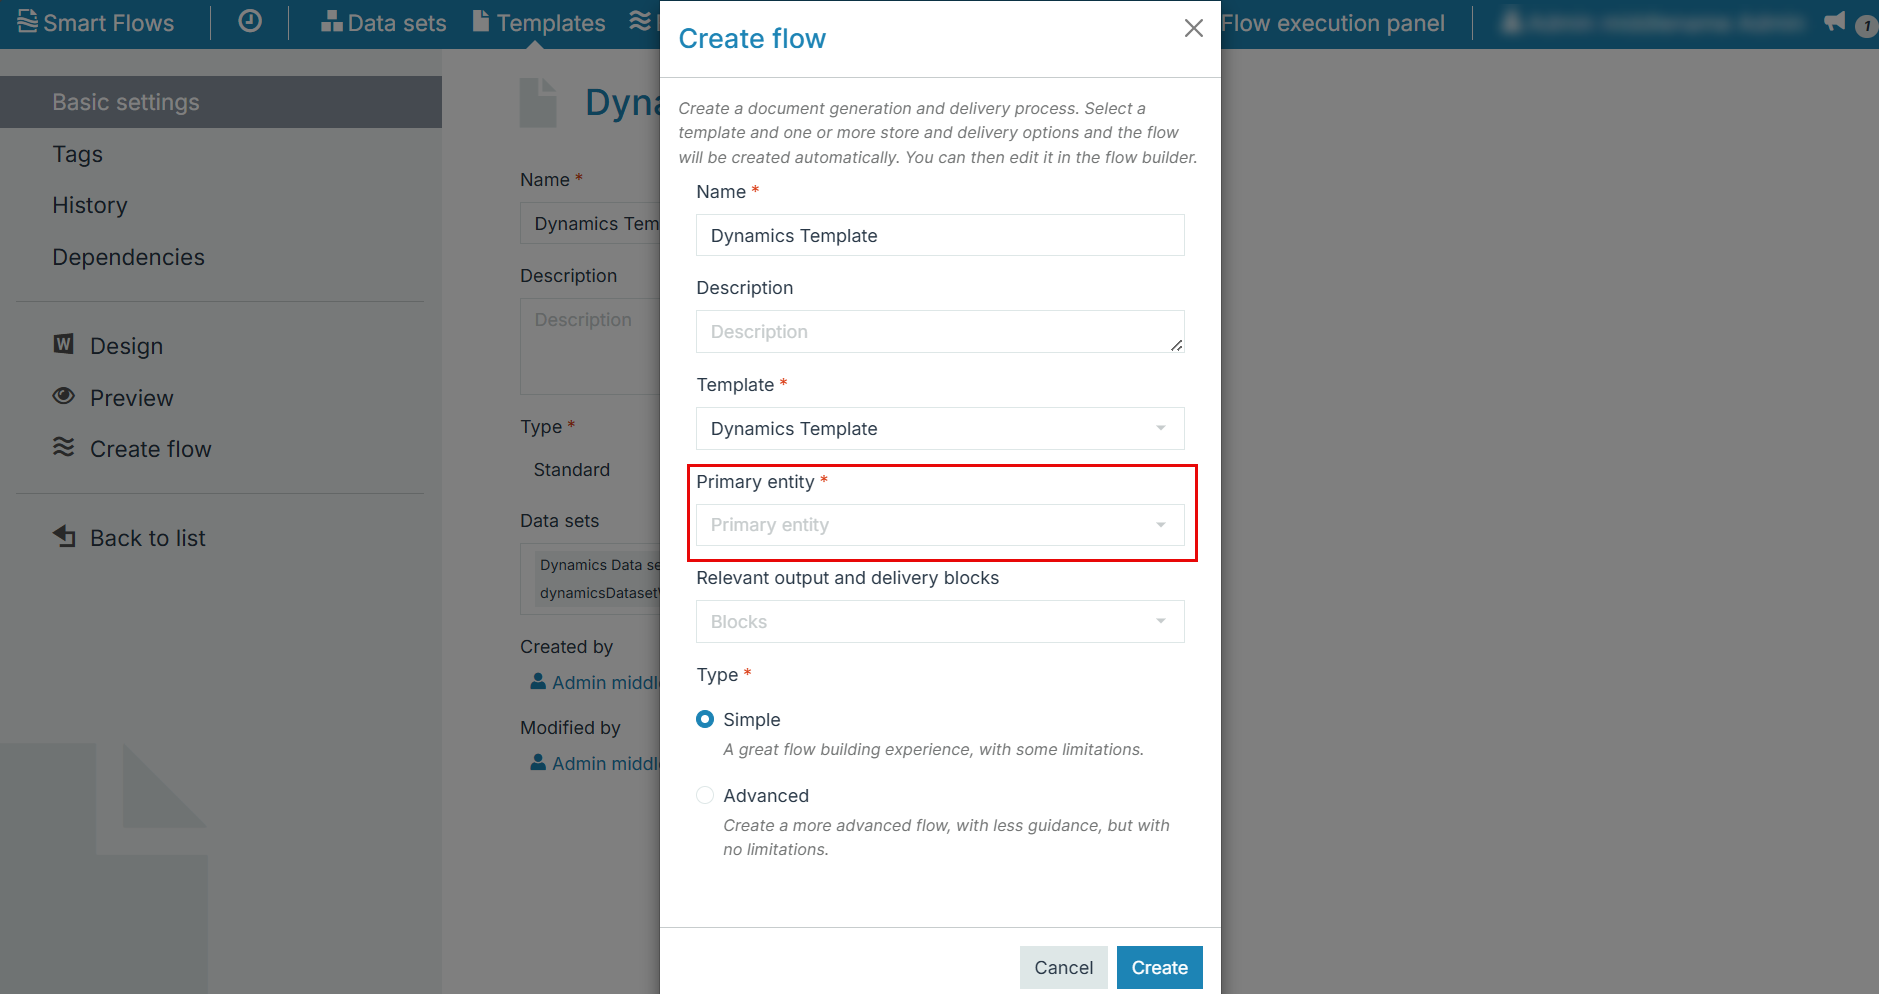
Ensure that the Data set is not the Primary entity.
-
In the Flow Builder, select the Retrieve data flow block and map User as the value for the Record field.

The flow initiator (user) details are now mapped in the Template.
Publisher Certificate for Word Add-In
Sometimes, Windows cannot verify the publisher certificate because strict GPO settings only trust certificates placed in the local Trusted Publishers store. This often happens in locked‑down environments where public CAs are blocked. It can also occur if the machine is missing required Root or Intermediate certificates, breaking the trust chain. Adding the publisher certificate to Trusted Publishers allows the Template Builder to run by overriding these restrictions.
-
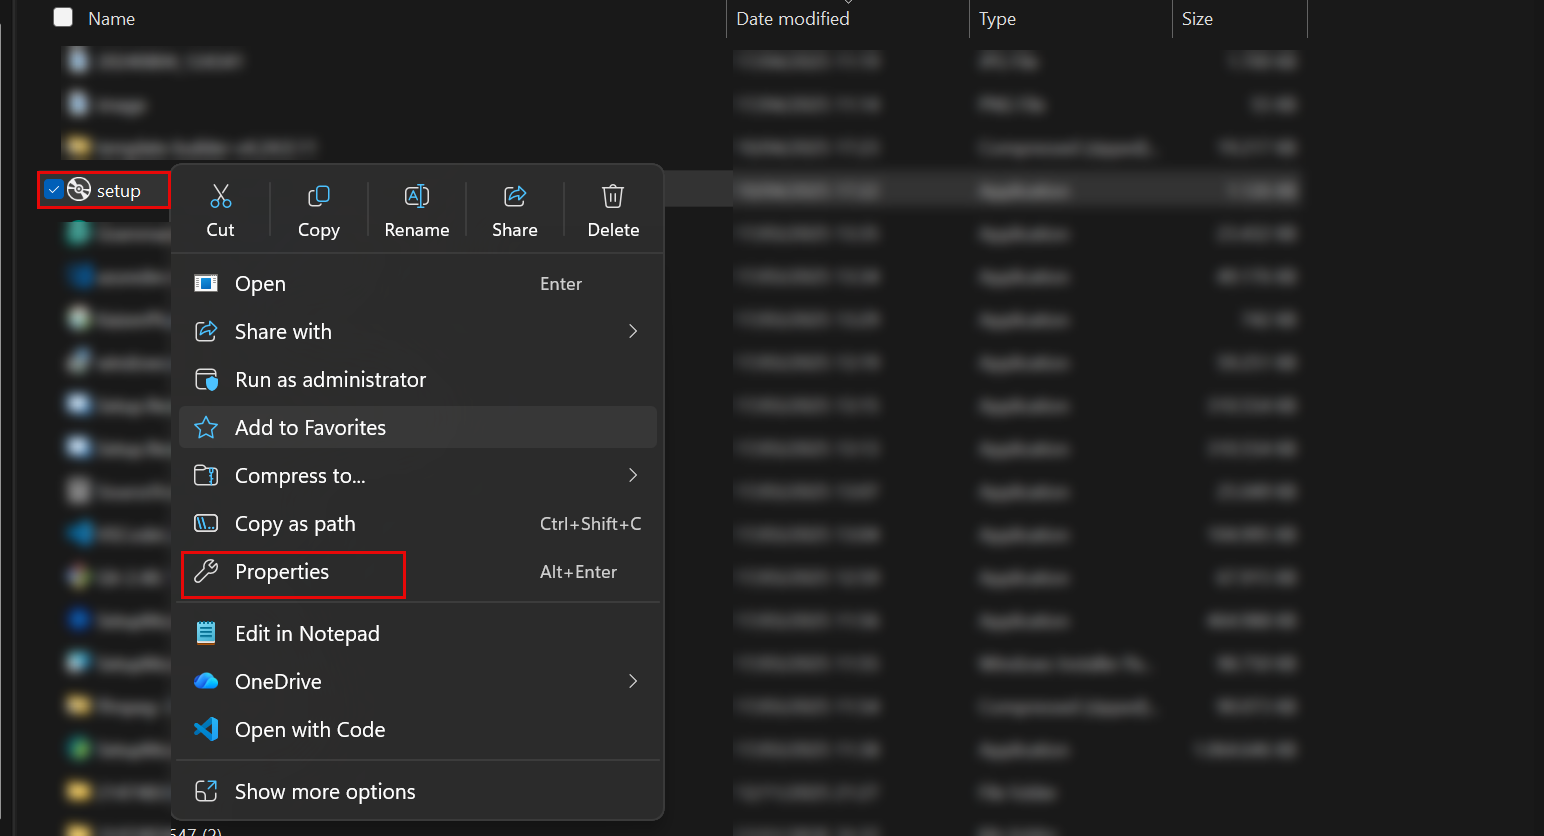
On your local system, right-click on the file setup.exe > Properties.
-
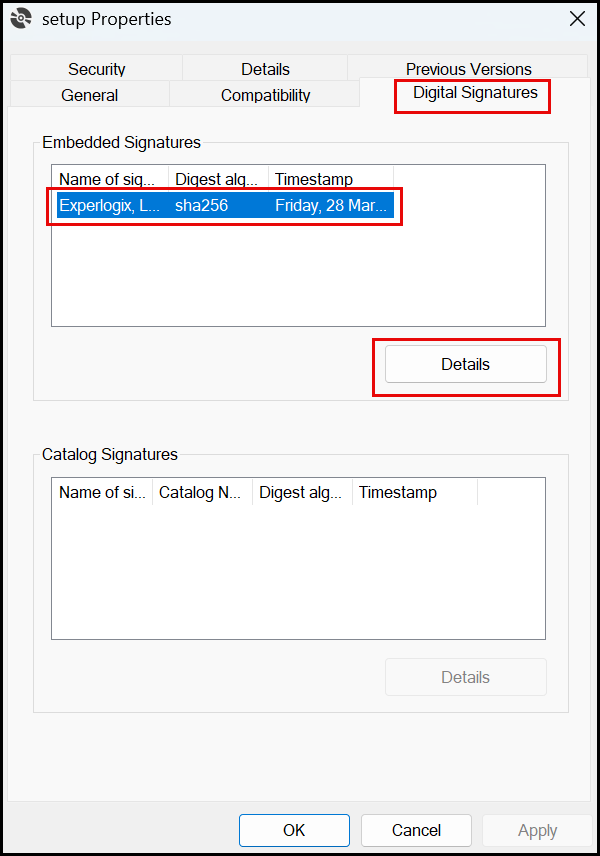
Select Digital Signatures > Experlogix Certificate > Details.
-
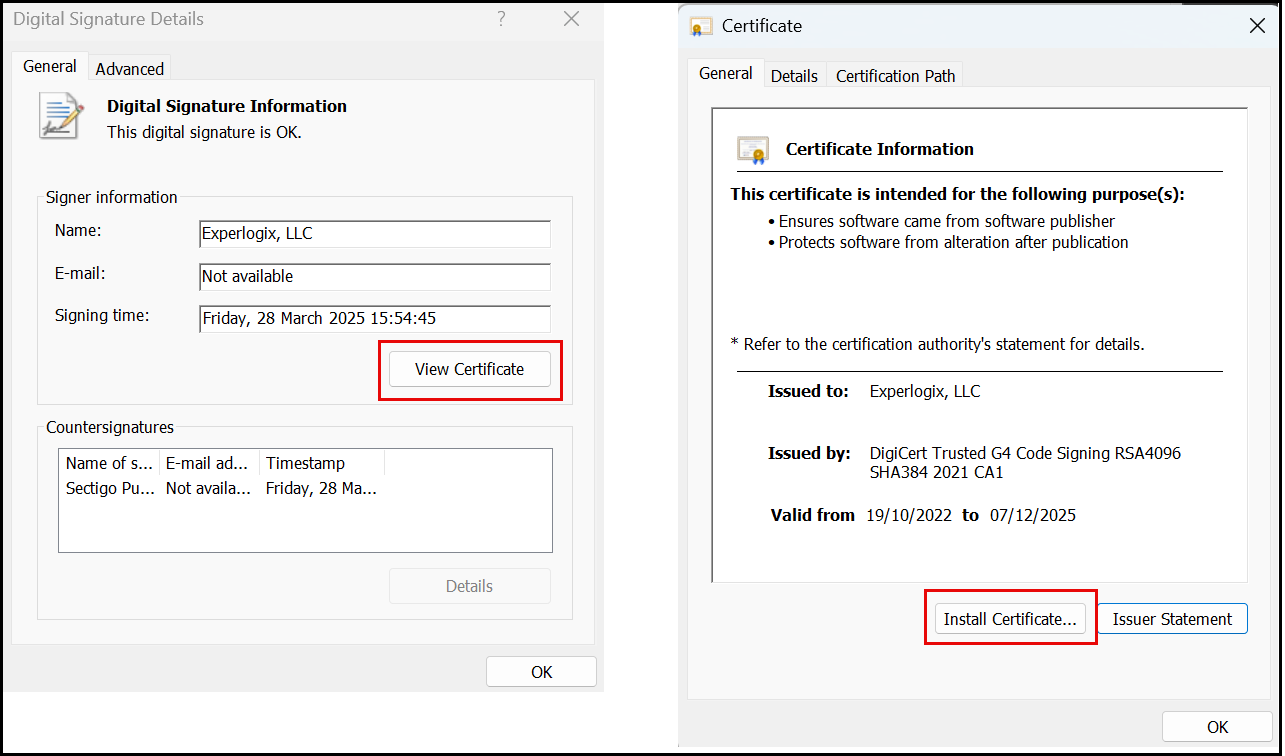
Select View Certificate > Install Certificate.
-
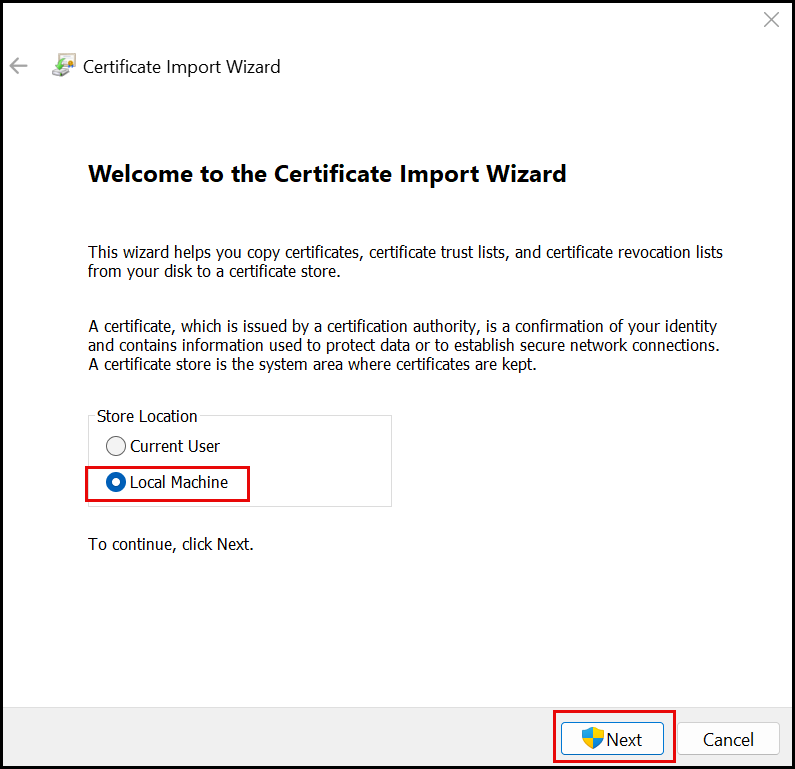
Select Local Machine > Next.
-
Select a certificate storage location > Browse > Trusted Publishers > Next > Finish.
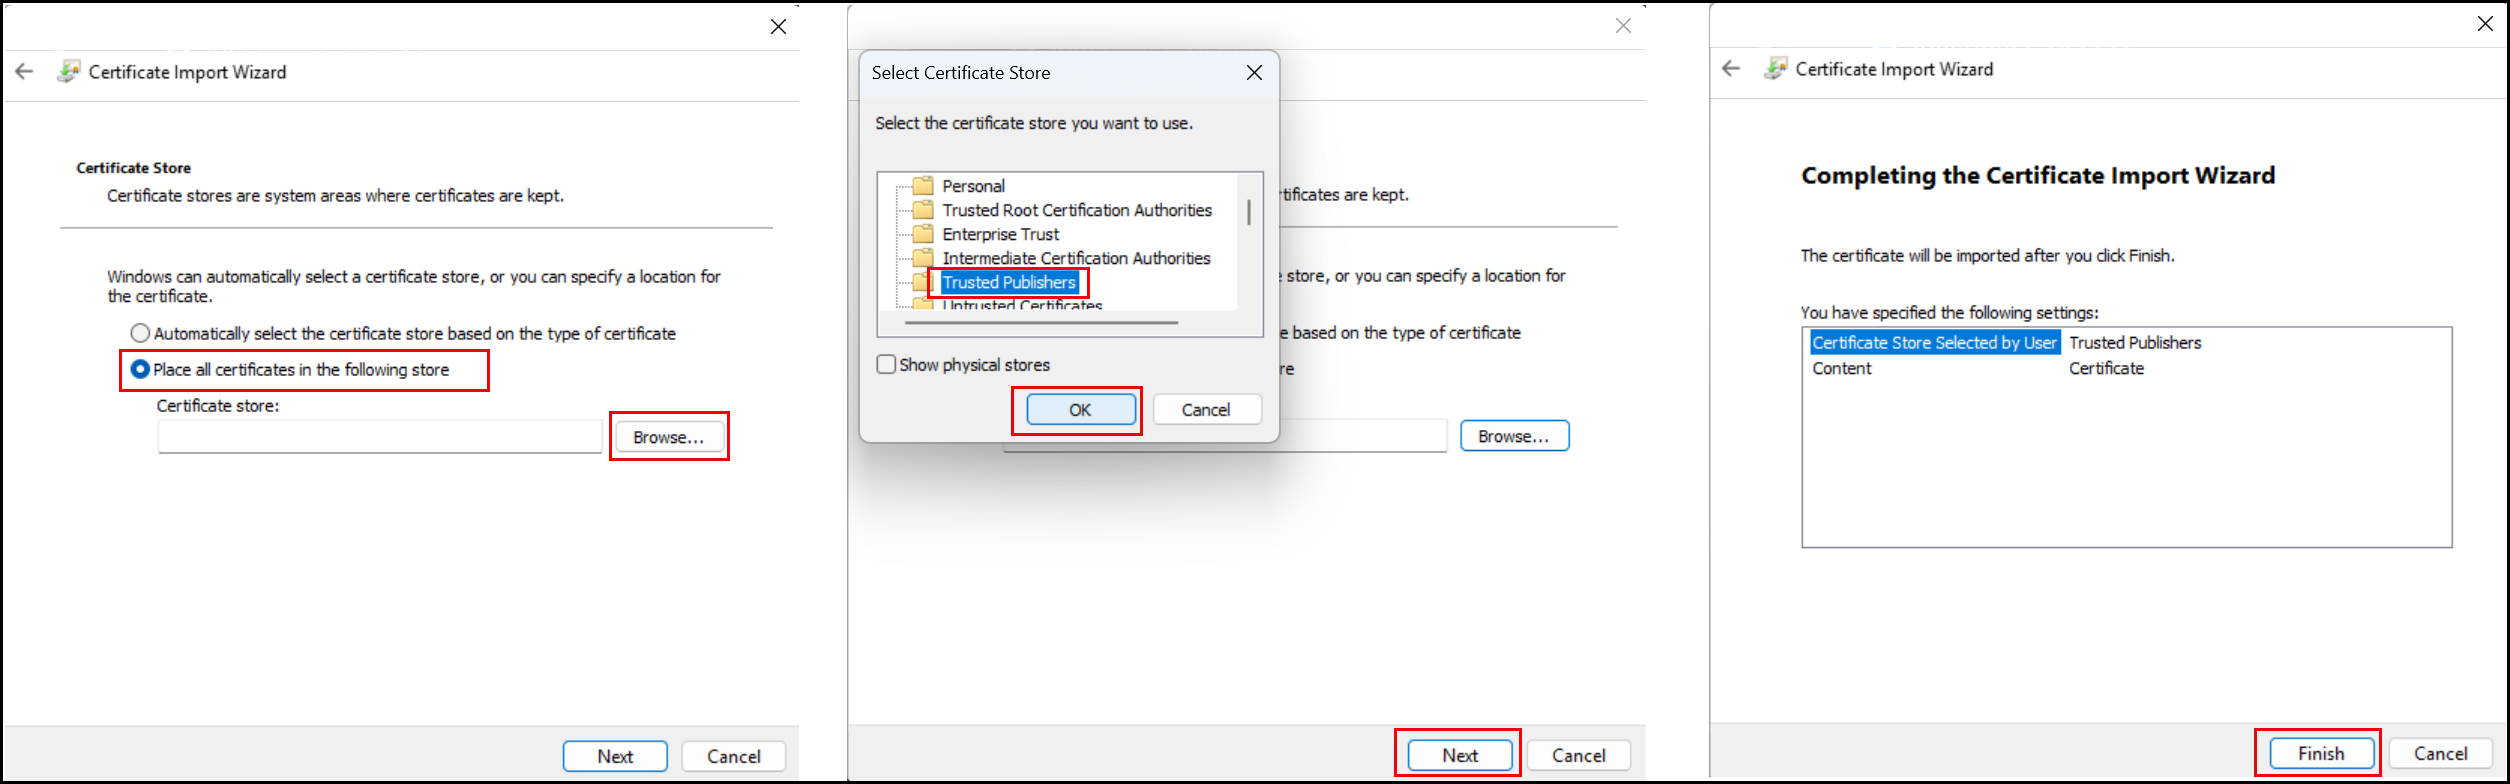
The "The import was successful" message is displayed.
-
Follow the instructions (steps 1-6) in this link: Import and Export Certificate.
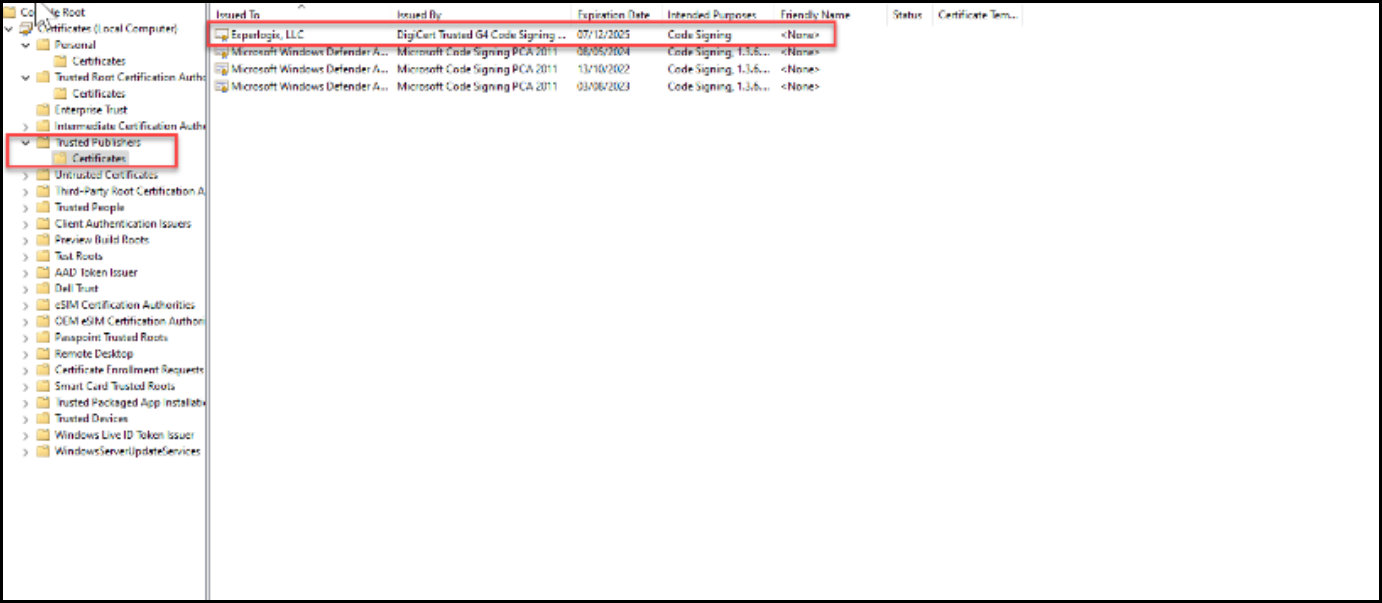
The certificate is available under Trusted Publishers - Certificates.