A composition template assembles multiple sub-templates into a single document output. It is the primary approach for producing complex, multi-section documents with conditional content.
Composition
When working with compositions, it's good to know how exactly every segment fits together to create one document.
Used Word parts
Each segment can be fully edited in Word, meaning that you can add content to the Word header, the Word body and the Word footer. However, depending on the zone in which the template is put (in the Project Console), certain content will be ignored:
For templates in the body zone, only the Word body of the template is used. Any content inside the Word header and footer is ignored.
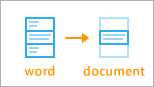
For templates in the header zone, only the Word header of the template is used. Any content inside the Word footer and Word body is ignored.In Word:
-
Make sure that only the first page has a header.
-
Make sure to turn off "Different First Page" and "Different Odd & Even Pages" in the tab "Header & Footer"
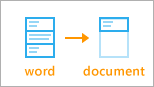
For templates in the footer zone, only the Word footer of the template is used. Any content inside the Word header and Word body is ignored.In Word:
-
Make sure that only the first page has a footer.
-
Make sure to turn off "Different First Page" and "Different Odd & Even Pages" in the tab "Header & Footer"
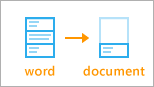
For templates in the insert zone, every part of the template is used: Word headers, Word footers and the Word body.
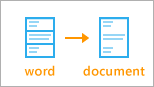
For instance, you can design a standard template, fully with Word headers and footers. When using this template on its own for outputting a document, all of the Word content will be used. However, when using it in the body zone of a composition, only Word's body content is used. Conversely, using it in the insert zone keeps the header and footer content in the document.
Composition rules
The following rules are used to generate a document when there are multiple segment templates in the composition:
-
Multiple templates in the same zone results in their contents being added to the document in the order in which they are defined in the composition:
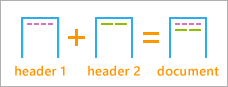
-
Inserts always start on a new page - so they appear the same in every composition.
-
The headers/footers are repeated on every page where there is body content. On insert pages, the Word header and footer of that insert are used. You can change these settings in the Composition rules for that composition in the Smart Flows Project Console.
First body template settings
The resulting document has a set of settings, such as the bottom margin, that are taken directly from the first body template. You may set these settings in other templates, such as the footer, but all these settings will be overwritten by the settings from the first body template.
Composing Templates
Use the Composition Builder to create a composition. It includes two main components:
-
A list of templates
-
Four boxes representing the document zones. A sample screenshot is shared below:
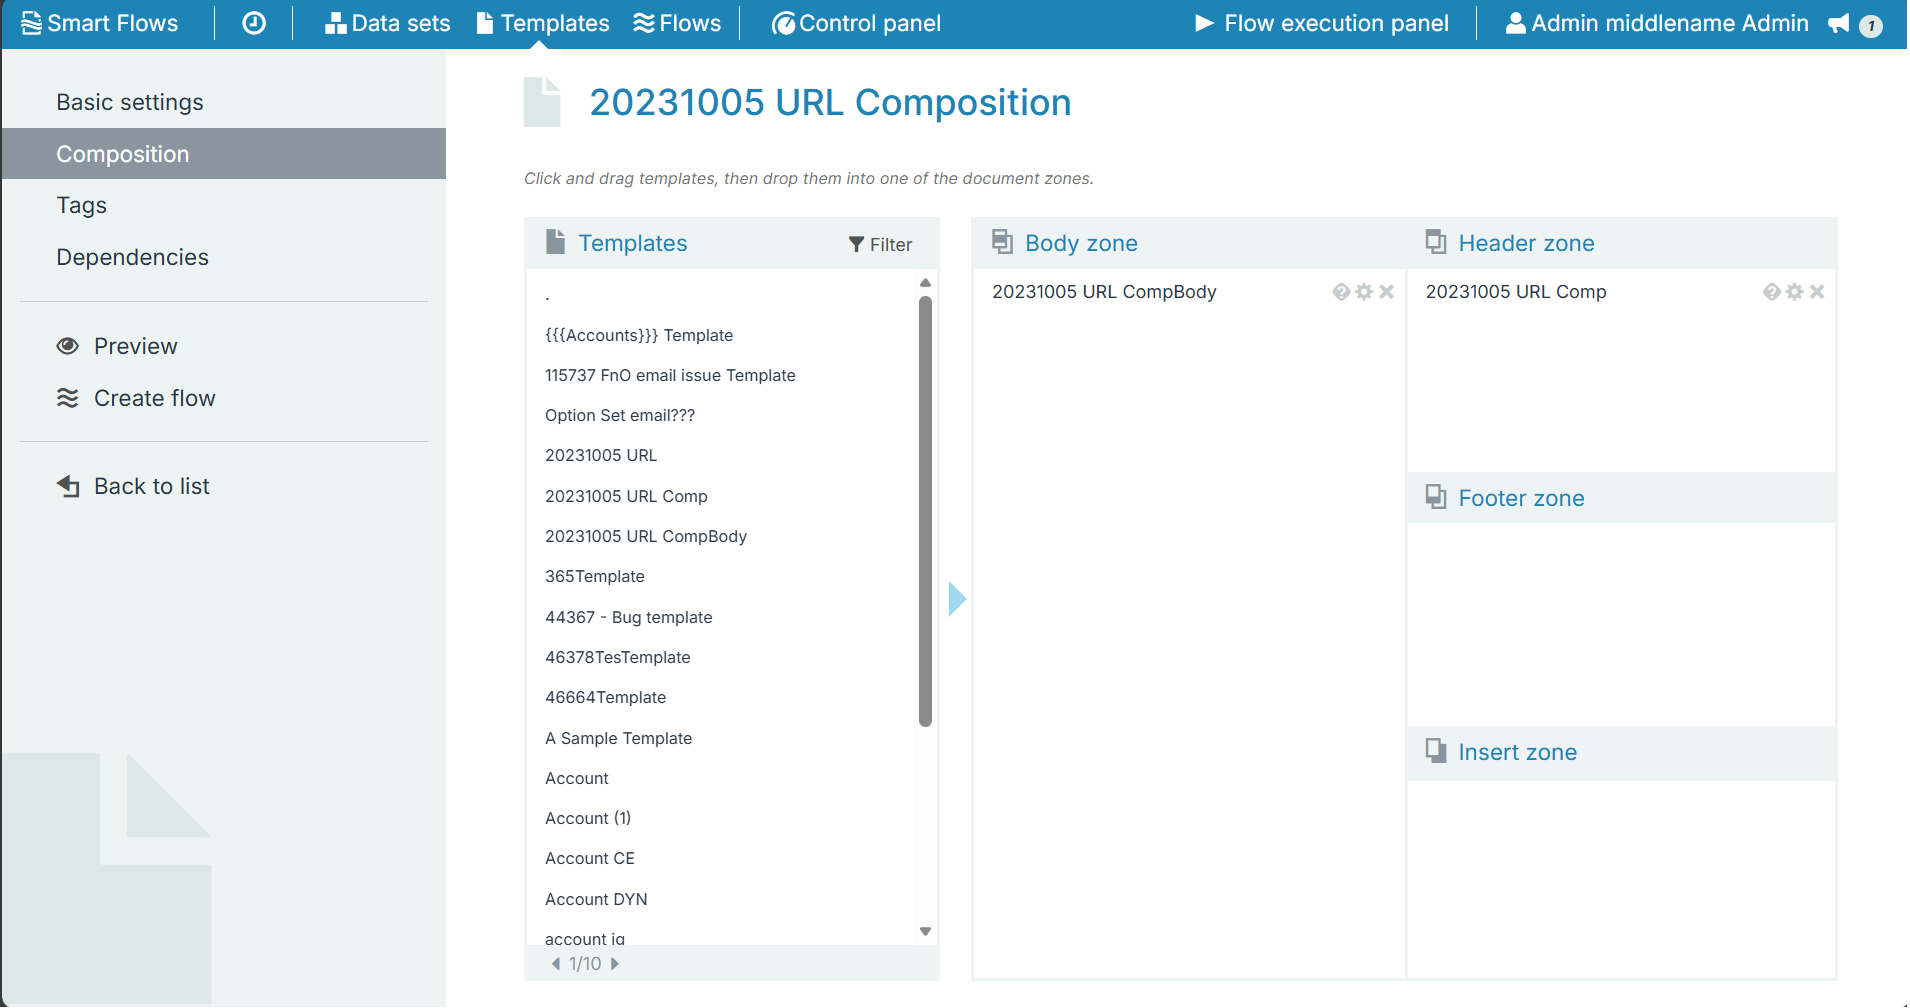
Adding a Template to a Zone
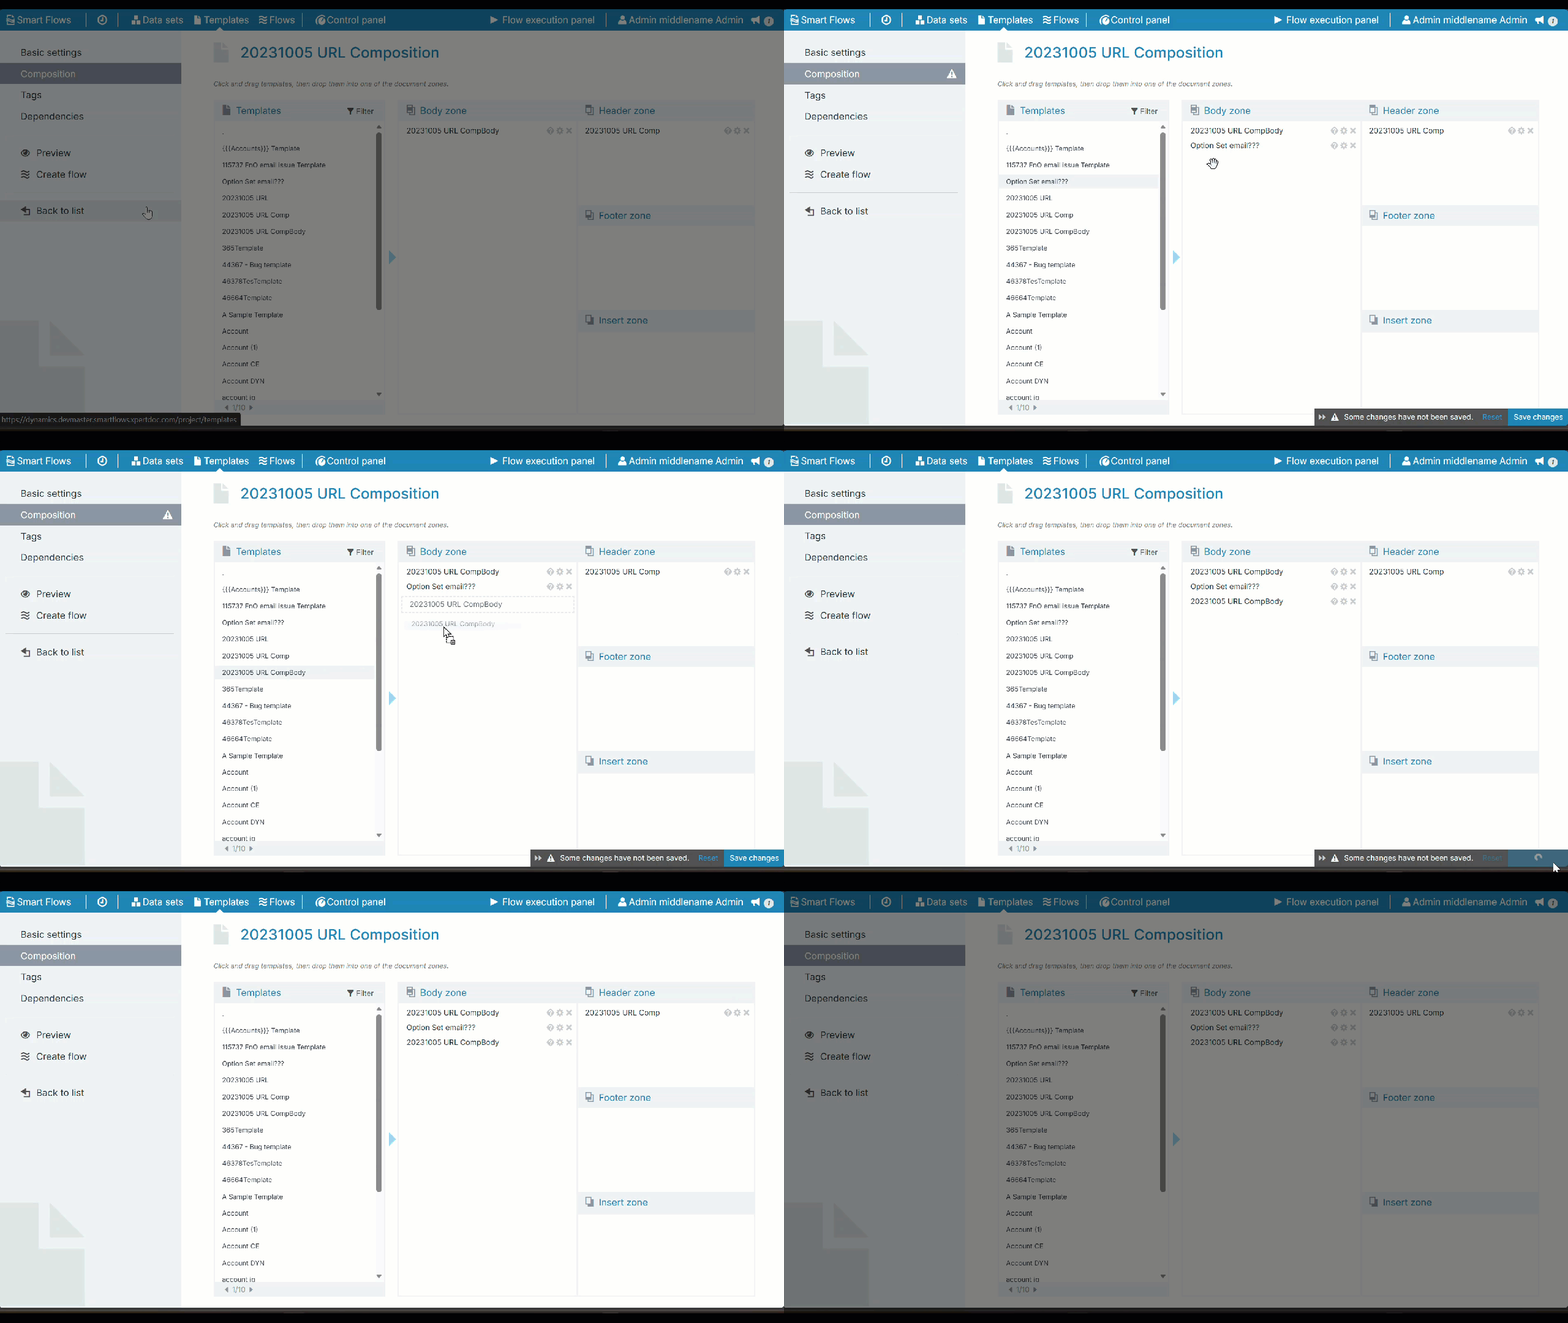
Drag and drop the templates from the List view into the preferred zone. You can add the same template to multiple zones or repeat it within a single zone. See Document Zones for more information.
Settings
Settings let you configure a template as needed. You can define the appearance of each zone using the 'Occurrence' and 'Break Behavior' options, which vary by zone.
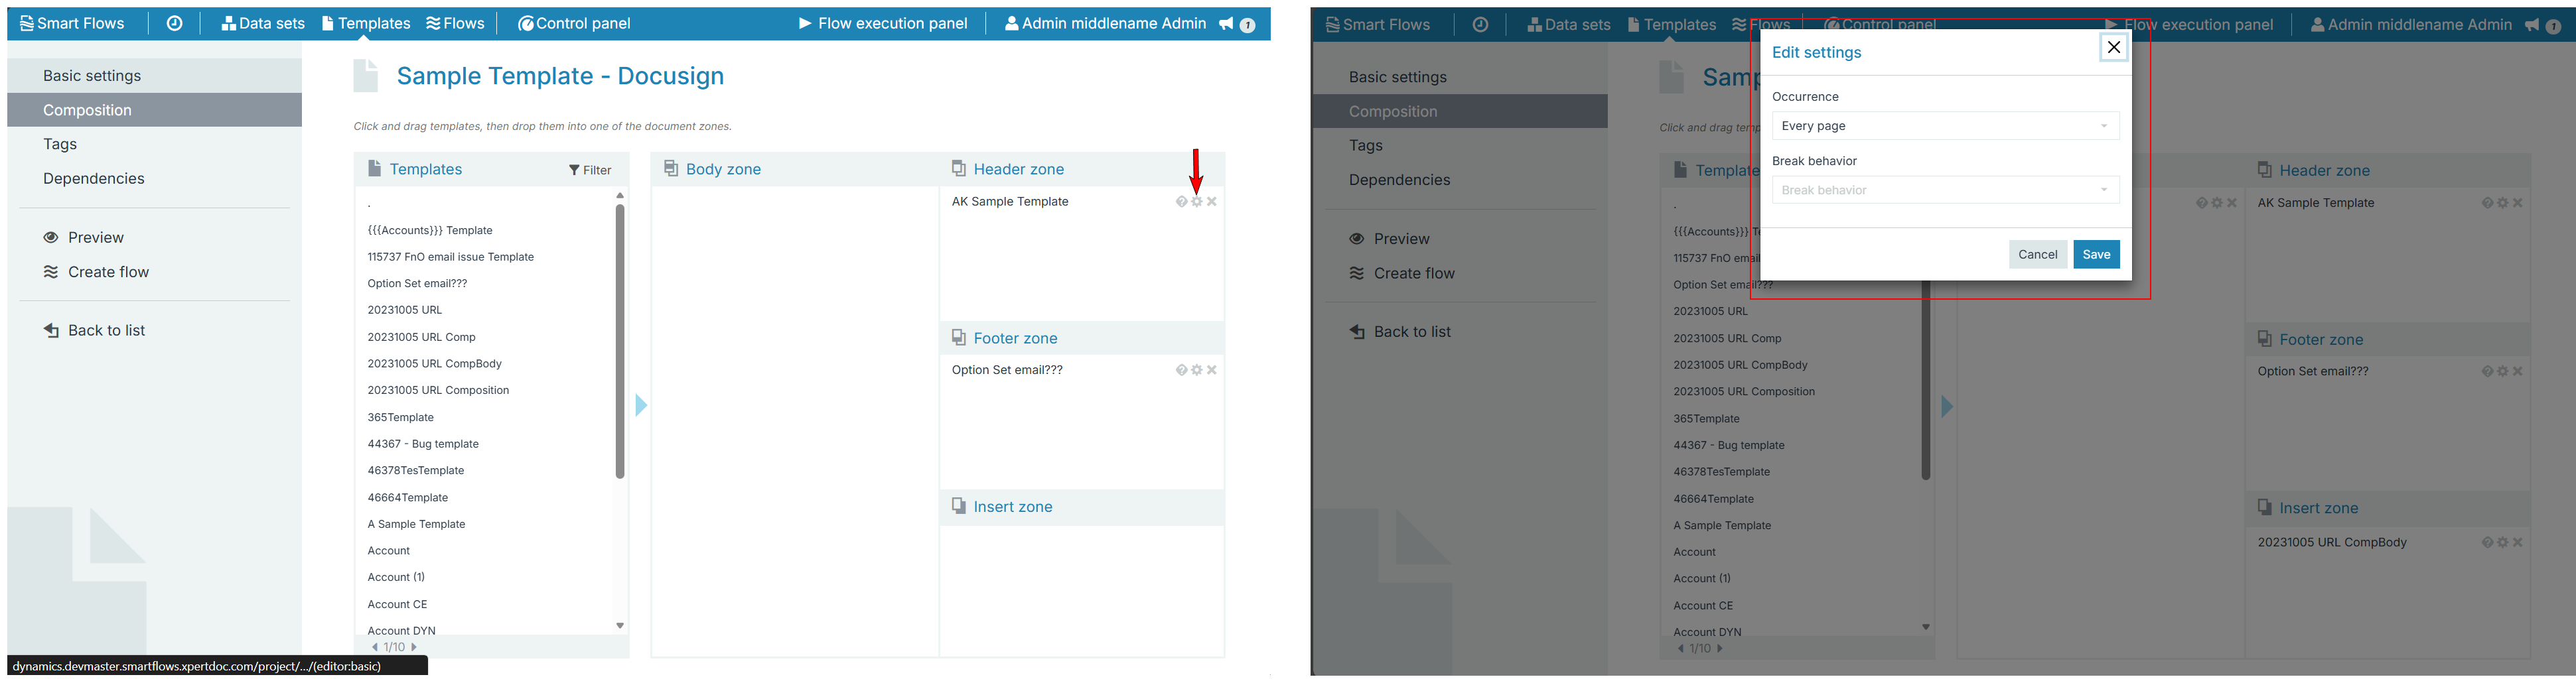
-
Break Behavior - Break behavior defines how you can insert your template into the composition.
|
Type |
Description |
|---|---|
|
None |
Add it after the previous template without making a new section. |
|
Continuous |
Add it after the previous template and make a new section. |
|
New page |
Add it to a new page. |
|
Odd page |
Add it on the first odd page after the previous template. |
|
Even page |
Add it on the first even page after the previous template. |
|
New Column |
Add it on the column break in Word. |
-
Occurrence - Occurrence defines places to insert the header/footer.
|
Type |
Description |
|---|---|
|
Every page |
Insert on every page. |
|
First page |
Insert only on the first page. |
|
Even page |
Insert only on even pages. |
Conditional Templates
-
Select the Condition button to include a template only if it meets a specific condition.
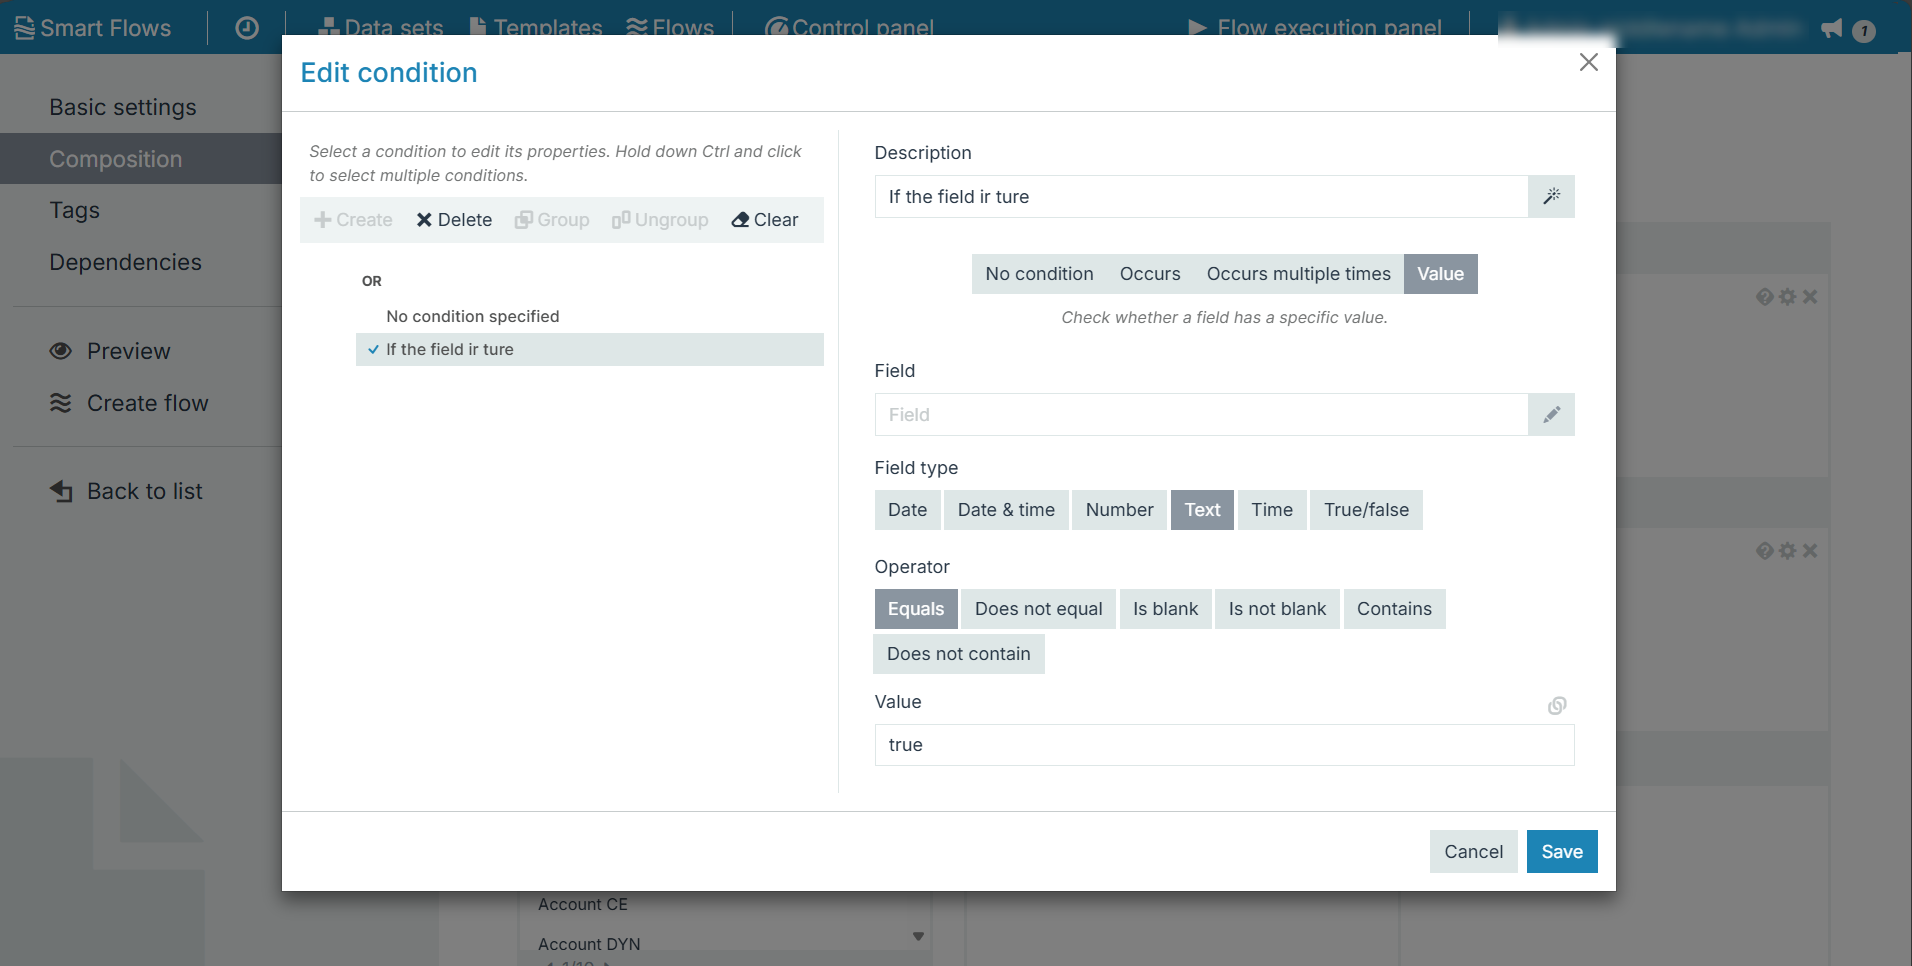
The Edit condition dialog displays.
The Field dropdown allows users to map data using selected enumeration values. This ensures consistency and accuracy in data entry and updates.
-
Select +Create.
-
Add Descriptions and select Field, Field type, Operator, and Value.
-
Select Save.
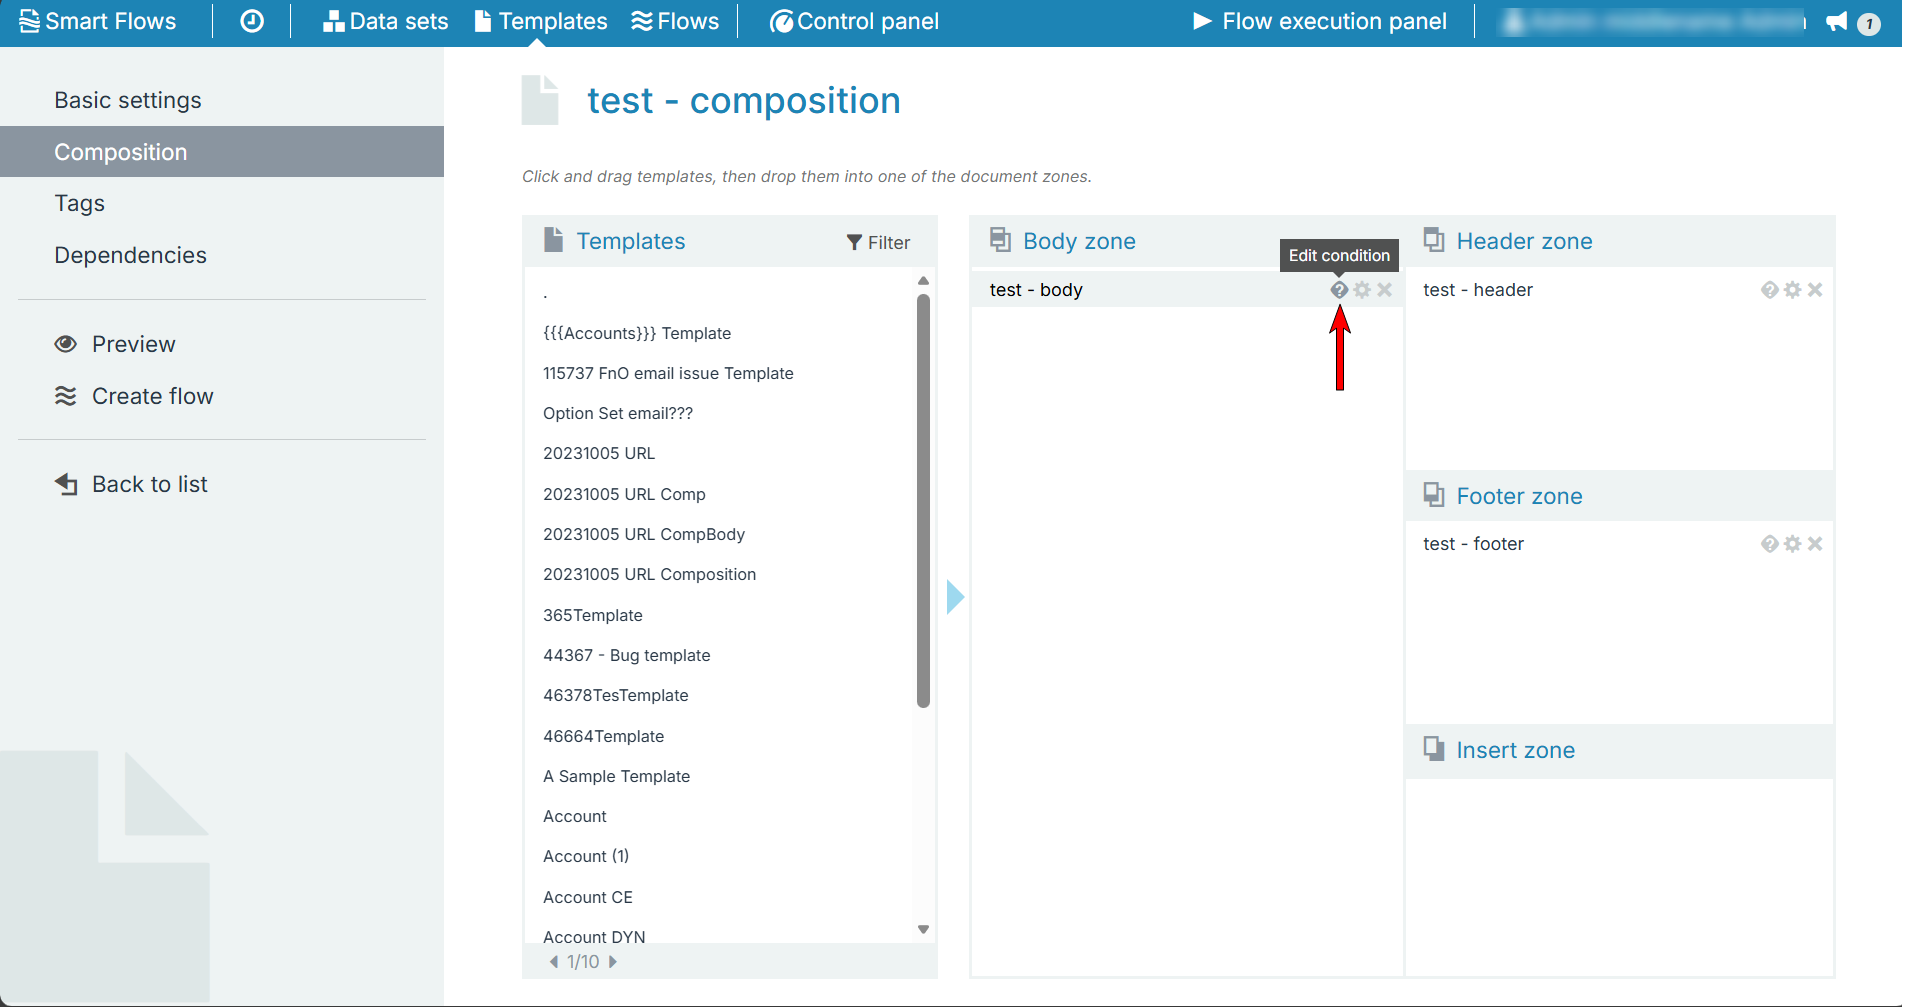
If there is no condition, the Edit condition button is grey.
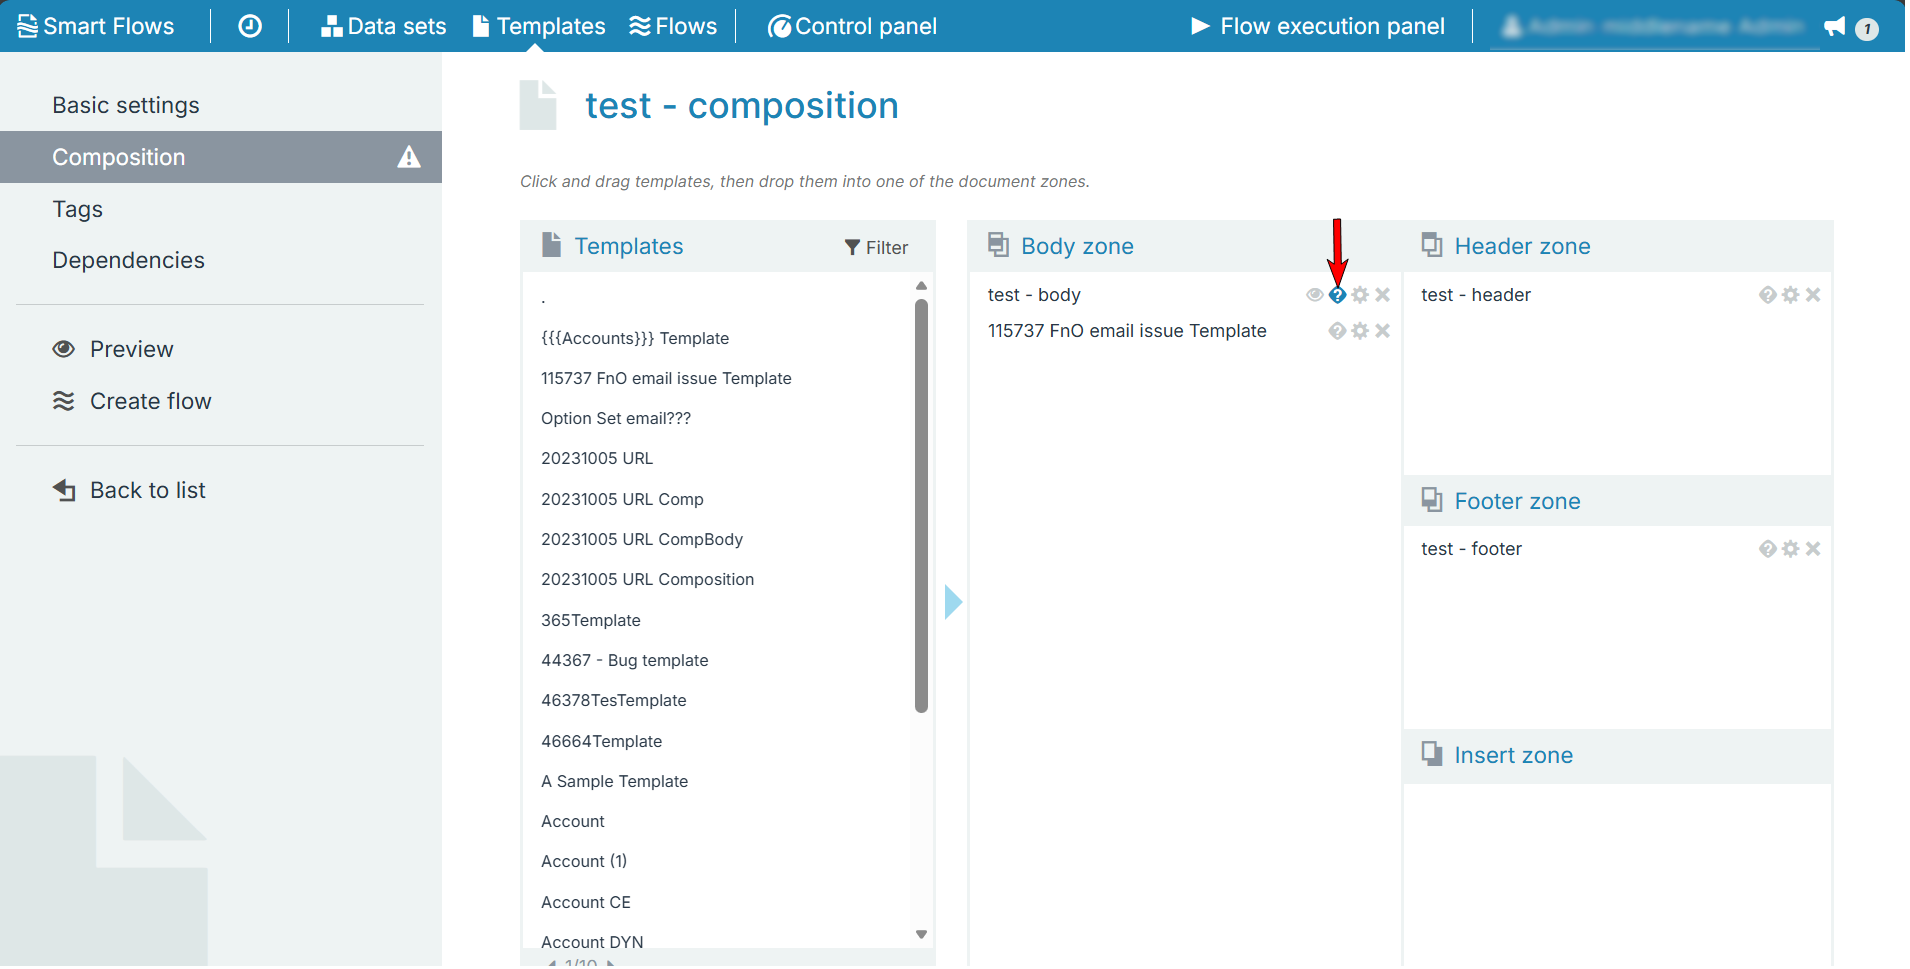
If at least one condition is set on a template, the Edit condition button is blue.
In compositions, you can use every field (from every data set and every template in the composition) in any condition, even if the currently selected template has no relation to the chosen field as long as the data set is somewhere in the composition.
Design
You can manage templates using the list view. Follow the below steps for designing your templates.
Designing Templates
-
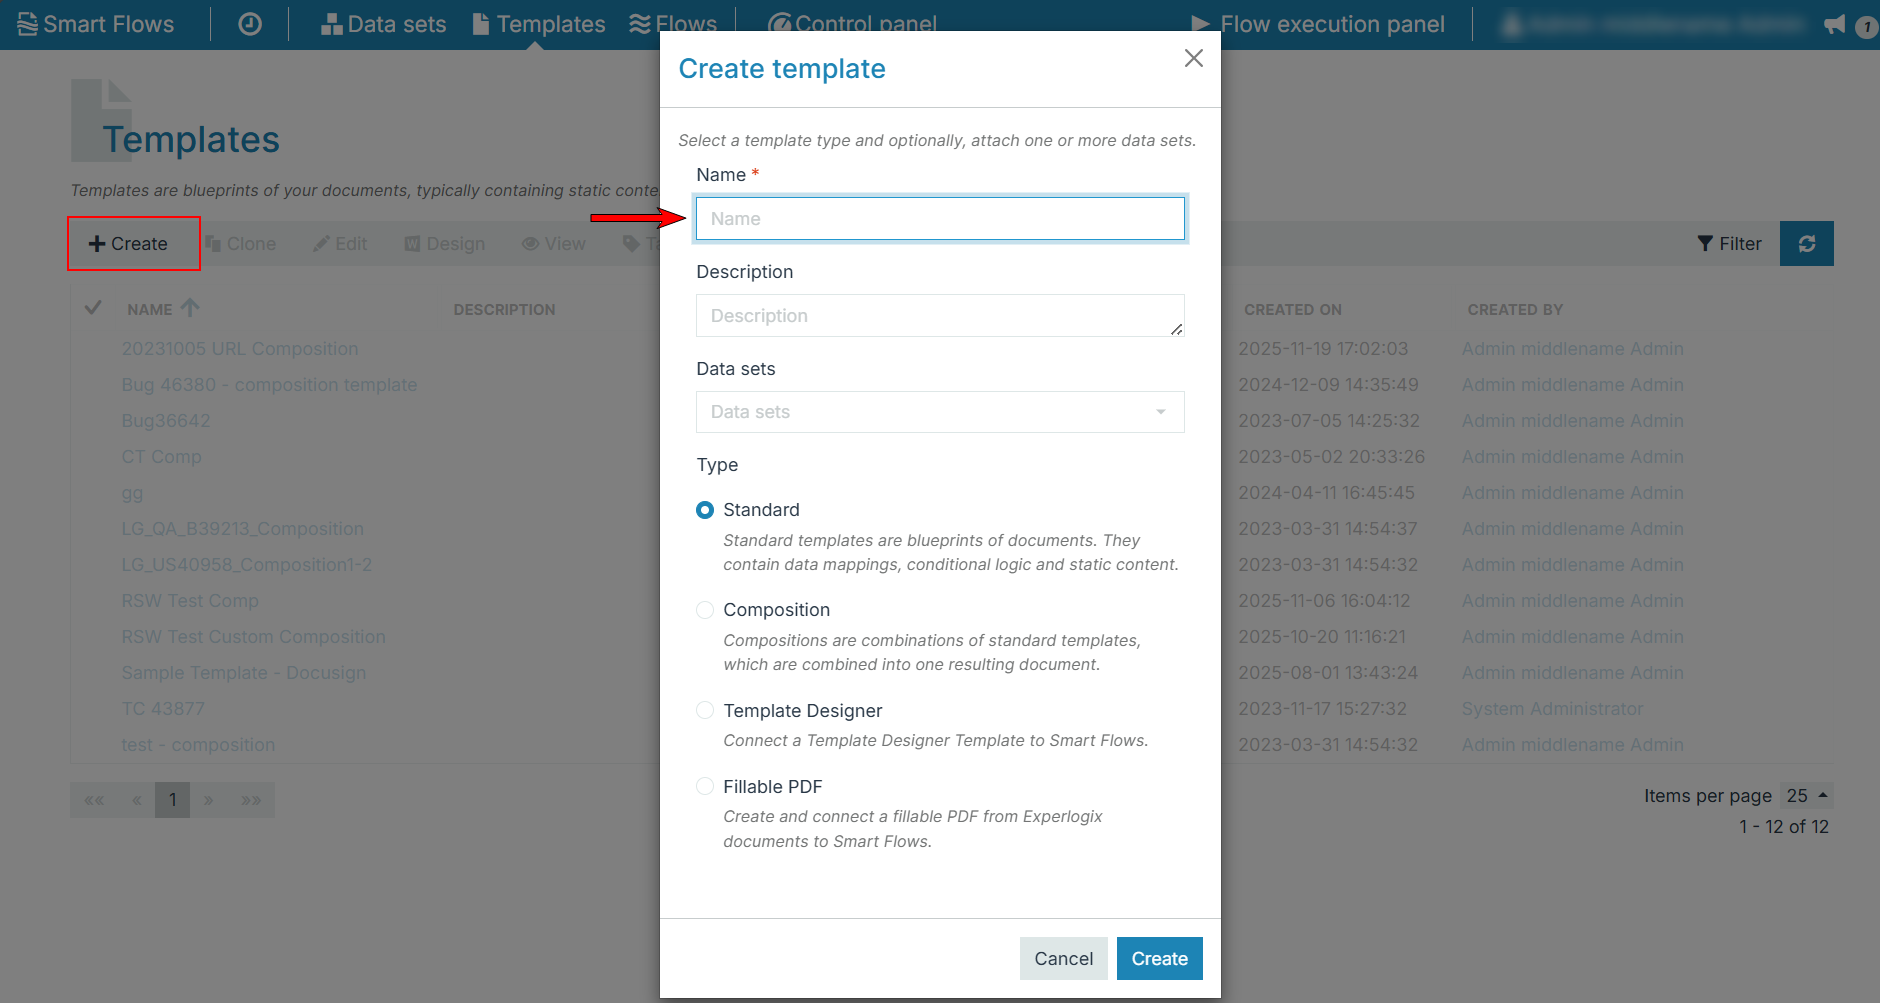
In the Project Console, select Template > Create.
-
Create the template.
-
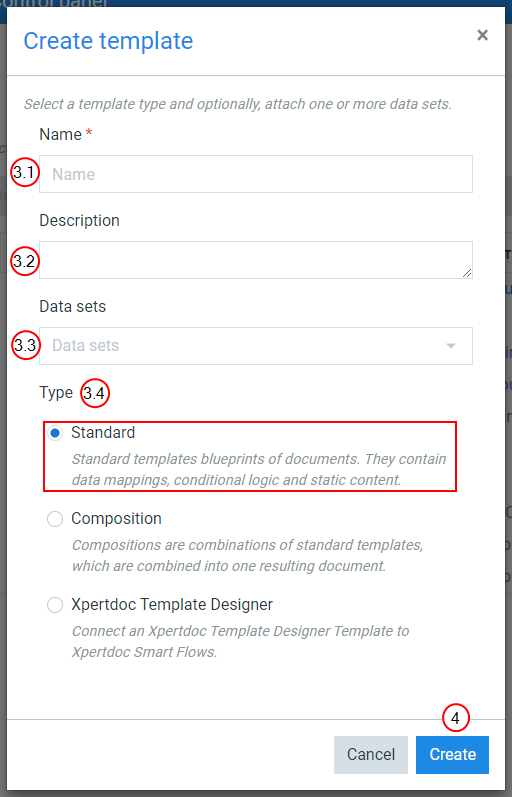
In the Name field, input the name of the template.
-
(Optional) In the Description field, input a description for the template.
-
(Optional) In the Data sets dropdown menu, select the Data sets you want to use for your template.
-
Select your desired Type of template.
-
Decision Point
There are three types of templates - Standard, Compositions, and ExperlogixProject Console. See Template Types to determine the correct template type for your application.
-
Select Create.
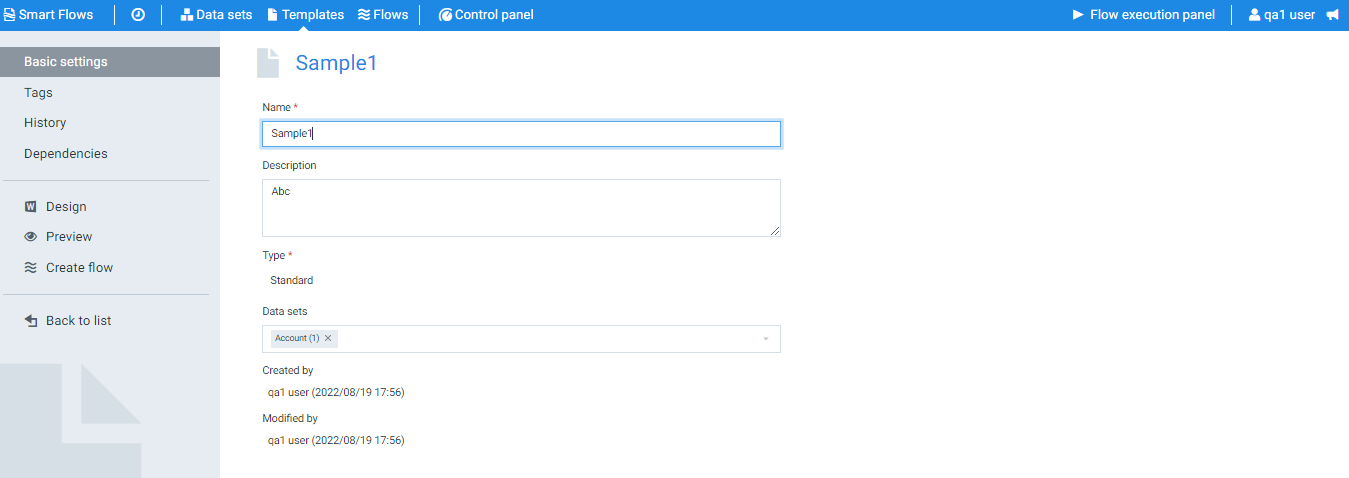
The Create template window no longer displays. The List view refreshes to display your new template. The system redirects you to the Template Builder, which allows you to design the layout of your template in Microsoft Word.
-
In the left navigation panel, select Design.
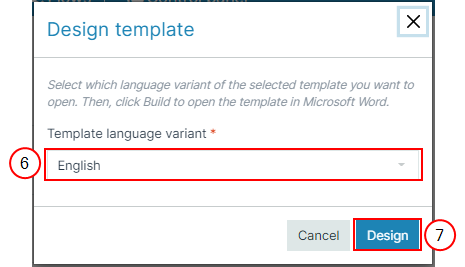
The Design template window displays.
-
In the Select language variant dropdown menu, select the language variant of the templates you want to open.
-
Select Design.
It downloads a .docx file containing all the information the Word add-in needs to open it as a Smart Flows template.
-
Open the downloaded file to design your template.
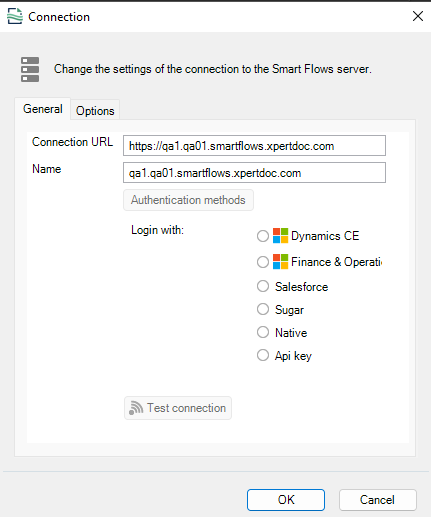
The Connection dialog displays the connection URL, connection name, and list of authentication methods.
-
Select the Authentication method you want to log in with.
-
Select Test connection > OK.
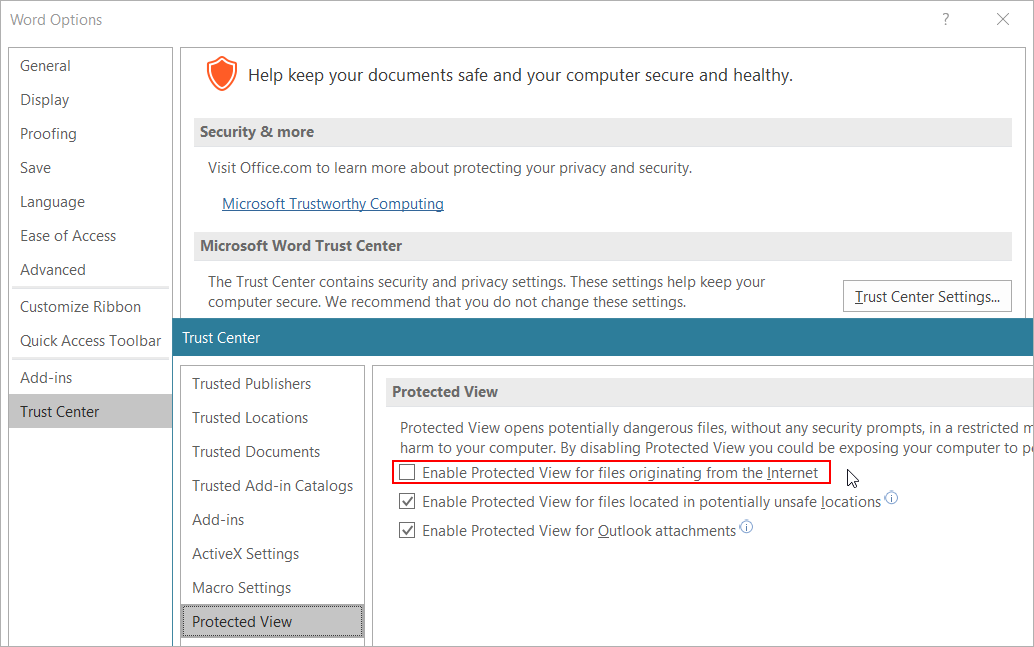
When the testing process completes, a success message displays stating, "The test succeeded!" You can start designing your template and mapping your data set. In the Word add-in, ensure you disable the Enable Protected View for files originating from the Internet. If you select the checkbox, the Word add-in may not recognize it as a valid Smart Flows template if you open it from your browser.