
The Project Console is the central workspace for managing and configuring your Smart Flows environment. It provides a structured interface that enables users to navigate key components, perform actions, and monitor system behavior efficiently. This topic introduces the core elements of the interface, helping you understand how they work together to support your workflows.
Project Console Interface Overview
This topic provides an overview of the interface elements you’ll interact with most often while using the Project Console. It defines each core component of the user interface and explains how those components support navigation, configuration, and user actions.
Understanding the layout and behavior of the interface is essential for both new and experienced users. This topic covers the Menu bar, Sidebar, Control Panel, Dialogs, and views like List and Detail, helping you locate features and interpret notifications across the Smart Flows ecosystem.
Navigation
Menu bar
The menu bar is the main way of getting from one item to another. This bar is always visible and takes you to the main sections of the Project Console.

Sidebar
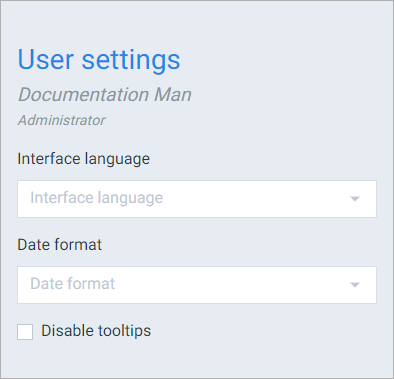
Selecting your user or the question mark will bring up the sidebar, which offers additional options:
Recent items
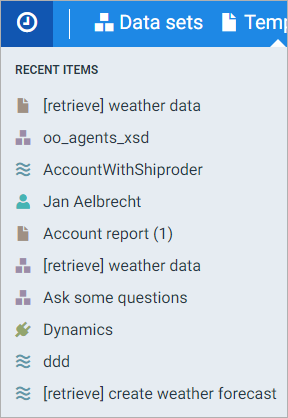
Selecting the clock shows you a list of recent items:
Control panel
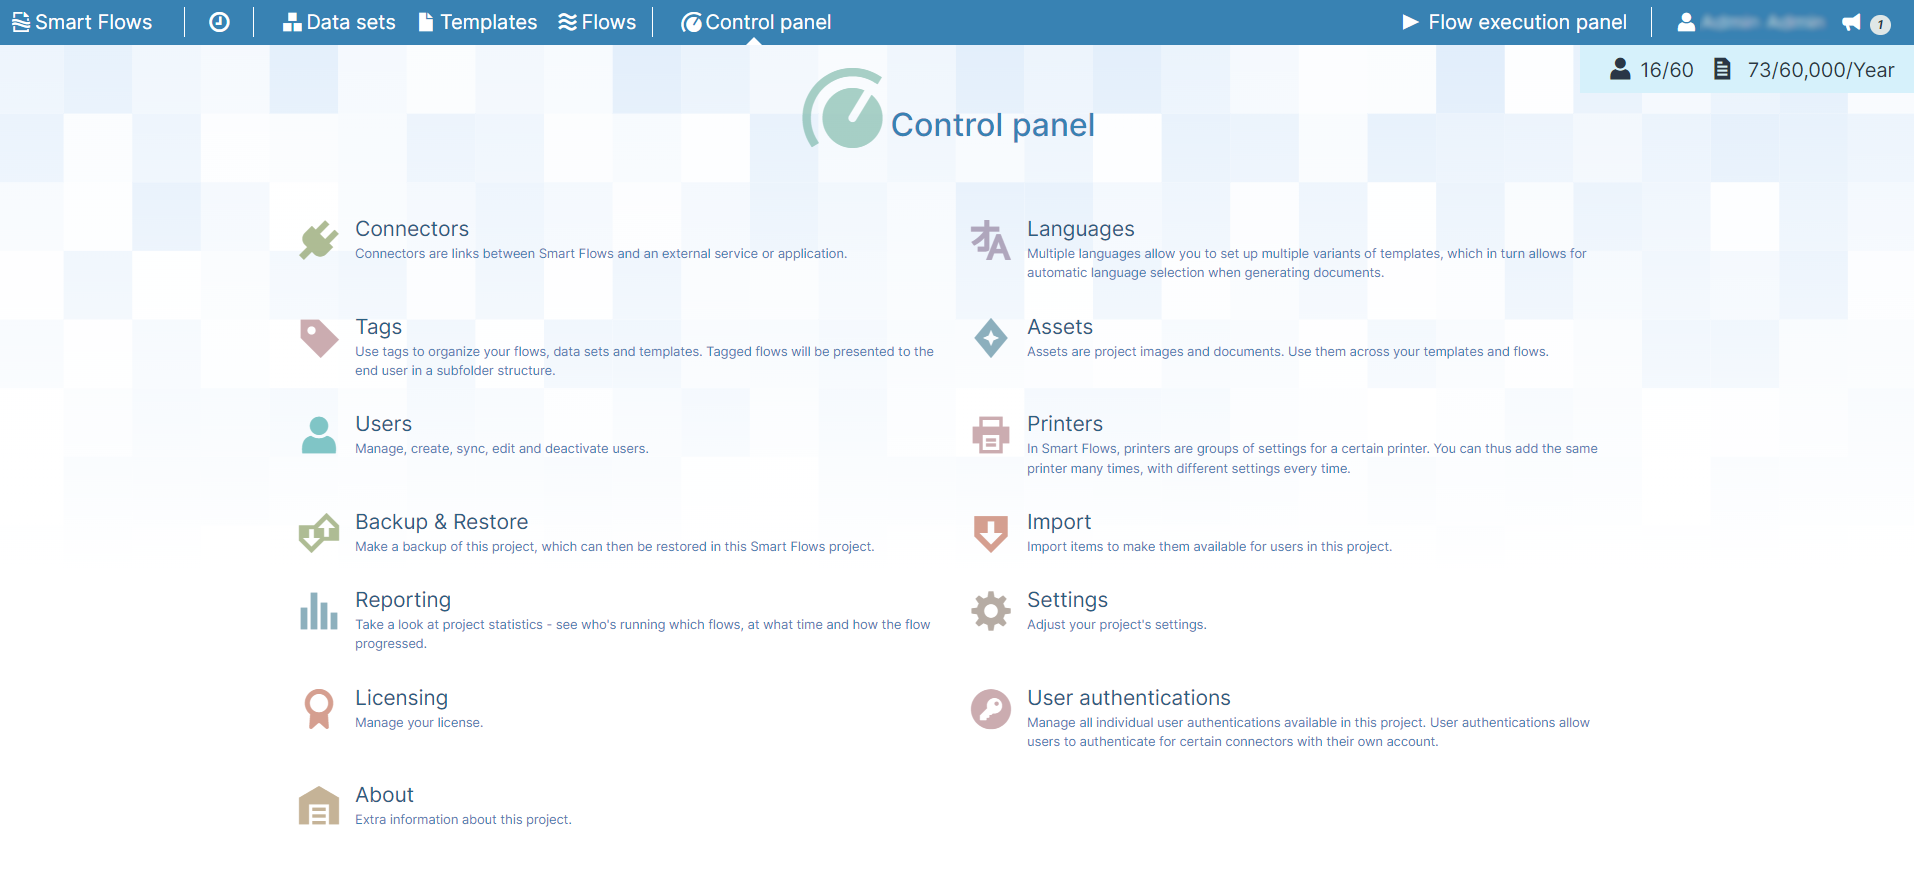
The control panel is accessible from the menu bar. Here you'll find things that are generally used for configuration and setup. The control panel is accessible both as an administrator and a designer, but a designer will have less options.
Dialogs
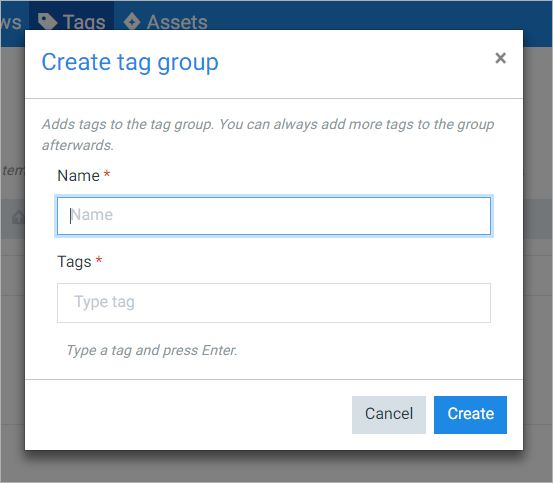
Dialogs are overlays that require your attention.
List view
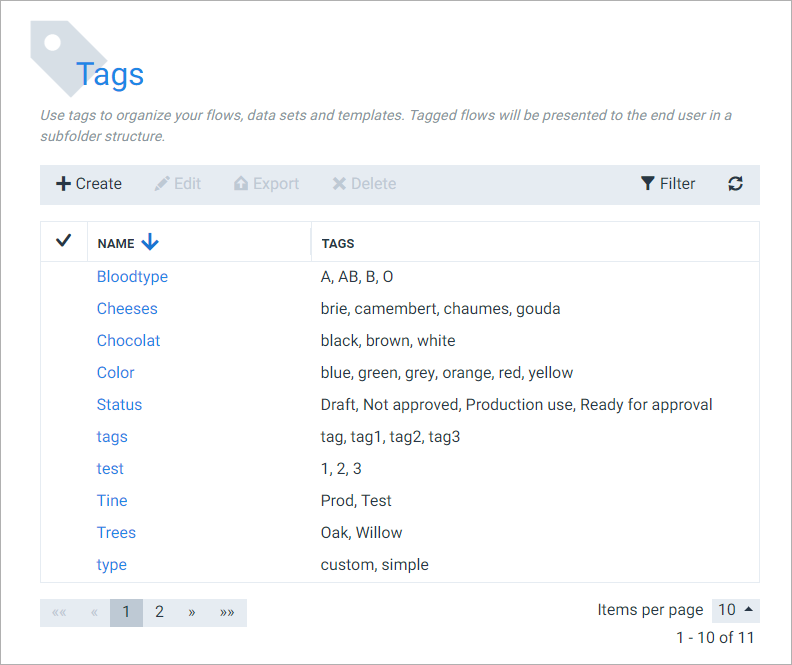
The List view shows a table full of data about a certain Smart Flows entity and an action bar to do something with the items in that table. You can also filter items, reorder them etc. See the List View for more details.
Detail view
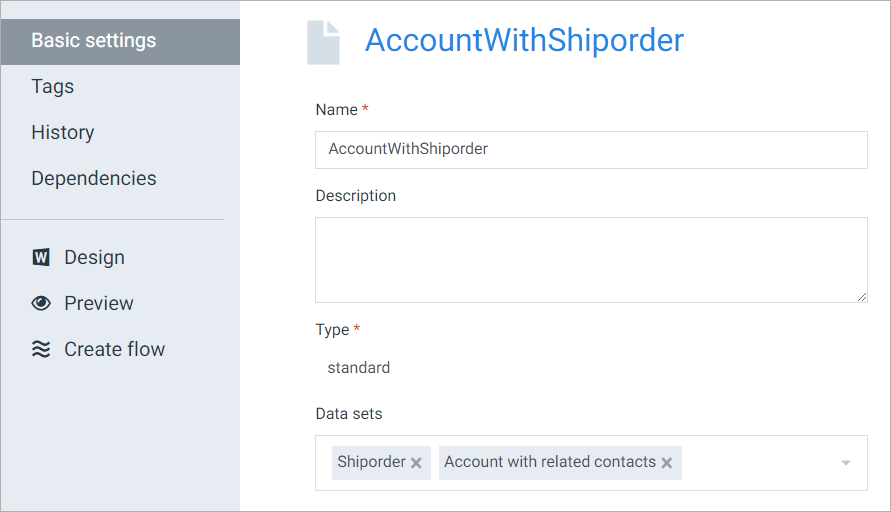
The detail view shows you details about a selected entity in Smart Flows. Select an entity in a menu to the left to bring up that info to the right.
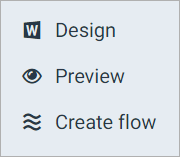
Menu items with an icon next to them are actually buttons: they open a dialog or take your somewhere else:
Saving changes
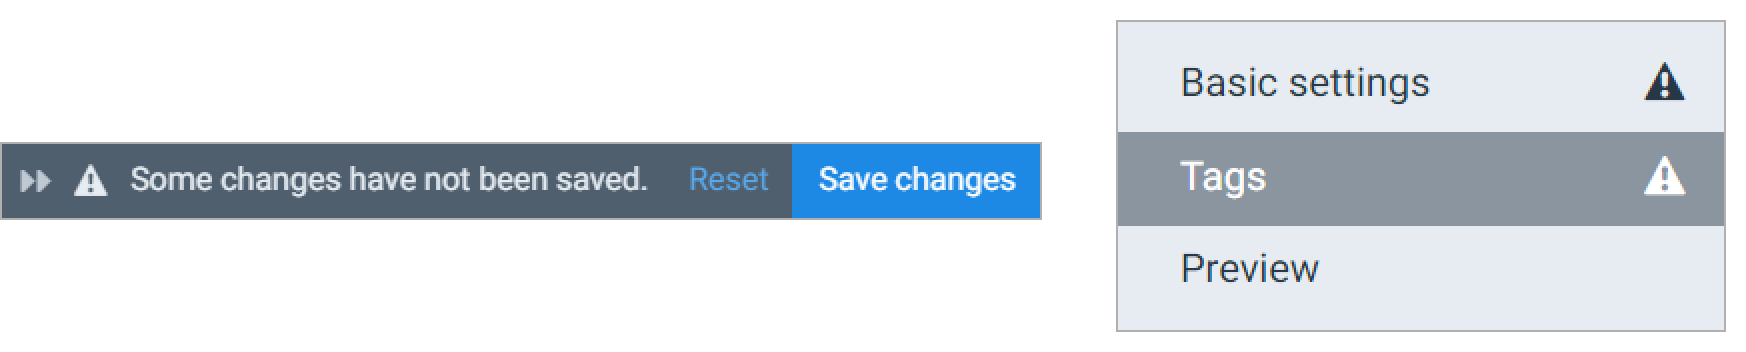
Once you've made changes to anything, you'll notice the save bar displays with two buttons:
-
Save Changes - Saves the current changes. You can also use Ctrl+S to save changes.
-
Reset - Resets all changes made.
If you've got unsaved changes in a certain section, you'll see a warning icon on that section.
Notifications
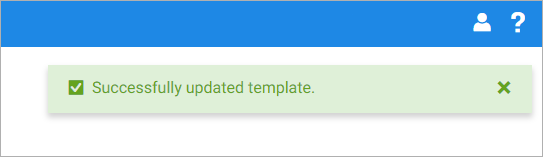
Notifications display throughout the Project Console in Smart Flows. These appear in the top-right corner.
Informative
Purely informative notifications display in blue. You can change how long they stay on screen in the User Interface under Settings in the Control Panel.

Success
Notifications confirming successful actions in Smart Flows display green. You can change how long they display in for all users via Settings/User interface in the Control Panel.

Errors
Error dialogs display when something has gone awry in Smart Flows. Error dialogs display in red. The Error dialog contains the following options.
-
Show -Display the full error message.
-
Copy to Clipboard - Copies the entire error message to the clipboard, making it easier to share with support or Administrators. See Support for more details on contacting support.
-
Download - Downloads a the full error message to your local drive to enable you to share with others.

The List View
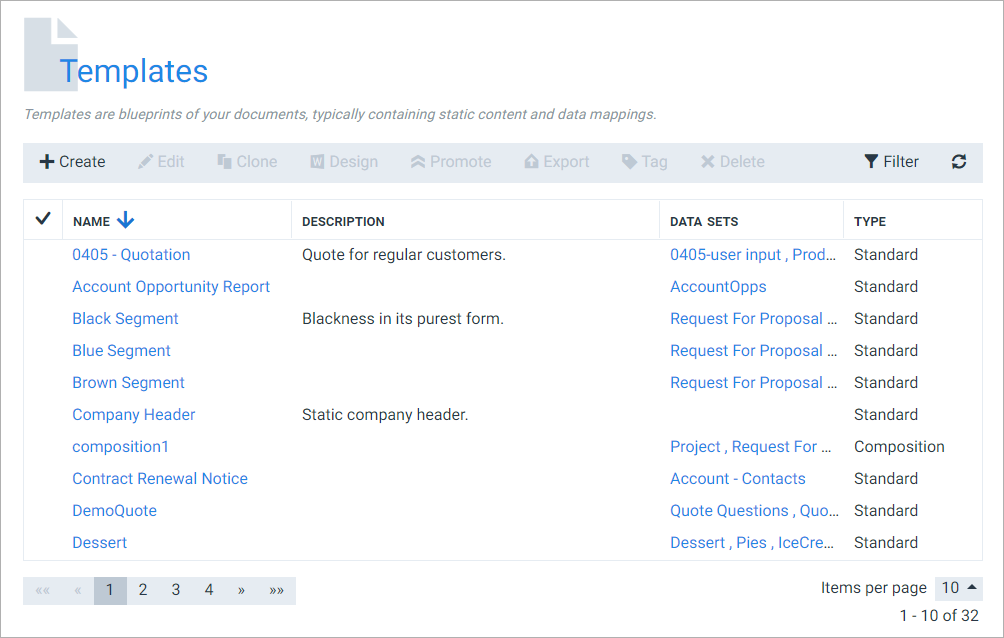
The Project Console's List view is essential for managing Smart Flows entities, providing a detailed table for creating, editing, or deleting entities. It features an action bar for executing various tasks dependent on the part of the Smart Flows interface you are viewing.
The action bar
The action bar is located above the List view and provides contextual appropriate actions depending on entities present.

Using the List view
Selecting Entities
To perform an action on an entity, first you must select it. To select an entity, select on the row of the entity you want to select. Repeat this procedure to select multiple entities.
You can deselect an entity by clicking on the row again.
To select all entities in the current view, select the selection icon in the top-left of the List view.

Performing actions on entities
To perform an action on an entity or entities, first select the entity or entities, then select the action you want to execute in the action bar.
There are a few exceptions to this rule, such as +Create, which you can execute without selecting an entity.
Common Actions
Create
Create will bring up a window where you give your new entity a name, a description, and a few required settings.
For instance, the Create template modal window:
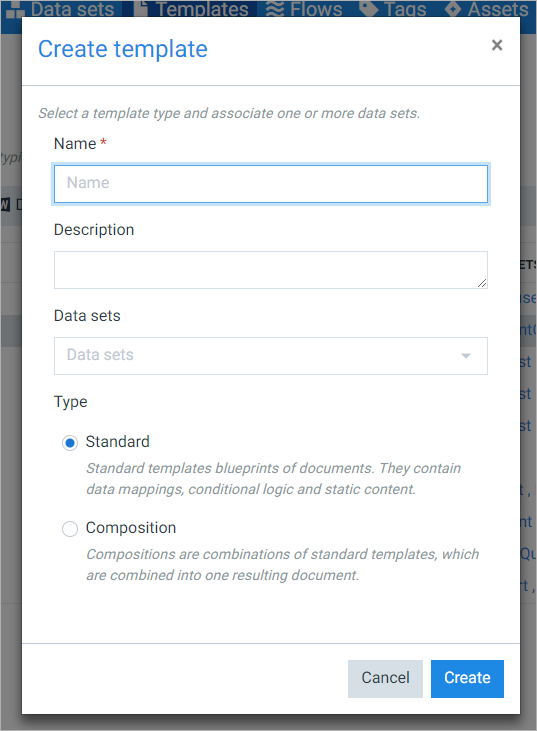
Clicking Create will take you to the detail view of that entity.
Edit
Edit is used to change an entity's settings. Clicking it will take you to the detail view of that entity, where you can change the entity's properties.
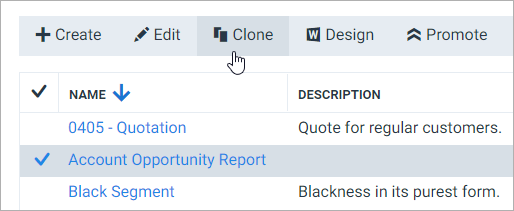
Clone
Clone creates a copy of the selected entity. Clicking it brings up a Clone window:
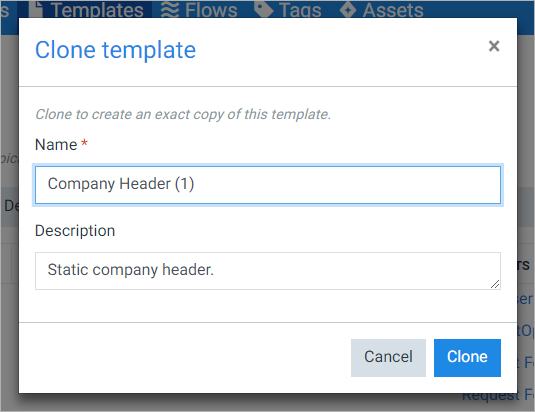
Clicking Clone will take you back to the List view, with the cloned entity added to the list.
Delete
Delete deletes the selected entities and removes them from the list. If one (or more) of the entities has any inbound dependencies (entities that depend on this one to exist, such as a template that needs a data set), you'll get the following window:
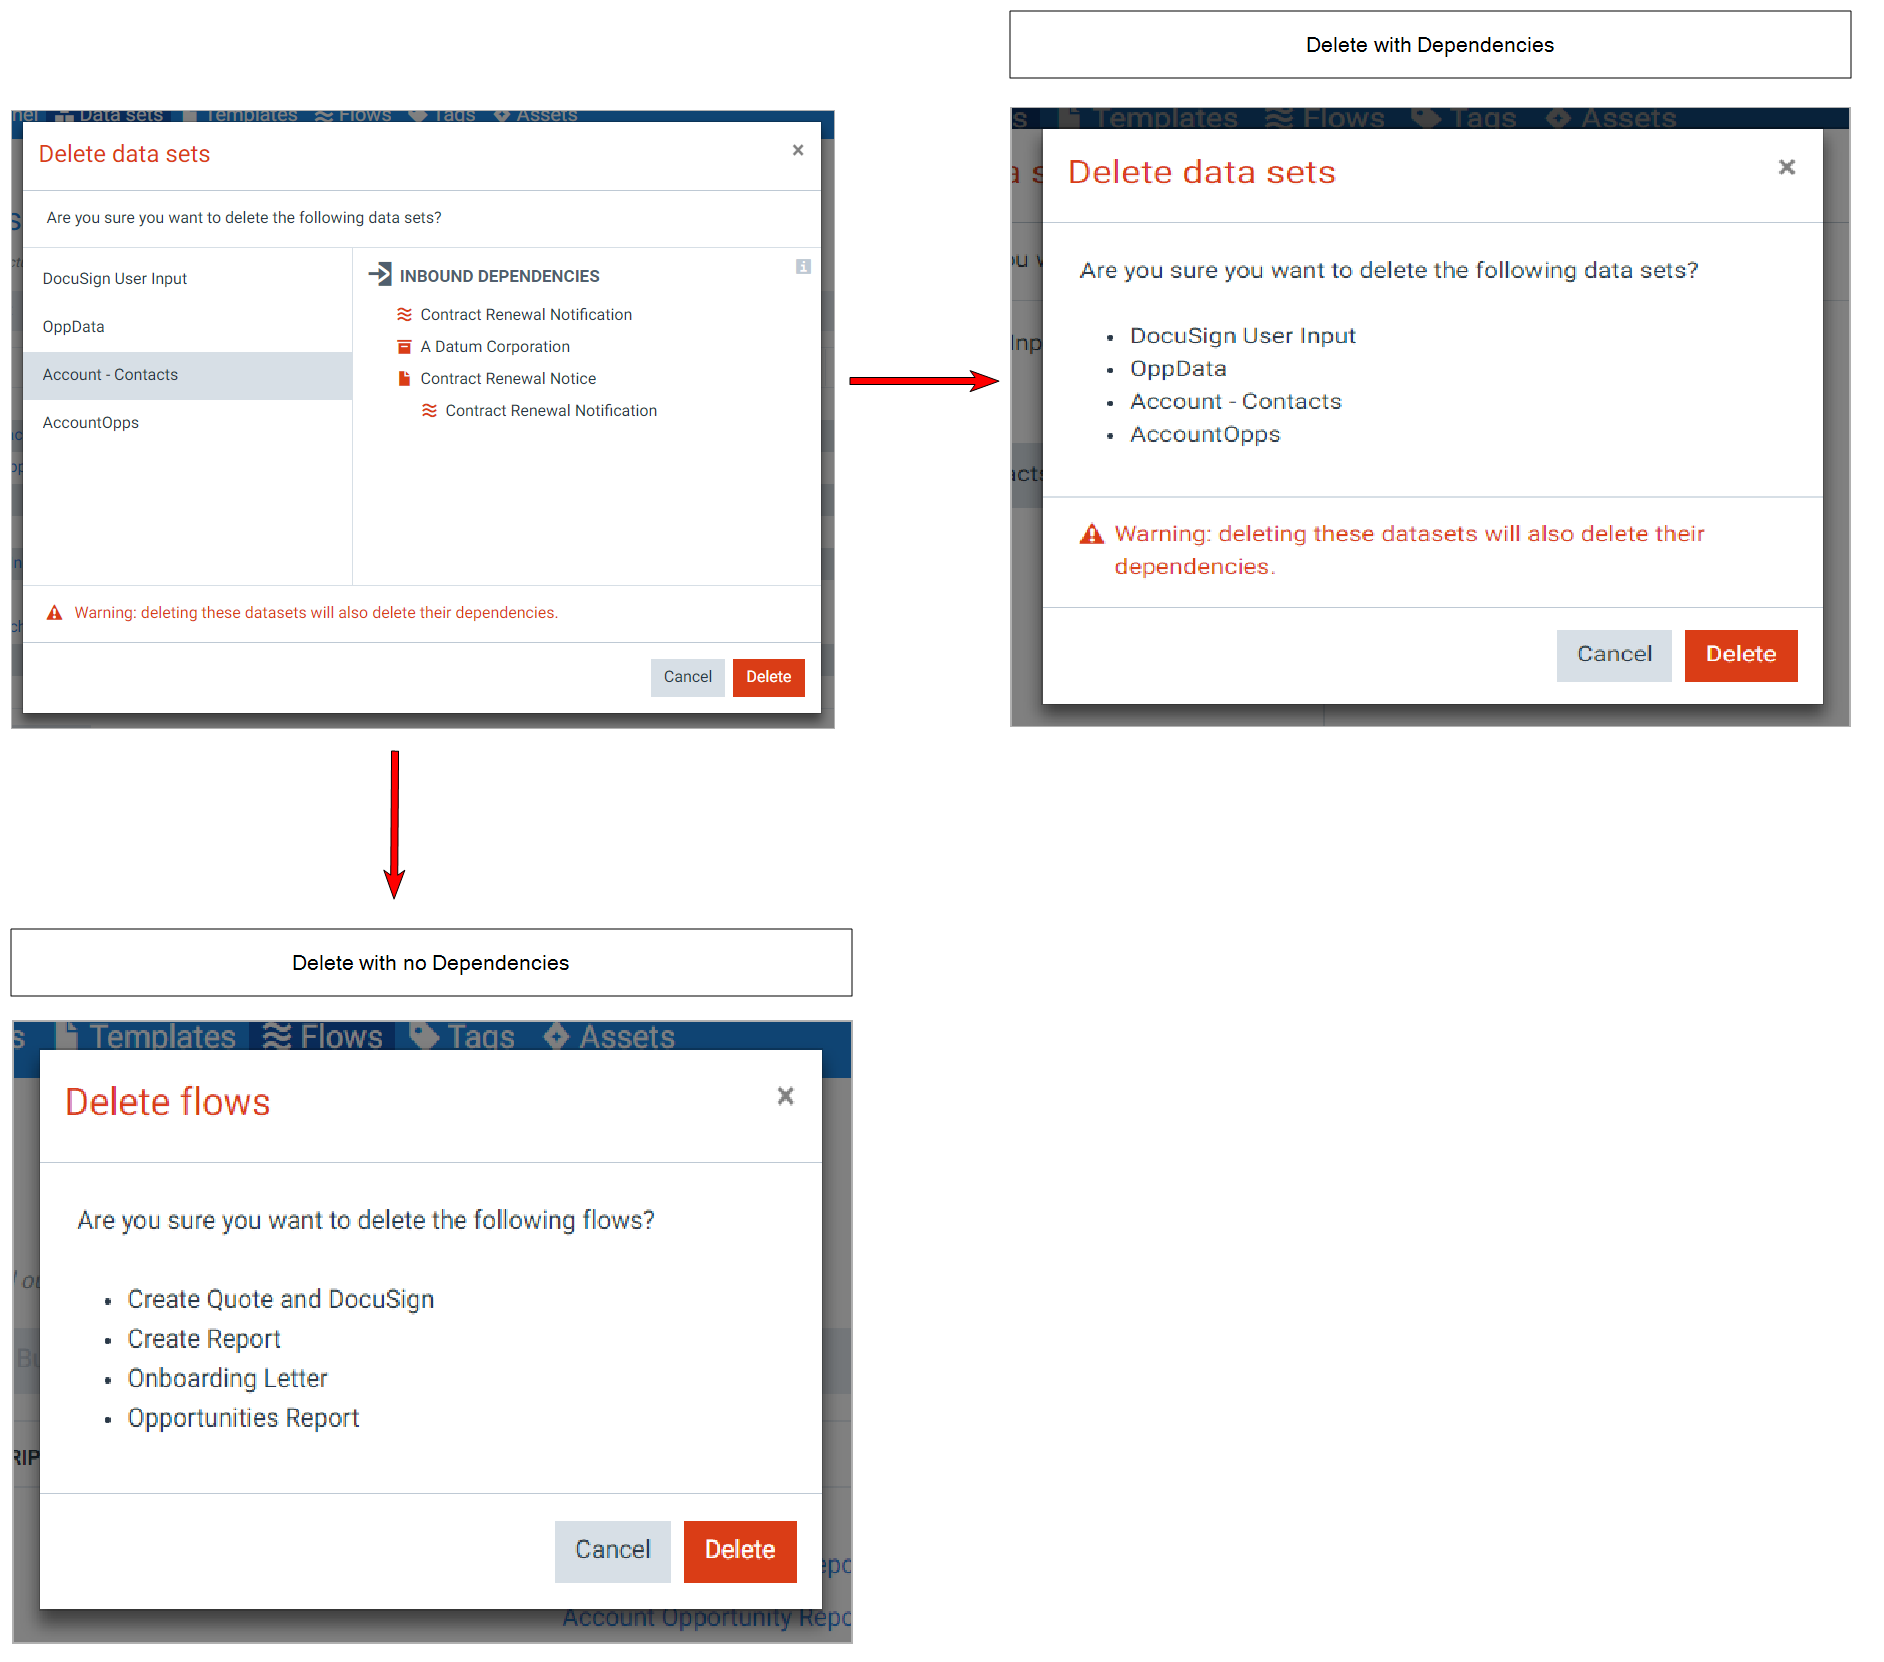
Clicking Delete will ask you again whether you really want to delete the entities:
If you select Delete again, all the selected entities and their inbound dependencies will be deleted.
If the entities you selected don't contain any inbound dependencies, you'll get a simpler window.
Note that this is the final window - clicking Delete here will delete the entities.
Export
Export exports the entities in a zip file, which can be imported again through the Control Panel. Can be useful for sending entities to the Experlogix support team, or to move entities from one project to another. Select it to bring up this window:
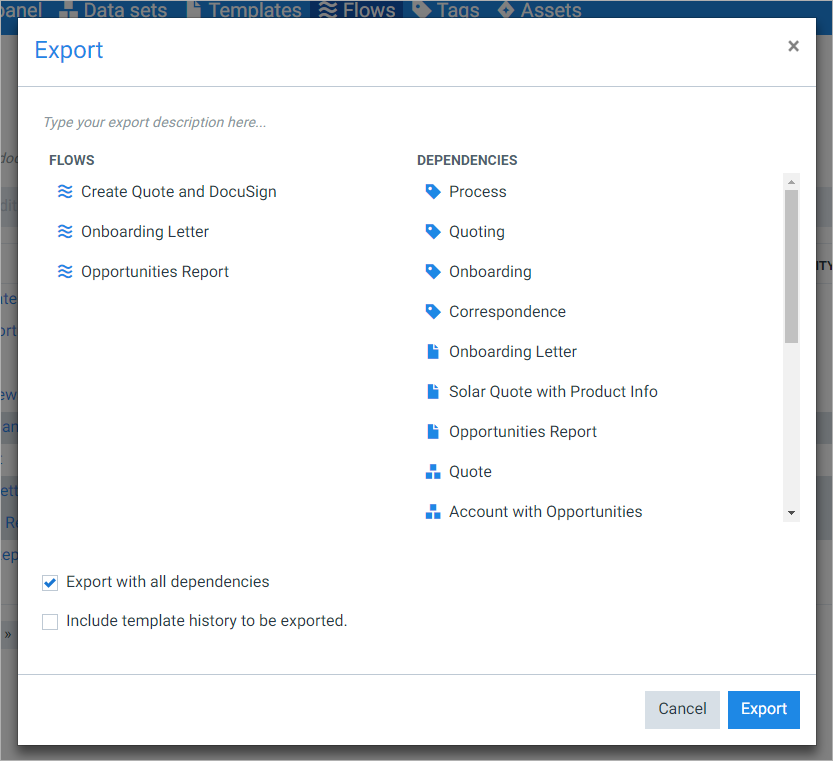
The zip file will contain all of the outbound dependencies as well (entities that are needed by this entity to exist), if you check the Export with all dependencies checkbox. Check the Include template history to be exported if you want to include all of a template's versions.
Set as default
Set as default makes the currently selected entity the default. This is required for connectors, languages & printers. The default is used whenever you don't specify any other.
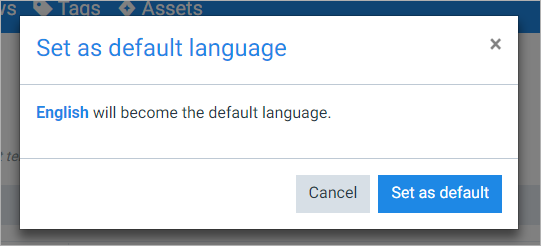
Select Set as default to make the selected entity the default.
Direct links
In the List view tables, you may find properties of entities written in blue:
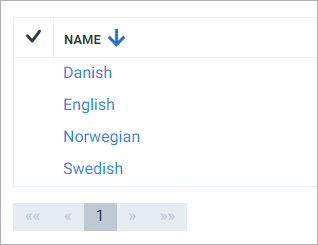
These are clickable links. In most cases, these take you to the detail view of the entity you clicked.
Changing the view
There are a few things you can do to change the List view's appearance:
Entities per page
You can expand the table so that it show more entities. Select the number below the table, to the right, and choose the number of entities you want to show per page:
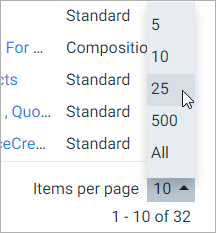
If there are more entities than the number of entities per page, you can go through the pages with the controls under the table, to the left:

Filtering
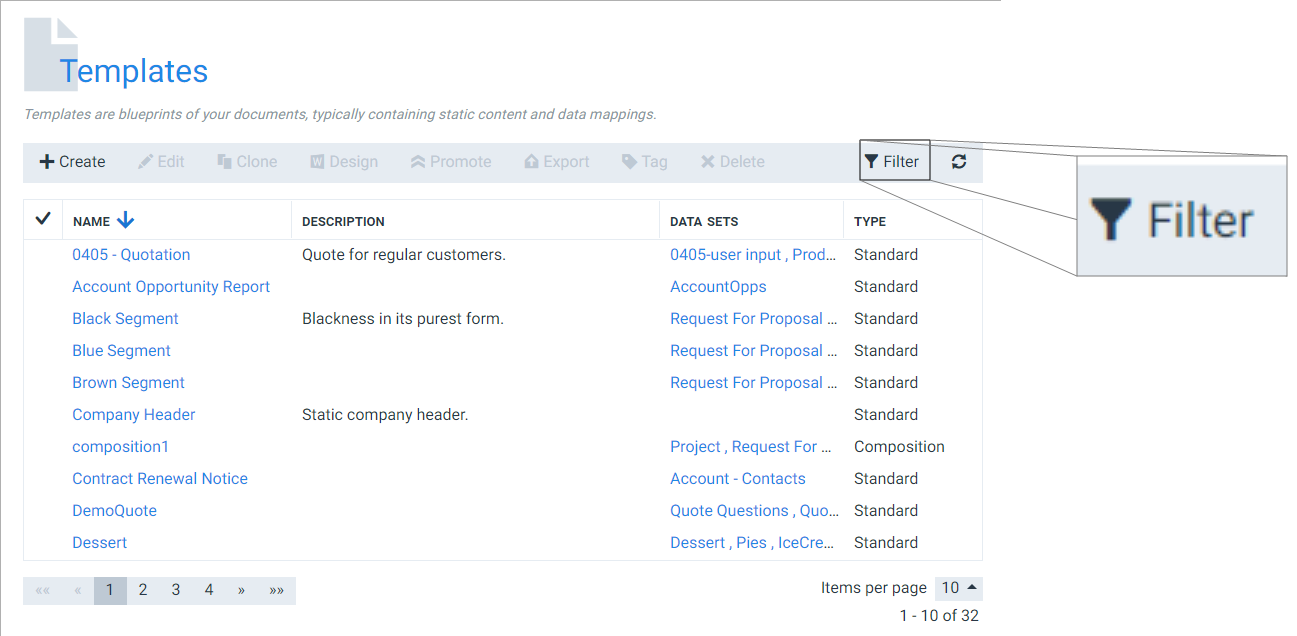
You can filter the table so that it only shows certain entities. Select the Filter button to bring up the filter options:
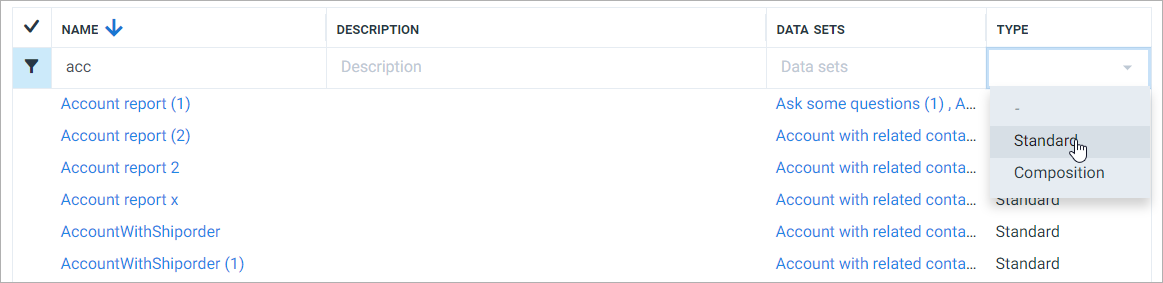
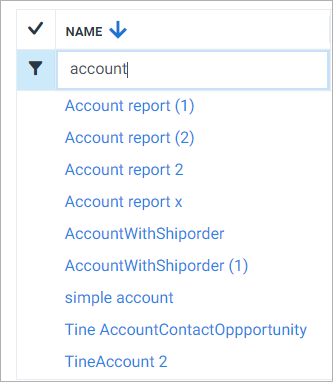
Start typing in one of the boxes to automatically filter out the entities that don't have that sequence of letters in them (for that column). For instance, typing account in the Name column will only show entities whose name contains account:
Data sets, templates and flows can also be filtered according to the tag they carry:

Sorting
You can sort the table on a certain entity by clicking the column header:
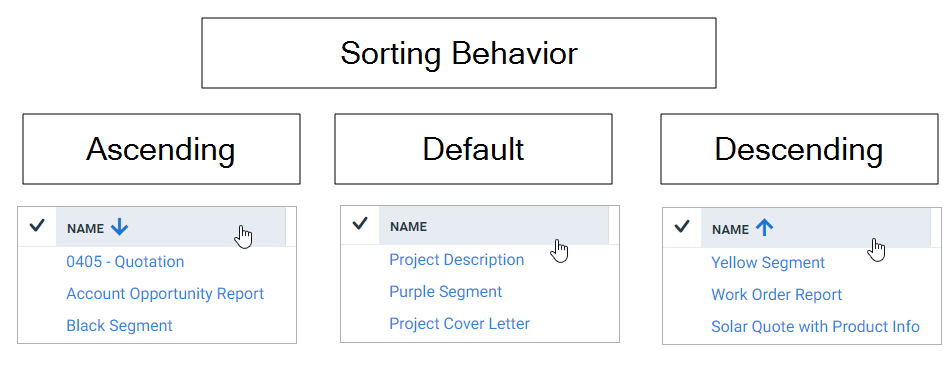
The arrow indicates that column is used for sorting the table. Select again to change the sort mode between ascending or descending.
Not all columns support sorting.
Refreshing
Sometimes a refresh is needed. Perhaps a colleague has added an entity while you were away, and it hasn't yet showed up in the list. Select Refresh to renew the page:
If you need a hard refresh, pressing F5 or even Shift+F5 will do the trick.